Showing posts with label elementary art projects. Show all posts

Monday, January 19, 2015

In the Art Room: Tree Weaving

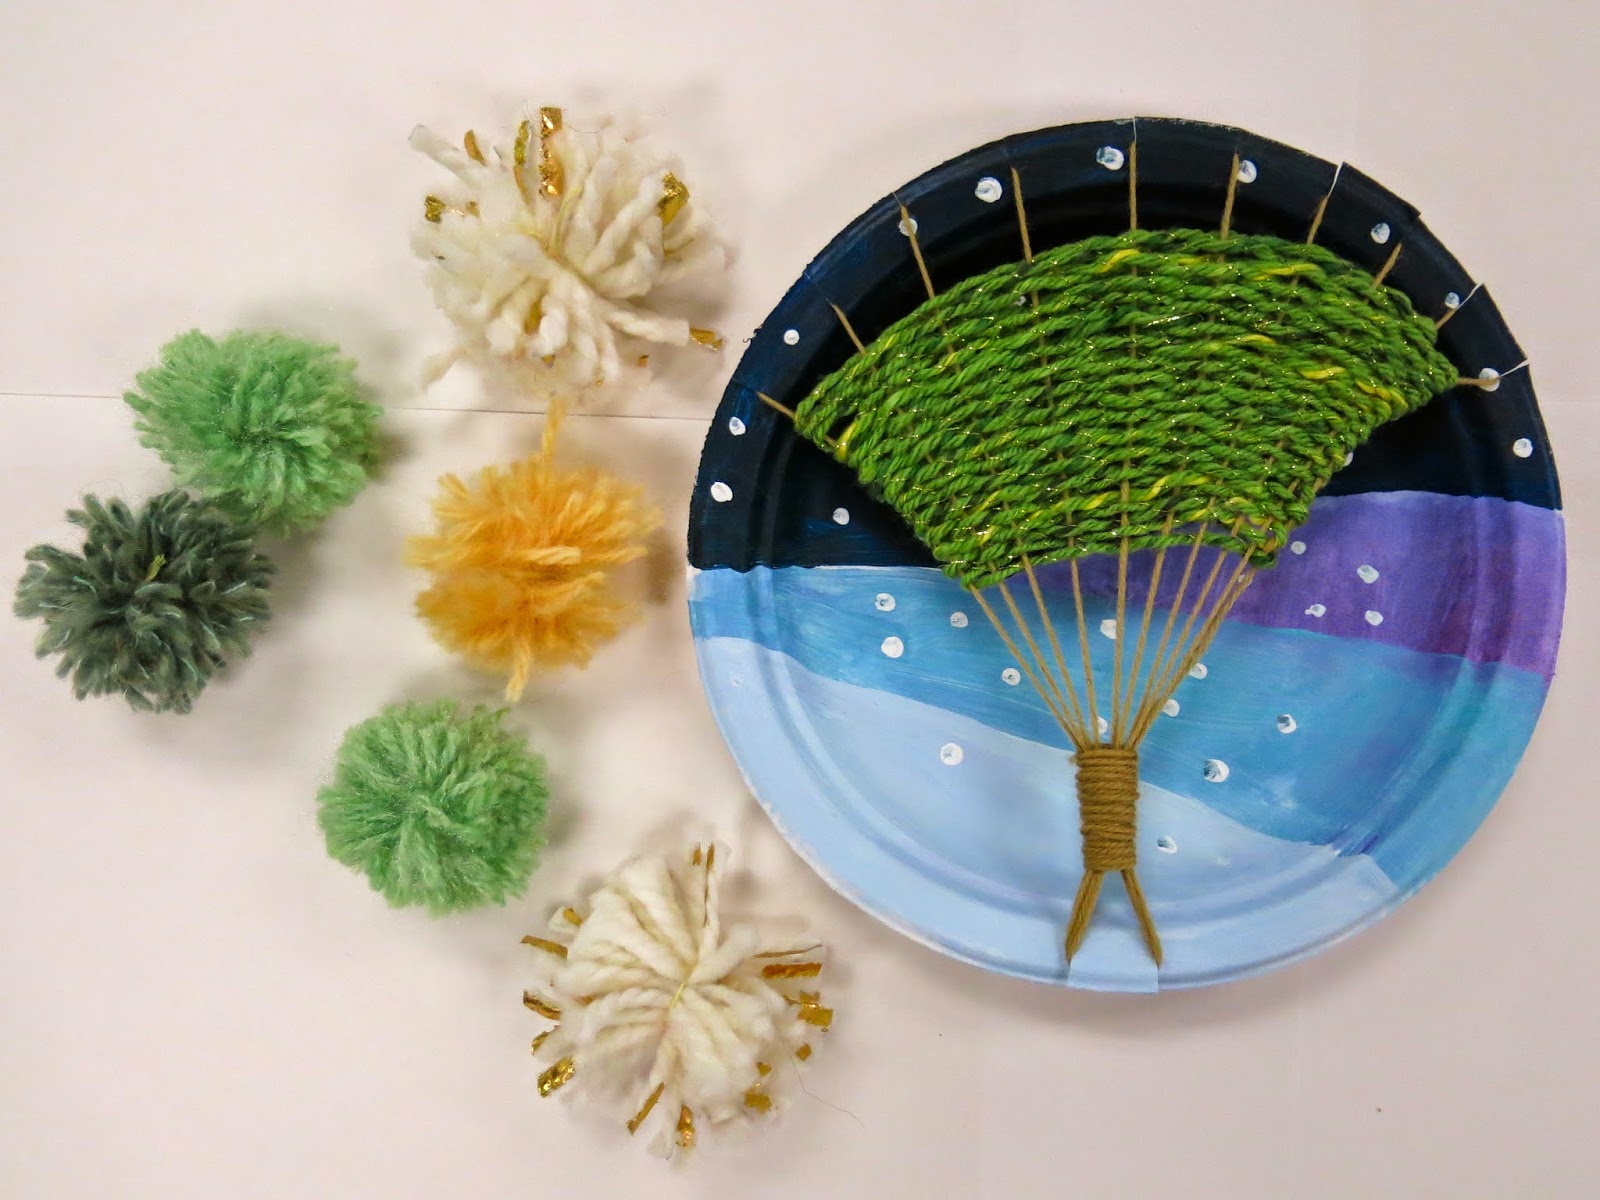
Hello there, weavers! I present to y'all today one of my fave weaving projects: Tree Weaving! If this looks familiar to you, that's cuz I shared this process with you a coupla years back and it's one of the most viewed posts on this here blog (which means, like 10 people read that post, yay!). I hope means a good amount of y'all have given it a go! 
My third graders finished these lovelies off in the early fall with summer still on their mind. However, many of them opted to weave with fall colors for the leaves which turned out super cute as well. I originally stumbled upon this idea when trying to dream up a different weaving experience for this age group as I was kinda feelin like our past project of weaving on peg looms had grown kinda stale (read: I was super tired of it. I have a really hard time repeating projects. Are y'all like that? It would make my life so much easier if I did!). So, playing around one day, I created this:
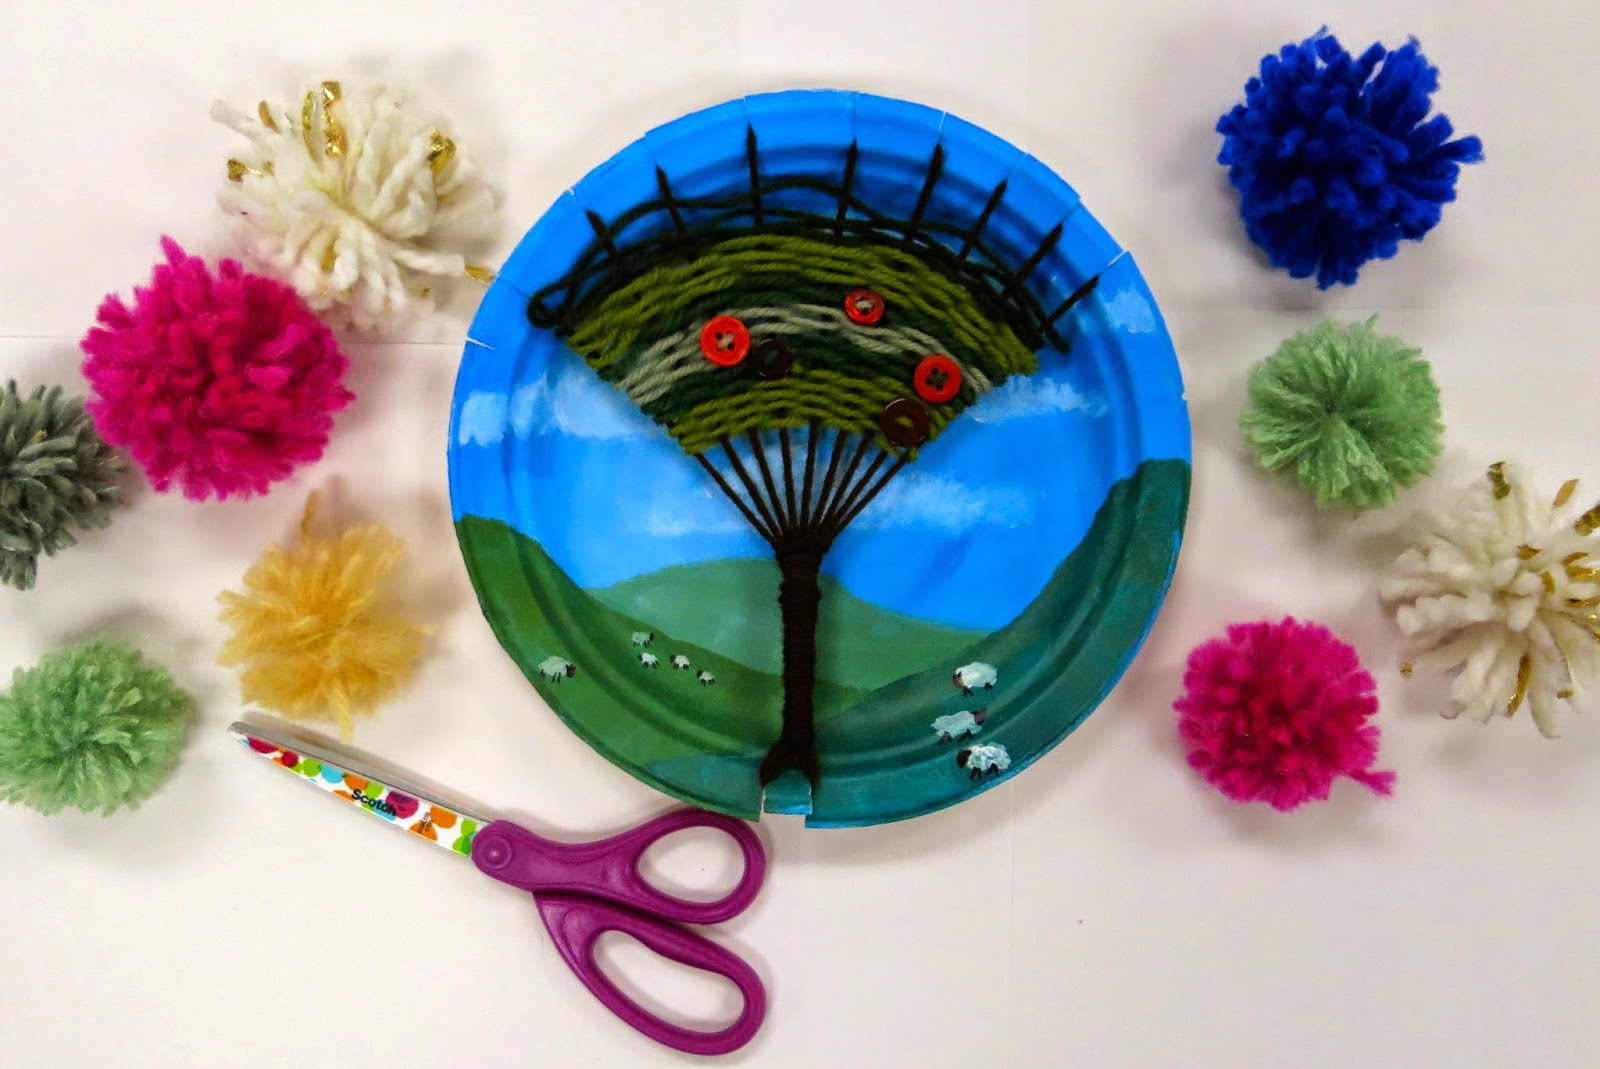
Which then I got me so excited I created another one! 
So just what does one need to create a tree weaving? Lemme see, rustle up the following:

* Chinet Plates. Don't skimp, y'all. They are pricey but they are the best. The thickness of the plates is what makes them a stable weaving surface. 

* Paint. I don't think it matters what kind. The Chinet plate is so thick, you might be able to even use watercolor on it. Hmmm...

* Warping Yarn. I had a variety of browns, tans and grays on hand for the tree trunk.

* Weaving Yarn. Whatever colors your heart desires! Let's get started.

For the complete lesson of how we painted these plates, please follow this link. It's way more in-depth about that portion of this here lesson. Today, I'm just sharing clips of how to do the actual warping and weaving. 
In this clip, I'll walk you through cutting the correct amount of notches in your plate and warping your loom. If you don't like hearing the sound of my voice, go here for the visual step by steppies. 
I'll show you a coupla different methods of weaving. Start at the top or the bottom, it's up to you. Definitely give it a go first before unleashing the kids on those plates. 
My early finishers worked on their artists statements which they glued to the back of their plates. They had a choice, they could either write about the product, the process or something they learned. In a paragraph form, of course (cuz, you know, if you don't remind them of that, you'll get the word "cool" or "grate" or "ausome" on the back of the plate. Not that my students would ever do that, cough, ahem).
What I'm finding in these self-reflection/artist statement writings is that the kids often talk about how they could do better. I like that. Not that I would ever say that to a kid but I like that they are motivated to try harder. 
Need more weaving goodness? Here you go, kids!

The Weaving Series: Paper Loom Weaving (perfect for first grade)
The Weaving Series: Straw Weaving (second grade and up)
The Weaving Series: Circle Loom Weaving (second grade and up)

The Weaving Series: CD Loom Weaving (second grade and up)

The Weaving Series: Ojo de Dios (second grade and up) 

 photo signature_zpsd10b3273.png
Read more »

Thursday, December 18, 2014

In the Art Room: A Legacy Mural

Hey, y'all! I'm super excited to share with you a project that my fourth graders started just last week when their certifiably insane art teacher decided that they outta create a present for the principals of our school. I've mentioned before that our school is participating in a Be Nice campaign. In the art room, I've been trying to post a weekly "Give Nice a Try" idea in my room each week. A coupla times, we've actually had the opportunity to make it happen in the art room. You can read about how we wrote Thank You notes to a local art museum after our field trip, created a Gallery of Gratitude for all the faculty and staff in the school and wrote kind notes to each other. This time, our Give Nice a Try was to give a gift (especially during the season when most kids are thinking about receiving). And this here Legacy Mural is the result of their hard work.
I got the idea for this mural at NAEA during a presentation by Janine Campbell (thanks, Janine! If you guys ever have a chance to see her present, do it, she's amazing). She had her middle school students paint on black canvases that she'd taped off the words ART onto. Then, when the kids were finished painting, she simply removed the tape. So smart, right? Well, being the crazy Last Minute Lassie that I am, I didn't bother with the masking bit. I just let the kids start attacking the black canvases with fluorescent paints.
Well, okay, "attacking" is a bit of a stretch. We kinda sorta did the whole circle painting thing. You know, paint circles and more circles and don't paint over anyone's circles but enhance them with more...wait for it...circles. I did give them the chance to enhance the designs with patterns and lines of their choice. I only had a coupla rules: 

1. Don't paint over anyone's design. You can build upon their painting but you cannot cover it up.

2. Paint on dry areas. Painting over wet areas will muddy your colors because they'll become mixed.

3. This is your legacy as the out-going fourth grade! Do your very best to leave your mark behind. 
At the end of four fourth grade classes working on 17 canvases for an hour at a time, we had this. It's like an acid trip on canvas. And I mean that in the best possible way. I'm dying to get my kitten mittens on a black light, y'all. 
 Oh! In case you are wondering, the black canvases came from Blick (are they just "Blick" now? Like, are the "Dick"less? [heehee, sorry, not sorry]) and the paint was by Sax. Because I'm now in love with Sax Versa Temp. It's my jam. 
The amazing bookkeeper at my school worked out the canvas dimensions and was able to scrap together enough dinero to purchase 'em. She also was kind enough to print off the lettering. I originally had the genius idea to have a sign company print the letters. Then I could just slap 'em on top. However, that was gonna cost us well over a hundred smacks. Plan B was to use the printed letters. After the kids had completed the canvases, I traced the letters in yellow chalk and painted them in with India ink. 
Obviously, it woulda been swell to have the kids paint the letters but I was in a time crunch. In fact, these letters were painted just last night. I did notice that the India ink was cracking on the surface in some spots so I sealed it with high gloss ModPodge. The happy accident there was that it gave the letters a great shine.
 This morning, I got to school at the crack of dawn to hang the letters. My BFF the custodian helped out tremendously. Because this was a surprise to be revealed at the end of the day, he and I "wrapped" the present so the principals wouldn't see it until the unveiling.
During the unveiling time, I had all fourth grade classes gather in the lobby. The wrapping paper was removed and the principals were escorted out blindfolded. On the count of three, the blindfolds were removed, the kids shouted Merry Christmas! and the principals saw this.
To hang next to the mural will be this small golden sign. This was wrapped and given to the principals after the unveiling.

It was a super exciting event, albeit a very crazy and noisy one. I don't do well with managing a crowd of over a hundred kids so it was a pinch cray but a happy kinda cray. 

And now on to the winner of yesterday's giveaway...

Yippie, Rachelle! I'll be in touch so I can ship that stash your way!

And now...for today's goodness...
Four whole rolls of paint-splattered duck tape! Here's how you can enter to win:

1. Leave your email in the comments.

2. If you are an art teacher, I wanna know, what's been your fave group project to do with the kids?

3. Not an art teacher? Tell me what you plan to create with this tape stash!

Good luck and I'll see you with another giveaway tomorrow!

 photo signature_zpsd10b3273.png
Read more »

Wednesday, June 4, 2014

In the Art Room: The Art Show, Part 2

 It's kinda funny to think that just a couple weeks ago, my school's hallways looked like this. Of course, now that school's out, the halls resemble some sort of institution (which, let's be honest, those last couple of weeks, we coulda all be institutionalized. The kids, the teachers, shoot even the class pets, were all a wee bit bonkers.) As I mentioned in my last art show post, all artwork that all students have created all year is hung for this show which is like hundreds of masterpieces. The World's Most Amazing Parental Volunteers hang everie-thang, can you believe that? I'm a lucky girl, this I know.

In my last art show post, I shared with ya'll the work of the wee ones in kindergarten through 2nd grade. I've yet to share with you the clay projects that were also displayed at the art show because I'm slowly putting together the how-to posts on those babies. When that's done, I'll wrap up this art show series. Oh! And if you wanna see some art shows of the past, you can see last year's show here and here.

And now, without further jibber-jabber, I present to you the masterpieces of 3rd and 4th grade with loads of linky-loos to lessons...
 For the art show, the parent volunteers hang the work outside the classroom. I don't give any directions on how to hang...just cross your fingers and use enough sticky tack to make it stay. I love how each volunteer hangs the work differently.
 In third grade, we started out the year learning about Norway and Vikings. My amazing student teacher Rebecca had just returned from a trip to Norway and this was a lesson created by her (and influenced by Painted Paper!). I wrote up a blog post all about Rebecca's adventures and this lesson here.
 My goal for this past school year was to create a mural with each grade level. I only partially achieved that goal (my younger kiddos did a collaborative mural to be shared in an upcoming post). My 3rd grade created a Magritte-inspired mural that proved to be the art project that just kept on giving. You can see examples of that in the work at the bottom of this photo.
 Here's one part of the Magritte project with tissue paper collaged landscape backgrounds.

This enormous beast of a mural hangs right outside of my art room. I think it's there to stay a while, I love seeing it when I walk out of my art room. The details of creating this mural are here.
 The paper we used to create the birds for the mural and our collage landscapes were so cool we decided to use them in yet another Magritte-y project. Final installment of Magritte series here.

 After all that Viking and Magritte-ness, I introduced the kids to the world of Asian art with a heavy dose of Ming vases and cherry blossom trees.
 This was a super fun lesson that incorporated so many thing. A review of watercolor techniques, symmetrical vase design, drawing a narrative, shading/shadow making and new ink painting methods. Full lesson here.

 
Both 3rd and 4th grade were introduced to Chinese calligraphy. We learned to grind out own ink and paint with sumi-e bamboo brushes. This was a big hit and we seriously painted tons of these characters. After a couple of classes doing that, the kids picked their fave to mount, label and frame.
 My 4th grade this year was like a dream group. We had such a good thing going, as they loved being in art as much as I did having them. Which was a bit of a problem as I was therefore always late sending them back to class. Seeing them go at the end of this school year was very hard for me, sniff. I'll miss them so much!
They kicked off the start of this school year creating this huge mural for a canned food drive. Full details here.
 I think this Viking project was one of my favorite lessons this year. I simply love all the watercolor techniques that the kids incorporated into their work. I will definitely be doing a redo of this here lesson in the future (I have a bad habit of doing a lesson only once as I get a little bored with repeats).
 Again, another lesson with many layers of stuff taught. It's like an onion, this project. Without the onion breath.
 These guys also did some Chinese calligraphy. However, theirs included a hanger with Sculptey beads on the end of a wooden dowel and a red stamp.
 Like with the wee ones, I also have these kids write an artist biography. These are slightly different though in that they are to also have friends add comments about them. I'll share more details about those bios in an upcoming post (I keep saying that, I hope I can keep up with all this "up-coming" posting!).
 When learning about Asia, we did some Suminigashi which is Japanese paper marbling. Details here.
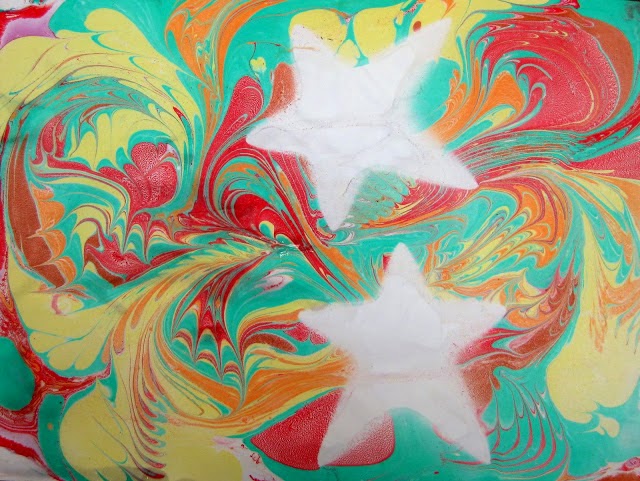
 When I ran outta paper marbling supplies mid-way through the lesson (don't you hate that?! Argh!) I did a quick switch to chalk marbling...which I kinda liked even better!
 With those stars we used in the chalk stenciling, we created some fun narrative collages.
 Near the end of the school year, we put our sumi-e painting techniques to good use with these paintings. Students could create either bamboo, cherry blossom or pine trees after practicing on newsprint.
 I've not written up a lesson on this project yet...it's on my summertime to-do.
 A favorite was adding the tissue paper leaves or flowers. They just couldn't stop adding these, loved 'em so!
 Of course, in my absence at NAEA, the kids drew these adorable Chinese pandas. When I returned, they put their watercolor painting skills to work on the background. Lesson here.
 The day before the art show, in 30 minutes, the kids created these sweet things. On the night of the art show, we also host an ice cream social. The kids painted these for the occasion and I managed to get them up the day of the show! This was seriously the easiest 30 minute lesson ever. I'll be sharing the details in an upcoming post,

And there you have it, ya'll! The 2014 Art Show! Stay tuned for the final installment of the show which will include kid clay projects. Until then!


Read more »

Tuesday, October 29, 2013

In the Art Room: Vicious Vikings!

If ever the words adorable and Viking could be used together in a sentence, it would have to be upon viewing these painted and collage-tastic works of art. I mean, just scroll down and take in the hilarity. Super-Awesome-Cuteness-Overload. With a touch of axe-wielding angst. The perfect combo for a Viking, says these first and second grade artists.

(hey. I'm whispering this to you. that's why it's in italics and lower case. all images of children that you see here are published with permission of viking parents. because i like my job and would prefer not to get fired.)
Now before I go into the details of this lesson, I have to give a big fat hairy shout out to my (sadly, former) student teacher Rebecca who taught these young artists as well as Laura of Painted Paper who inspired this lesson. Rebecca taught the first through fourth grade students a Viking unit based on her summer travels through Norway. You can see the third graders' Viking ship collages here. For the younger artists, she decided to create a lesson that turned the kids themselves into Vikings.

On the first day of the lesson, the kids painted the papers for their backgrounds. In one (insanely busy) half hour class, the kids chose one 12" X 18" piece of construction paper for the back ground and two pieces of 12" X 9" paper in white and green. And here's how it went down in bullet points. Because I love me some bullet points:
  • (oh, so pointy!) The kids began with the larger paper. Using a sponge the size of their hands, they stamped white paint all over the top half of the paper. Once finished, they chose a smaller sponge and two colors of their choice to blend into the white paint for their sky.
  • From there, the children moved onto the two smaller papers. On these, they were to use a dry brush technique with green, white and yellow.
All that in 1/2 hour. Hence the gray hairs
The following class, Rebecca showed the kids a Power Point (is that one word? Should it be in caps? Do I really care?) of her travels and the beautiful landscape of Norway in the summer. The kids were then shown how to tear each of their green painted papers lengthwise and glue them down. The trick to teaching this lesson is making sure that the children begin gluing the background land first and slowly work toward the foreground. I'm kinda in love with this collage technique. I used it here for our Paris collages and here for our Egyptian ones.
For the body and assorted details of the Viking, the kids created another piece of painted paper. I wrote an entire blog post about this process which you can read all about here, if you wanna.

Our end result looked a little like this. The side on the right was used for the body of the Viking. For this, the kids cut the entire painted paper in half, folded the side you see on the right in half and, along the fold, traced half of a Viking body template and cut it out. Now before you freak out because a template was used, lemme 'splain myself: 1. I have a half an hour. Sometimes short cuts are a necessity. 2. Folding the paper in half, tracing half a template, cutting and opening the paper to discover (surprise!) a whole Viking body is an excellent means of teaching symmetry.

As the children worked on that, Rebecca called the kids aside for their Viking photo-op. She took two photos of the kids: a picture day smile and a fierce Viking face photo. In the following class, the children were able to chose between the two.
At the start of the next couple of classes, Rebecca would introduce a new fact about the Vikings to the children. They learned all about Viking culture, clothing, the long ships and long houses as well as their fierce ways.

The kids learned that they'd have to create a helmet, shield, weapon and some clothing for their Viking. Oh and "weird animal skin shoes" as one student called them today.
One of my favorite things about these Vikings is how some appear to be missing some teeth! This Vike-ette musta been in some rough battles to get her teeth knocked out. Either that or she's from Kentucky (just kidding, Kentucky friends!).
Once the kids chose their photo, they carefully cut around their face and glued it to their body. Braids and beards were added with construction paper which is much easier than it sounds. For this, Rebecca and I split the boys and girls up so that we could give individual demos to each group. Once the hair stylings were complete, helmets were added.
The next couple of classes were spent collaging boots, belts, sheilds and, everyone's favorite weapons! Well, almost everyone's favorite. I did have two sweet students who asked if their Viking could be reading instead of wielding a weapon. What were they reading, you ask? One was holding a book titled "How to be a Good Viking." Adorbs.
Don't tell anyone but this Viking's face is secretly my fave. With his expression and that mustache, he reminds me of Salvador Dali, don't you agree? I love it.
As a wrap up, I asked the kids the following questions today: Who were the Vikings? What did they do? Where did they live? I jotted down their answers on the board and I was so proud of everything they had learned. I wish Rebecca could have been there, it was a happy teacher moment for sure. 

The students were to then write a small paragraph about their Viking. With the exception of the one that said his Viking "cills peepel" (yikes! Gonna do a rewrite!), what they wrote was so fun to read. Almost as fun as those Vikings themselves! 


In other news...I now have a Facebook page for this blog! You can go and like it (or not, be that way) here:


Because I'm super computer un-savvy, I've yet to figure out how to create a link on this blog to take you directly to my facebook page. My apologies. I blame my pea-sized brain. If any of you computer geniuses out there would like to offer some advice, I'll gladly take it. In the meantime, up there's the linky-loo, "like" if you like. And thanks for dropping by!
Read more »