Showing posts with label how to teach art. Show all posts

Sunday, April 30, 2017

DIY: Intro to Sculptural Felting!

Hey, y'all! I'm sad to say that last Wednesday was our last #creatingwithcassie Facebook LIVE craft night for felting. I chatted about Fashion Felting and will share a blog post about that super soon (I'm a pinch behind...as per usual). The previous week, we ventured into Sculptural Felting and I shared the basics on how to needle felt little creations...while creating this penguin whom I've named Pepe le Paint...or something. Here's the video from our live creating session:
I've done a ton of needle felting but I've never taken it to the third dimension. Sue sent me a bunch of samples to share with y'all to serve as both ideas and examples of what can be created by needle felting. 
Sue created the cardinal, the penguin and the cat. I'm currently working on a ton of felted cacti which I'll share with you real soon (if you follow me here, you can catch some one-minute how-to videos). By the way, Sue has a great YouTube channel with a ton of felting videos. Check it out here

Now, I mentioned that this past Wednesday was our last craft night for felting. For the month of May, we are moving on to CLAY! We'll spend the first half of our craft nights as we used to do: sharing tips and tricks. So come prepared to talk shop about clay, both kiln and no kiln fire. Then...we'll create! You can use ANY clay you have on hand or you can purchase your clay kit right here. You can also find out more details on what we'll be up to right here
Now, let's check out this gallery of awesome folks who have been felting along with me. Seeing the work of other folks has really made this experience the best for me...it's one thing to share your love of a craft with someone via a blog post or a video. But it's entirely something else to create live along with people...and see what variety of creatives there are out there. THANK YOU AND HUGS to everyone who participated either live or after the fact, shared their creations and their enthusiasm. Y'all are the best. 

And a BIG shout out to Sue at Back to Back Fiber for helping to make this possible. She's still selling felting kits if you are interested! 
This van Gogh makes me so happy! Love this creation by Heather @the_doodle_birds.
Who doesn't love a purple penguin? This one is by Sepi @sepi.gol.
This Frida was made by Mariana @parkesphoto 8 year old daughter! Isn't it incredible? I love how the flowers in the crown are three dimensional. 
Deborah @visualpraisestudio has been felting the cutest hats. I see an etsy shop in her future. I love these! 
I am loving Jen @jtheen palette hat complete with three dimensional paint brush. So adorable! 
And who doesn't love a needle felted pet?! I love everything about this creation and photo by @swells17
Merrill @merrillguinn made a happy little penguin...I love how the beak looks like he's chatting up a storm. 
Heather's sweet unicorn...I love this so much! That mane is perfection.
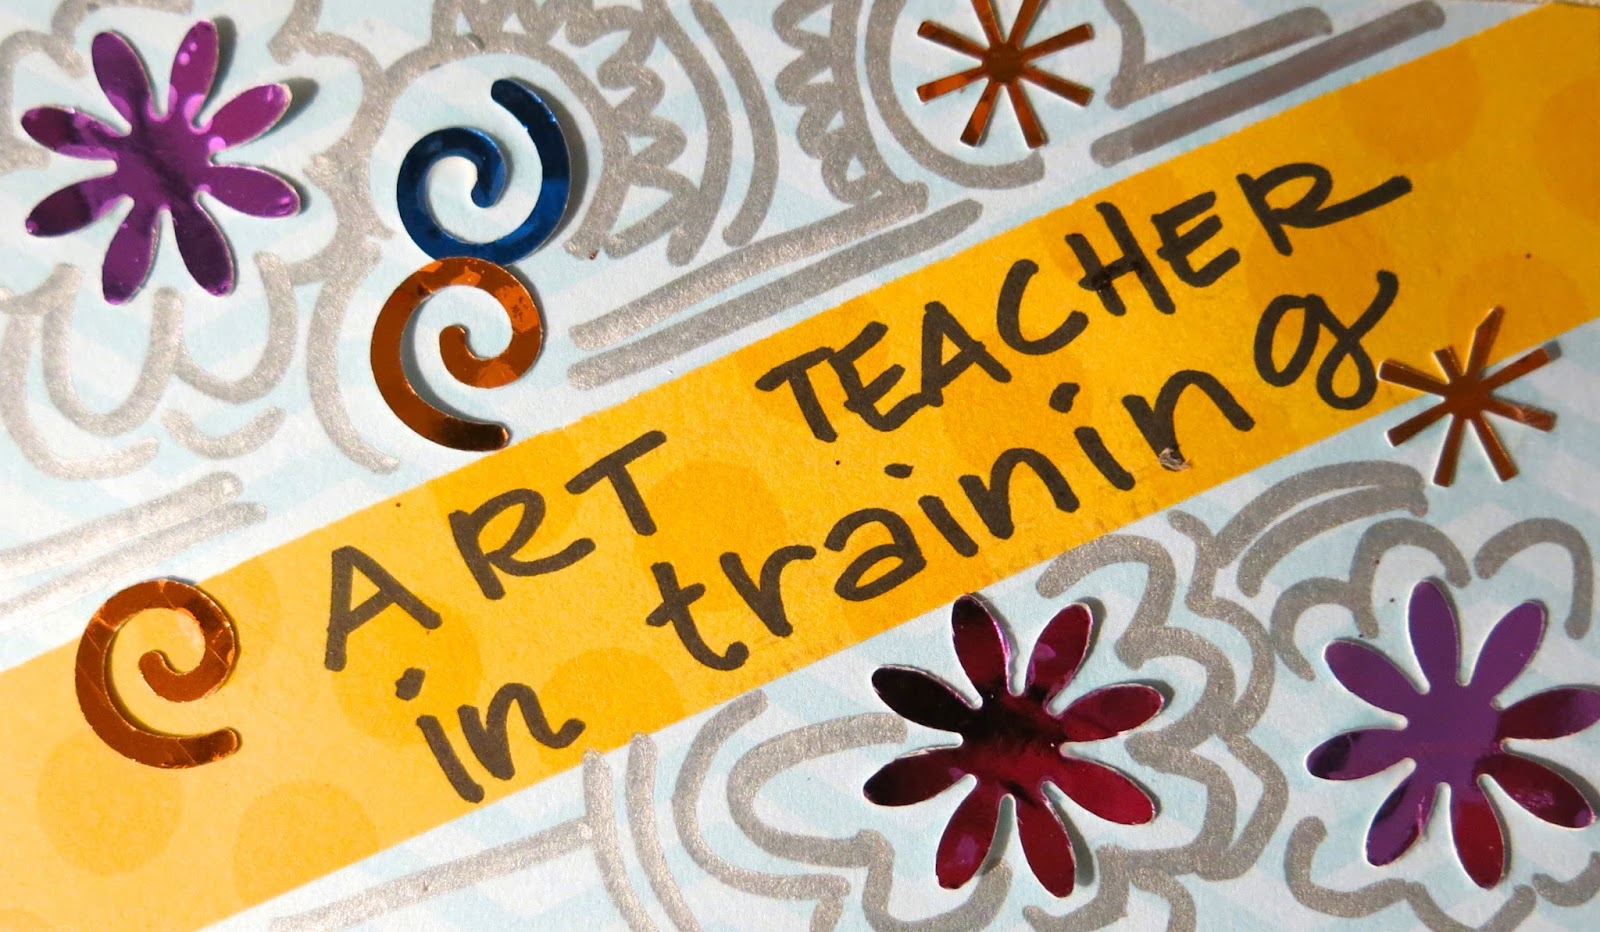
Growing up in the '80's, I have a soft spot for Gremlins! I can't get enough of this one created by @art.teach.at.the.beach.
Love this tie-dye penguin, it's so groovy, baby. This one is by Emily @emily_clonts.
Check out how PERFECT Dana's @daynahbaynah felted beads are...that is no small feat. Kudos, gurl! 
Alison's @alison.m.klein colorful creature makes me so happy. I think the big eyes are my favorite. 
Angela's @nachtule felted succulents are so pretty. I'm totally diggin the purple one. 
Look at how productive Mary @mary5409 has been. I am loving the owl. 
Angela's narwhal is so much fabulous. The horn is just the best.
Check out this precious little dude! This one is by Desiree @mrsmillsartfromtheheart
I love two things: the color pink and otters. So when I saw Chapin's @chapin.schnick creation, I was so excited. The cuteness!
Rachel's @mrsp_art penguin with it's little waving flipper is so fun. What a great idea! 
This rainbow bird by @echopaitsel looks so cute on display in this Easter grass. 
Y'all. Heather's felting game is STRONG. I think this would be a fabulous project for kids! 
BB8 for the win, kids! How is this our first Star Wars felted creation? Ima need more where this came from. Megan @mrs.dunstan you get a slow clap and a hats off from me, sister! 
Amber @amberakes created the next two felted pieces. I really love how she blends the roving. It gives her pieces a painterly effect. 
I could see this on the back of a clutch, couldn't you? So pretty. 

Stay tuned for one more needle felting wrap up from our craft nights. If you'd like to be featured here, just use #creatingwithcassie on your preferred social media outlet. Now, go stab something, y'all! 
 photo signature_zpsd10b3273.png
Read more »

Tuesday, April 18, 2017

In the Art Room: Clay Chameleons, Update Part 2

Y'all. When I opened the kiln this morning (which I had no right doing as that big ole lug was still flashing 600 degrees), I let out a squeal. Who snuck into the art room and put a bunch of cute-ified chameleons in my kiln?! I mean, really. Can you even handle...THIS?
 I know I can't. I'm so excited to share these with the kids next week. Their hard work sculpting and glazing paid off. Here's the video that I created to teach my sweet third graders this fun lesson:
The kids have loved this lesson! Having taught art (and clay!) for nearly 20 years, I've learned a thing or two along the way. My biggest tip for those working with kiln-fire clay: LET THE FINISHED PIECES DRY FOR LONGER THAN YOU'D EVER IMAGINE.
I was always led to believe that the reason clay exploded in the kiln (and I've had my share of 'splosions) was because of air bubbles. I call baloney on that theory. The reason there are explosions is: the clay is still WET. I allow my clay projects to dry in the kiln room which is both hot (due to the kiln) and well ventilated (as they should be) for TWO WEEKS. That's right, you heard me. Here's the deal: if there are any water molecules in the clay, as they are heated up in the kiln, they begin to move, faster and faster, until they cause an explosion. However, if you wait...every last one of those water molecules will evaporate and diminish your chance of breakage. One way to test and see if greenware (unfired clay) is ready to be fired? Touch it. If it feels damp, even slightly, it is still holding water and needs to dry.

The problem is...if your students' clay projects are thick (and some of these chameleons were very thick!) there might be water trapped within the clay project that you cannot feel with touch. My suggestion? Fire on the slowest setting possible. This will help air out the clay before ramping up to firing mode. 

In other words: When in doubt, DRY IT OUT. 

Can someone please help me off this firing soap box?! It's hot up here!
Now, when it comes to glazing, that's a whole 'nother story. Glazed pieces can be fired on the fastest setting as they have already been fired once and are not going to explode. In case you are curious, I use Cone 06 clay and glaze. 
 I don't always glaze with my students. After all, two firings is super time consuming. However, I do think that the glazing experience is important for kids to be exposed to at least once. It's truly magical. Imagine: little pieces of glass that are going to transform your dull clay project into a shining, sparkling masterpiece!
My favorite glazes are Mayco's Stroke and Coat. I love their color variety. I did order some of their Jungle Gems to add a bit of spots and sparkle to their projects...and I was a touch disappointed. I don't think I shook the bottles up enough because I don't see too much of the spotted and speckled effect. Perhaps my next crop of chameleons will be more speckled as their glaze is near the bottom of the bottle where all the glass has settled. 
 Oh! And if you follow me here...you might have seen that I received a copy of my book
This lesson is NOT featured in my book...which is why I can share it and the video for free with you here. Many of the project directions from last year's art show were not shared here...because I was under contract with the book publisher. Little known fact: when you are writing a book, they "own" the rights to your ideas! All that to say...all of the lessons I share in the book have not been released here. So 52 NEW art projects for you and your kiddos...that can be used with both no-kiln and kiln-fired clays! 
 ALSO...in case you didn't know, I've been hosting weekly #creatingwithcassie craft nights right here. Currently, we are felting but next month, we are exploring clay! 
If you'd like to join the fun and explore some fun new materials, pick up your clay kit here...no kiln required! 
 Now...this is just the beginning of clay themed posts as I've declared the month of May, the month of CLAY! So brace yourself...lots of clay posts ahead!
Until then!

 photo signature_zpsd10b3273.png
Read more »

Saturday, March 18, 2017

Art Teacherin' 101: Episode 32 CLEAN UP

Ah, yes. Clean up. You know, everyone dreads clean up: the kids because they are so into what they are creating and me because I have a different idea of clean up than my students (ahem). I've come up with some things that work and I've slapped 'em together in this here Art Teacherin' 101.

Also in this video, you'll see a clip of my students participating in something I've been calling The Clean Up Contest. This has been working fabulously with all of my classes, grades kinder thru fourth. My room is left spotless, the kids all clean, working together to make their table look the "even better than how you found it". My big rule is that they must do it silently...which really cuts down on the silly and helps them focus on tidying. 

I'll also be sharing with you how I do the Smartest Artist. This is a simple game that all of my students love.

Please share your tips and tricks on Clean Up Time! I know I'm always looking for ways to make this process more streamlined. 
 photo signature_zpsd10b3273.png
Read more »

Sunday, February 5, 2017

In the Art Room: Art Teachers in Training!

Hey, art teacherin' buds! If you joined last week's Facebook LIVE which is archived in the link, then you know I did a feeble attempt at a Make and Take. Those who joined were gentle and kind enough to almost convince me that it wasn't a bust but I knew the truth. I LOVED the idea of a Make and Take and I really wanna make it work in the future...but that will take some work on my part. But let's focus on what we created: Art Teachers Badges!
 In a previous LIVE chat, which we do right here nearly every Wednesday night at 8pm CST (to join the chat, simply "like" my page and I'll pop up in your feed 8-ish), the idea of creating "art teacher apprentice" badges came up. I loved the idea so much, I invited everyone to join in on the makin' and the takin'. What EXACTLY is an Art Teacher Badge?!
I can only tell you how I plan to use mine: I have four tables in my art room. Each table will have what I've dubbed Art Teacher in Training. These kids are responsible for listening extra carefully to directions and answering the questions of their fellow artists at their table only. If they cannot answer the question, they are to seek out another table's "trainee" and ask them. If all else fails, FINE, you can ask me. My goal is to create an environment where I am free to spend more quality time with my students and not repeat myself 5983 times. Ahem.
How will I pick these kids? I plan to let them know that the moment they walk in my door, they are being "interviewed" based on their actions, behaviors and ability to follow our long-established but sometimes forgotten routines. I also created this video to explain to the kids just EXACTLY what the roll of the "trainee" and the rest of the class is. 
Feel free to share this video in your Land of Art Teacherin'. It's general enough that it could probably work in your setting as well. 

MANY of the fine folks that joined the chat sent me their badges and how they plan to use them. I love the creativity of seeing what everyone created and hearing how they plan to use them. I do plan to laminate mine and have them on a lanyard. 

By the way, be sure to follow these art teachers on Instagram. I've added their link if they have an account. We learn so much from one another! 
Margaret McDonald created these fun badges for her kiddos! She says: I teach Art PreK-6 at Herndon Elementary in Herndon, Virginia. My classes come once a week. I have 6 tables. Each week a different table does art room jobs. I plan to allow each weeks table to be the "art room assistants." I plan to talk them up like VIP/backstage passes since I used gold shiny paper! You can find Margaret here: My instagram @missbrightbluehue and 
My Twitter @msmcdonaldart

Darla Kendrick created these cute and colorful badges. She says: here are my Art Teacher assistant badges. I get tired of repeating my directions non-stop, even when they're written on the board!  My plan is to assign one student per group/row/area of the classroom as the Assistant. S/he will be responsible for helping students nearby until I can make my way to them. Hopefully this will eliminate the repetitive, "I wasn't listening" questions.

My art teacher insta is: @art_at_hart_on_a_cart

I teach in Bakersfield, CA. Grades TK-6, SDC and VE

Carissa Parr shared: my class is 3rd-5th grade, so I'm planning on using the Protégé badge with only the 5th graders. They'll be the go-to kids for the younger ones. The Timekeeper will help keep ME on track! The Encourager will help keep things positive, as there are a few kids that compare their work to others and end up frustrated. I teach in a homeschool co-op and we meet once a week, so most of the lessons take two weeks to finish.  The kids will keep their badges for 2 weeks and change/rotate badges at the start of a new lesson.
Amber Click says: I have created my badges, just need to laminate and get lanyards. :) I decided to go with art teacher's sidekick. Kinda like a superhero. :) I teach in Corpus Christi, Texas. Grades Pre-k through 8th grade. I plan to use these badges to cut down on the amount of times I repeat things, like "drying rack." lol I think especially for my younger kids they will love the assistant title and I hope it'll turn out to make them feel special. 
My instagram link is: www.instagram.com/art_teacherlife
Emily Burlingame says: I have 4 tables in my room and each has a rotating (weekly) job to do. One of the jobs was 'Direction Experts' (DE's). This one always seemed to get neglected... until NOW!

We went over all the jobs again and I introduced the new 'DE' badges and a reminder that this job was to be my helpers. They had to know what the directions for the day were, had to know where to get supplies and how to clean up, had to know how to be encouraging and helpful. They basically had to be mini versions of me.

They embraced it with open arms today and knocked it out of the park. Even my 3rd grade 'Bob' rocked it {this is code name for our friends who are sometimes off-task}. Told me he served 6 clients for the day! Ha! Great. And it totally freed me up to wander the room and help where needed.

So each week a different table group of students will have their own chance to help one another out!!! Yessss! Art Teacher win. Think I'll try it with my 1st-5th graders and just put the badges in the table basket that has the DE job for that day.
Emilie Jones says, I used lanyards, painted the paintbrushes with acrylic paint, and used scrapbook paper inside the badge-holder-thingy... they all have the words: TABLE LEADER in sticker letters (former scrapbooker in the house!).

I am NOT an art teacher, I'm just a parent who LOVES art, was upset that the school my son goes to does not offer art (even though the kids have LOTS of free time) so I volunteer and every Wednesday and Thursday.  I go to my son's second grade class and we do art. 

These second graders REALLY need to work on their listening skills and I ❤ed your ideas about going to the art assistant to ask for directions because i was being asked the same question like 15 times (which gets a bit annoying). I have 23 kiddos and 4 tables, so one leader per table. Today I hyped up the table leader's responsibilities and then hit up Hobby Lobby (I currently live in no-where Oklahoma and it was either that or Walmart) got the lanyards, badge holders, and brushes. 
Alexandra McBride says: here are the art expert badges I've been using since before winter break. Kiddos are LOVIN being experts! I usually pick six different kids before I start any explaining and these kids are then who all the other kids go to if they have questions. They are feeling so proud wearing them! The best part?! When I get done with directions and that one kid is like "what do I do!?" Ahhh I just breathe and say "Go find an art expert"! You can find me on Instagram @kidsgetcreative. I work at the elementary level at cherry creek schools in Colorado! 
Carol Sustaire says: I want have one badge for each of my 6 color coded tables. However I probably won't use all 6 every day. Maybe only 3 per class and they wear the badge that corresponds to their tables. 

I teach k-6 in Fort Worth TX. I introduce a lot of new ideas to these kids so I am probably going to let the kids that "catch on" first at each table get picked to be the art teacher apprentice. I may also pick based on who I think needs a boost of pride that day. 
Lindsay Lowery says: I've never done this before but it sounds like fun! I decided to keep them simple using my #artsnacks products I get in the mail each month. I plan to pick someone from each table as soon as I finish giving directions and hopefully it will be something they really enjoy. My instagram is @beakerlinz and I teach in Pflugerville, Texas K-5.

Do y'all use something like this in your art rooms? LOVE to hear how you put it into action! 
 photo signature_zpsd10b3273.png
Read more »