Showing posts with label sewing. Show all posts

Wednesday, June 14, 2017

In the Art Room: Sew a Softie!

I was recently contacted by the author of Sew Together, Grow Together, Trixi Symonds. She's the founder of Sew a Softie (check out the #sewasoftie on Instagram for some fun inspiration!) and has a fun sewing opportunity coming up in the month of July. I'm definitely joining the fun...and I thought you might want to as well. 
Trixi lives in Sydney, Australia where she has been teaching hand sewing to children for over 20 years. She coordinates workshops and leads sessions at galleries, bookstores, schools, you name it. Her goal is to encourage adults to share the love of stitching with children by providing cute, creative and fun sewing tutorials. Are you sold yet? I love her already! 
Trixi came to me with her idea of making July Sew-a-Softie month and asked if I'd be interested in joining the fun. Of course I agreed...and thought y'all might want to as well. Here are the details from Trixi:

The aim of Sew a Softie is to show both adults and kids that hand sewing is fun, creative, fulfilling, and that absolutely everyone can do it. Throughout the month of July simple to sew softie tutorials will be posted daily online. You can find them on the Sew a Softie Facebook page, the Coloured Buttons blog and the Sew a Softie website. Also, check out colouredbuttons on Instagram

You could take part by posting a softie tutorial and join the blog hop or by sewing softies with a group of friends or students anytime in July and posting on Instagam with the tag #sewasoftie.

Thanks, Trixi! I know I'm excited to get started.
I mentioned that Trixi is a book author, you can find her book here!
To clarify, if you want to join the Sew a Softie fun, be sure to follow Trixi's Facebook page. There you can find daily softie sewing inspiration as well as share your own ideas and creations. If you share on Instagram, don't forget to use #sewasoftie. I know I'm looking forward to lots of new tips, tricks and sewing project ideas for my students. 
Doesn't this sound like fun? For more inspiration, be sure to check out Trixi's blog and Instagram. It's sure to get your wheels turning. These cute images are from there. 
I know my students absolutely love sewing and had a blast with our Stitched Monster project. I think this will be a fun way to gain new ideas and collaborate with hand sewing enthusiasts all over the world. I hope you'll join the fun!

 photo signature_zpsd10b3273.png
Read more »

Wednesday, March 8, 2017

In the Art Room: String Art!

Tonight, on Facebook LIVE at 8pm CST, I thought we could talk about how to prepare for a sub. I'll share with you what I do to insure that I'll won't come back to a Hot Mess Express. I'd love to hear your tips. ALSO...I have BIG NEWS about our LIVE chats that I think you are going to love love love! So I'll see you real soon.

My lovely and sweet (ahem) spring-break-ready third graders are starting their string art project this week. We have prepared the boards by painting them (we are using cardboard pizza rounds purchased in bulk via Amazon) and adding texture. We also punctured holes in them to prep them stitching. Next week, we'll sketch out our designs and start stitching. Here's the video I created to introduce the kids to this process. Feel free to use and share in your art teacherin' world.
Even if you don't do this project with the kids, you might wanna watch it for the needle threading trick alone. Or you can just follow me here and catch a short clip.
There are many methods of string art but I'll be introducing my kids to ones that I call Spectrum and Radiating Design. I found the above, the one I call Radiating Design, to be a little more taxing simply because you have to get more yarn to make the lines go all the way around the board. 
This one I'm calling Spectrum. This one is fun because you can use a lot of different colors. It's up to the artist just how much stitching happens within the design. 
 My third graders were at the end of this project when I introduced this new one. So during the second half of one art class, when they were finished with their candy sculptures, I had them quickly color, paint and scrape a texture onto their boards. 
Today, the first half of class, we did this. I had a handful of kids that were absent the day so they worked on coloring and painting while the majority did this. Thankfully, we had this project to also work on. Have I ever told y'all that I have a habit of having the kids work in exactly 37 projects at once? I ain't proud. 
The kids are stoked! I can't wait to share with you what they create. 
 photo signature_zpsd10b3273.png
Read more »

Wednesday, January 25, 2017

In the Art Room: Stitched Monsters!

Going LIVE tonight, Wednesday at 8pm CST to talk about some art teacherin' issues! Hope you'll join me over here. See you real soon! 

As my fourth graders are wrapping up their Candy Heart Sculptures and drawing, I'm thinking ahead to a fun fibers unit for them. Last year, this group explored embroidery and did a really fabulous job. I know they will love expanding their knowledge and creating these fun stitched monsters!  
I wanted a stitching project that would introduce them to the following: pattern cutting, pinning, sewing, stuffing and embellishing. I also wanted a fun contemporary artist tie-in and I found the artist behind Cotton Monster, Jennifer Strunge, to be perfect. 
Aren't her monsters just the most amazing thing ever? I need one in my life, stat. 

Here's the video I created to introduce my kiddos to Jennifer and all things stitching! Feel free to use it in your art teacherin' world. I think it would be perfect for 3rd grade on up.
We will be using the following supplies:

* 9" X 12" sheet of Smart-Fab or felt
* Additional felt for arms, legs and details
* Tacky glue
* Sharp tapestry needles
* 4 pins per student
* Scissors
* Embroidery floss or crochet thread
* Paper needle threaders

I anticipate this project will take my students 3 one-hour art classes. When I share my video, I show it to the kids in short bursts. I then allow them to go work and set my timer for the amount of time I expect it will take them. When the timer goes off, finished or not, all kids report to the floor for the next video viewing. 
On Day 1, we'll learn about Jennifer Strunge, cut out arms, pin them in place and, hopefully, stitch one side. The following day, we should be able to wrap up the stitching, turn inside out and start working on the face. We will pulling out our Monsters of Creativity collages and looking at those for inspiration! 
Day 3 (and, let's be honesty, probably Day 4) will include gluing the parts of the face down, stuffing and stitching closed. 
I'm thinking of tasking my early finishers to think of themselves as toy creators and their monsters as their creation. As such, they'll need to think of their monster as a product. Who will it be sold to? How will it be packaged? What will be the price? Why should people buy it? I'll keep you posted on this adventure!
Have y'all done stitched monster projects with your students? Love to hear what you've done! And if you do this project, please be sure and let me know, I'd love to see your student's creations. 
 photo signature_zpsd10b3273.png
Read more »

Sunday, November 6, 2016

DIY: IKEA Curtain Cat Print Dress

Yeah, yeah so pumpkins and black cats are so, like, a week ago (I've already busted out the Christmas decor, you don't have to tell me!) but, to my credit, I did finish this black cat dress a coupla weeks ago. It's just taken me until now to share it with y'all here!
I scooped up the fabric for this dress from IKEA and I'm in love. It's actually curtain fabric which means I'm like the Scarlett O'Hara of the sewing world. They did have this same print in orange with smaller cats but I really liked theses big bold babies and the black and white motif. So I picked up the last package of curtains and, when I was heading to the checkout (which took me 35 minutes because, you know, IKEA is about three miles long), I noticed that there was a hole in the curtains. The hole wasn't going to affect my sewing but, if it's anything I've learned from my mama-in-law, it never hurts to ask for a discount. And am I ever glad I did as the $25 price was dropped to $5! I only used one curtain panel for the dress which means, if you are super groovy at simple math like me, this dress only cost me $2.50. Sweet!
I warned y'all last time that I'd learned to create gifs. And I already apologized for it. So suck it up, buttercup. 
Now if you've seen one dress from me, you've pretty much seen them all as I FREAKIN' LOVE this style: large band at the waist, fit and flair. I have found this to be the most flattering for my body type and I have a hard time straying from sewing anything else. 
I often do a lotta gathered skirts but lately I'm kind of tired of them. Of course, gathering a fabric as stiff as curtain fabric wasn't gonna work in this sitch. Also, with a gathered skirt, I just can't get the fullness I dig. So circle skirts have become my new fave. In fact, the last dress I made, this Vincent van Gogh number, is almost identical to this one, sans bow. 
So, lately, life has been rather busy, to say the least. I've been so stinkin' fortunate to be asked to travel to the Wisconsin art conference as well as the one in Illinois (details on that this week, it was A BLAST!) to be their keynote speaker and present fiber arts workshops. I've loved every minute of it. And I'm getting ready to head to Texas for theirs in a matter of days. However, that means I've had to take a wee hiatus from sewing. I've missed it! I'm looking forward to getting back into my sewing room and making more messes soon.
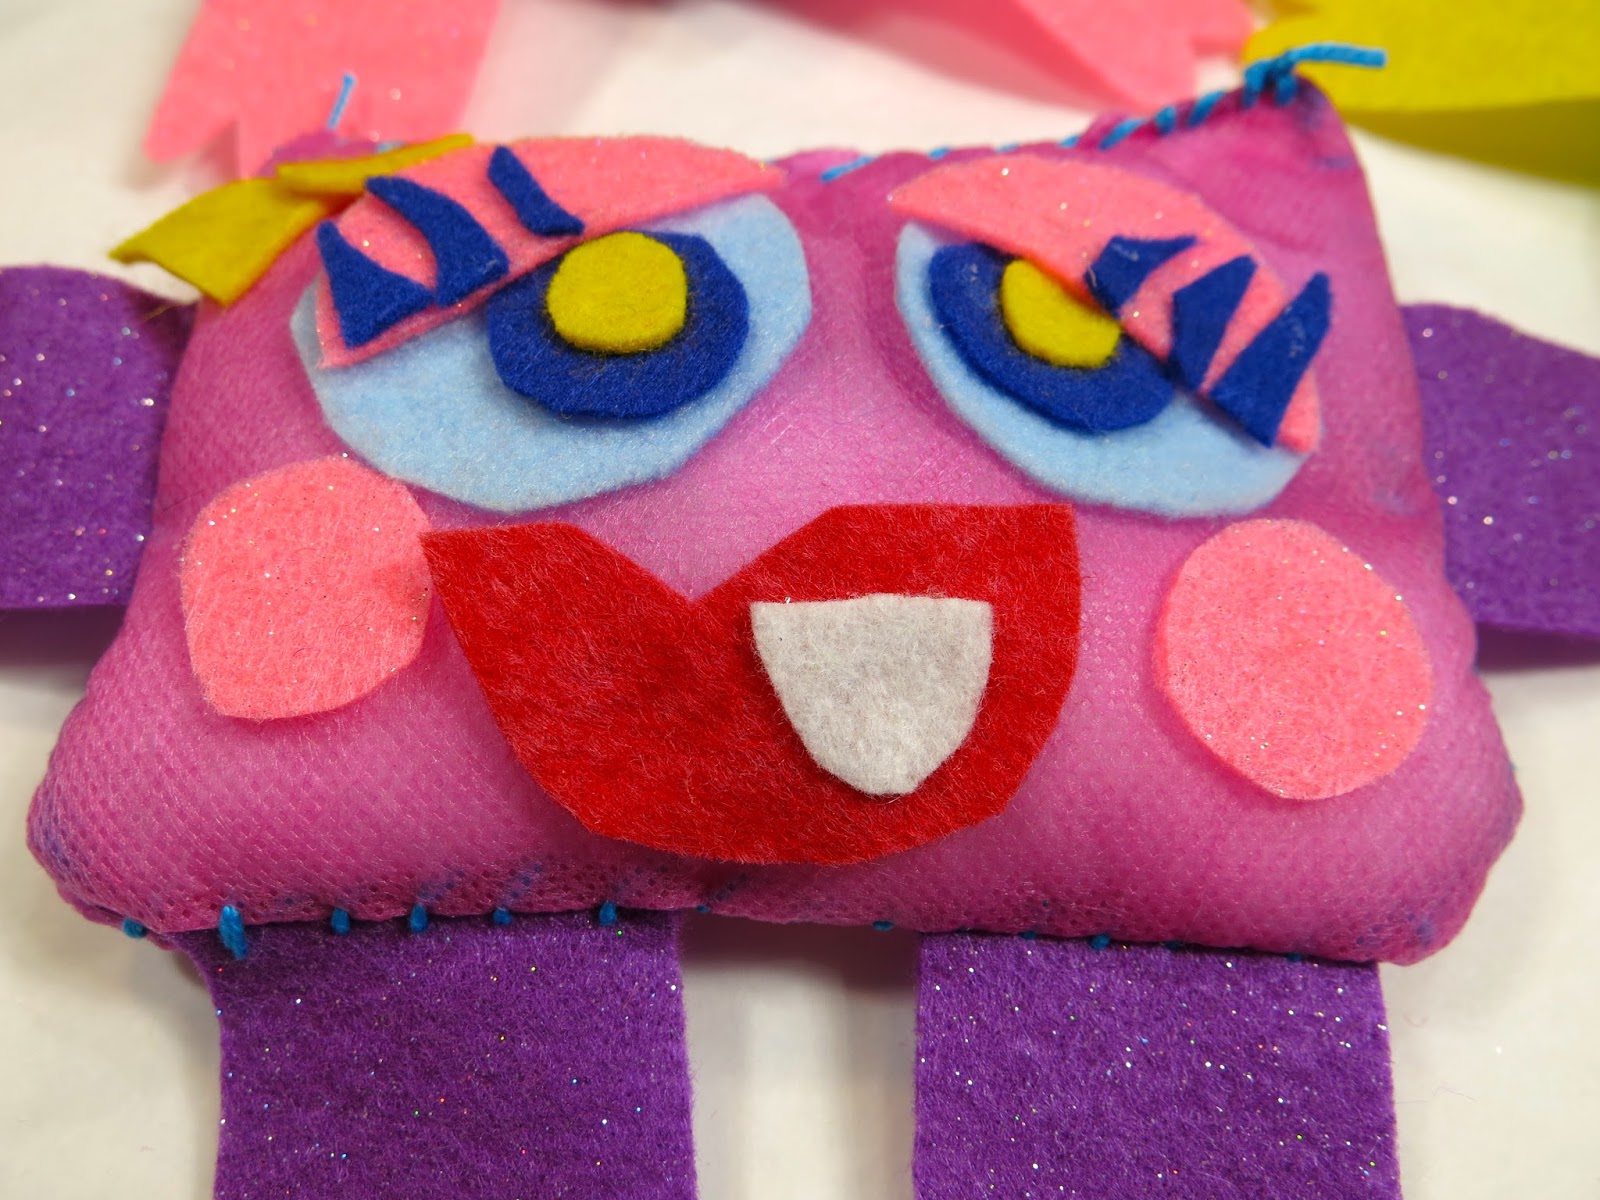
OHHHH, yeah. I forgot to tell ya, those cats were a bit of a pain to work with as their faces are not exactly symmetrical. That means trying to match and align them was a total headache. The bodice I'm wearing is actually the second one I created as the first had cock-eyed cats...which is totally going to be the name of my first band: CASSIE AND THE COCK-EYED CATS!...but not a great look for a dress. 
When el hubbo and I recently traveled to Disneyland, I snapped photos in Cars Land. I flippin' love Cars Land and if only for the ambience. It has a whole Route 66/1950's vibe that I totally adore, especially at night. 
They have these fabulous neon lights that I love. Cars Land was my inspiration for the 1950's Diner Art Show we had last year!
 I mean, how cute are these signs?! Total inspo for this project
 One of my favorite shows growing up was Alice. I loved Flo and her "kiss my grits!" attitude. 
The food at the diner is very good and they have a great vegetarian Shepard's Pie option that we love. Must better than your usual lukewarm pizza park food. 
Because of how graphic this dress is, it gets a lotta comments when I wear it. I scooped up a lot of big and bold print from IKEA on my last trip. I'm looking forward to time in my sewing room to create more of these wacky and wild dresses.
And just because it's catty doesn't mean it's limited to Halloween, does it? I mean, shoot, I'm catty all year 'round!
 I really love it with these ska-wannabe kicks I recently picked up. 
It's super fun to wear. I just need to get better at that whole twirling thing...
Obviously. Pretty sure the neighbors know I'm crazy! 
 photo signature_zpsd10b3273.png
Read more »

Monday, August 22, 2016

In the Art Room: Fiber Arts Studio Course

Y'all, I've been waiting all summer to share some big news with you: I worked with the wonderful folks at AOE this summer to put together a fibers course just for you! Everything I've learned from teaching art and exploring my love of fiber arts over the past 20 years is packed into this class. AND I'm able to offer you a special discount cuz we're buds and all. More on that in a moment (just scroll downward if you can't wait). Let's talk about what I'll be talking about!
 I'll be covering the following of my faves:

* 2-Dimensional Weaving With fresh fun spins on weaving lessons. I LOVE weaving as it has so many connections: math (measure much?), science (let's dye some fibers to weave with!), social studies (y'all, every culture weaves) and so much more. I secretly think I became an art teacher just to teach weaving.

* 3-Dimensional Weaving Don't even get me started. I know I have shared MANY of my favorite weaving projects here over the years, but I saved some fresh and new techniques just for this course!

* FELTING! Eeep! Y'all know that's my JAM.
 We'll be exploring both wet felting and needle felting techniques. 
 * Sewing and Embroidery Which I learned as a kid and absolutely loved. I so enjoy sharing that passion with my students...and art teacherin' types. 
* Tips, Tricks, Organization and Management Never taught fibers and have a fear of the unknown? Lemme hold your hand and offer you my best tips for streamlining your fiber arts curriculum. 
And now for the best part! I'm able to offer you the course for a 10% discount! Just use the code: SAVE10CASSIEART17. That's almost a $40 discount (you can thank Google for figuring that out...cuz you won't see me leading a math course anytime soon). You can sign up for the class here! AND if you do, please drop me a line in the comments below. I'd love to stay in touch and hear all about your fiber artin' adventures!
 photo signature_zpsd10b3273.png
Read more »