Wednesday, January 21, 2015

In the Art Room: A Woven Clutch

Welcome to the season finale of the Weaving Series, y'all! I do hope that you've enjoyed this little trip down weaving lane as much as I have. I know I was always super stressed about teaching kids this craft when I didn't feel so confident myself. I'm hoping that these posts, videos and avalanche of photos have been useful for you. Here's a recap of all the posts from this series:

The Weaving Series: Paper Loom Weaving (perfect for first grade)
The Weaving Series: Straw Weaving (second grade and up)
The Weaving Series: Circle Loom Weaving (second grade and up)
The Weaving Series: CD Loom Weaving (second grade and up)

The Weaving Series: Ojo de Dios (second grade and up)
 
The Weaving Series: Tree Weaving (third grade and up)

So, I'd love to hear from you! Have you given any of these projects a go? Did you find the videos useful or are step-by-step photos your preference? If I do another series, what would you be interested in? Thank you so much for the feedback, guys!
Today I'm sharing with you a woven clutch project that is just perfect for those kids in fourth grade and up. It brings together all of those skills learned from previous weaving experiences however it's simple enough for those that have never woven before to do. 

A while back, I shared a series of posts that detail how to weave a basic pouch. You'll definitely want to start here if you've never created a woven pouch before. In this post, I'm going to show you how to get fancy with your pouch (btw, I have a habit of calling these creations a "pouch" for fear that I'll drop the "purse" bomb in front of a class of boys. And you know what that would mean: Game.Over.) So, follow these links to begin your pouch then c'mon back for some fancy stitchin':

Pouch Weaving, One: Getting Started
Pouch Weaving, Two: Weaving the Flap
Pouch Weaving, Three: Removing the Weaving
Pouch Weaving, Four: Weaving the Cord

So in today's post, Ima gonna show you how to do a little tapestry weaving along with creating a buttonhole and a checkerboard pattern.
Just to be a brag-a-saurus for a pinch, can I just tell you how much I love the back of this clutch? It took me a while (weaving with fine yarn was prolly not the smartest move) but I love the way it looks...and I'm already dreaming up my next woven clutch! Lemme show you how I created this triangular tapestry.
For this, you'll be using a dovetail tapestry stitch. For me, this entailed weaving with four needles at once (confusing? kinda. But for those middle and high school kids, def doable): two needles of brown yarn for the sides and two needles of pink for the triangles on either side of the clutch.
I found this super groovy 1970's craft book which had these super groove diagrams of all the stitches. This is a close up of what that dovetail woven stitch looks like. 
I wove this guy a couple years ago with some funky yarn. While I think the end result was cool, weaving with that stuff is a headache. For your first go, I'd definitely use regular yarn.
You can see a different take on that dovetail weave here. 
Now, let's talk buttonhole. That was simple. I really like simple. That checkerboard pattern? Gave me 5 new gray hairs and a migraine. Mostly cuz I wasn't doing it right for the longest time. In this clip, I'll show you how it's done (bear with me, it's confusing):

Here's a peak at what the buttonhole weave looks like. You're just creating an opening. Cake.
And here's that confounded checkerboard weave. Oui. It's not hard it's just confusing for the small minded like myself. 


The cord is by far the most fun and simplest thing to create. My kids love creating these! We turn them into bracelets, belts and, of course, the strap for our clutch. I've created these cords with kids as young as second grade. 
To attach the cords, I usually hand sew them to the side of the pouch. On my larger clutch, I first stitched a figure-eight around the base of the cord before hand sewing it to the clutch. I'm so happy with these little guys! And I know you and your students would be as well.

DISCLAIMER, SHAMELESS SELF-PROMO: Y'all. If you've not voted for your fave art ed blog, would you mind taking a moment to do so? There's some fantastic ones and my crazy blog is in the mix (in the "Wild Card" division). If you'd be so kind to cast your vote (you can vote for as many blogs as you like), that'd be just swell. Here's the link. 
And there you have it! The season finale of The Weaving Series! I do hope you enjoyed this woven adventure. 
 photo signature_zpsd10b3273.png

Monday, January 19, 2015

In the Art Room: Tree Weaving

Hello there, weavers! I present to y'all today one of my fave weaving projects: Tree Weaving! If this looks familiar to you, that's cuz I shared this process with you a coupla years back and it's one of the most viewed posts on this here blog (which means, like 10 people read that post, yay!). I hope means a good amount of y'all have given it a go! 
My third graders finished these lovelies off in the early fall with summer still on their mind. However, many of them opted to weave with fall colors for the leaves which turned out super cute as well. I originally stumbled upon this idea when trying to dream up a different weaving experience for this age group as I was kinda feelin like our past project of weaving on peg looms had grown kinda stale (read: I was super tired of it. I have a really hard time repeating projects. Are y'all like that? It would make my life so much easier if I did!). So, playing around one day, I created this:
Which then I got me so excited I created another one! 
So just what does one need to create a tree weaving? Lemme see, rustle up the following:

* Chinet Plates. Don't skimp, y'all. They are pricey but they are the best. The thickness of the plates is what makes them a stable weaving surface. 

* Paint. I don't think it matters what kind. The Chinet plate is so thick, you might be able to even use watercolor on it. Hmmm...

* Warping Yarn. I had a variety of browns, tans and grays on hand for the tree trunk.

* Weaving Yarn. Whatever colors your heart desires! Let's get started.

For the complete lesson of how we painted these plates, please follow this link. It's way more in-depth about that portion of this here lesson. Today, I'm just sharing clips of how to do the actual warping and weaving. 
In this clip, I'll walk you through cutting the correct amount of notches in your plate and warping your loom. If you don't like hearing the sound of my voice, go here for the visual step by steppies. 
I'll show you a coupla different methods of weaving. Start at the top or the bottom, it's up to you. Definitely give it a go first before unleashing the kids on those plates. 
My early finishers worked on their artists statements which they glued to the back of their plates. They had a choice, they could either write about the product, the process or something they learned. In a paragraph form, of course (cuz, you know, if you don't remind them of that, you'll get the word "cool" or "grate" or "ausome" on the back of the plate. Not that my students would ever do that, cough, ahem).
What I'm finding in these self-reflection/artist statement writings is that the kids often talk about how they could do better. I like that. Not that I would ever say that to a kid but I like that they are motivated to try harder. 
Need more weaving goodness? Here you go, kids!

The Weaving Series: Paper Loom Weaving (perfect for first grade)
The Weaving Series: Straw Weaving (second grade and up)
The Weaving Series: Circle Loom Weaving (second grade and up)

The Weaving Series: CD Loom Weaving (second grade and up)

The Weaving Series: Ojo de Dios (second grade and up) 

 photo signature_zpsd10b3273.png

Sunday, January 18, 2015

What the Art Teacher Wore #130 and Artsy Book Clubbin'

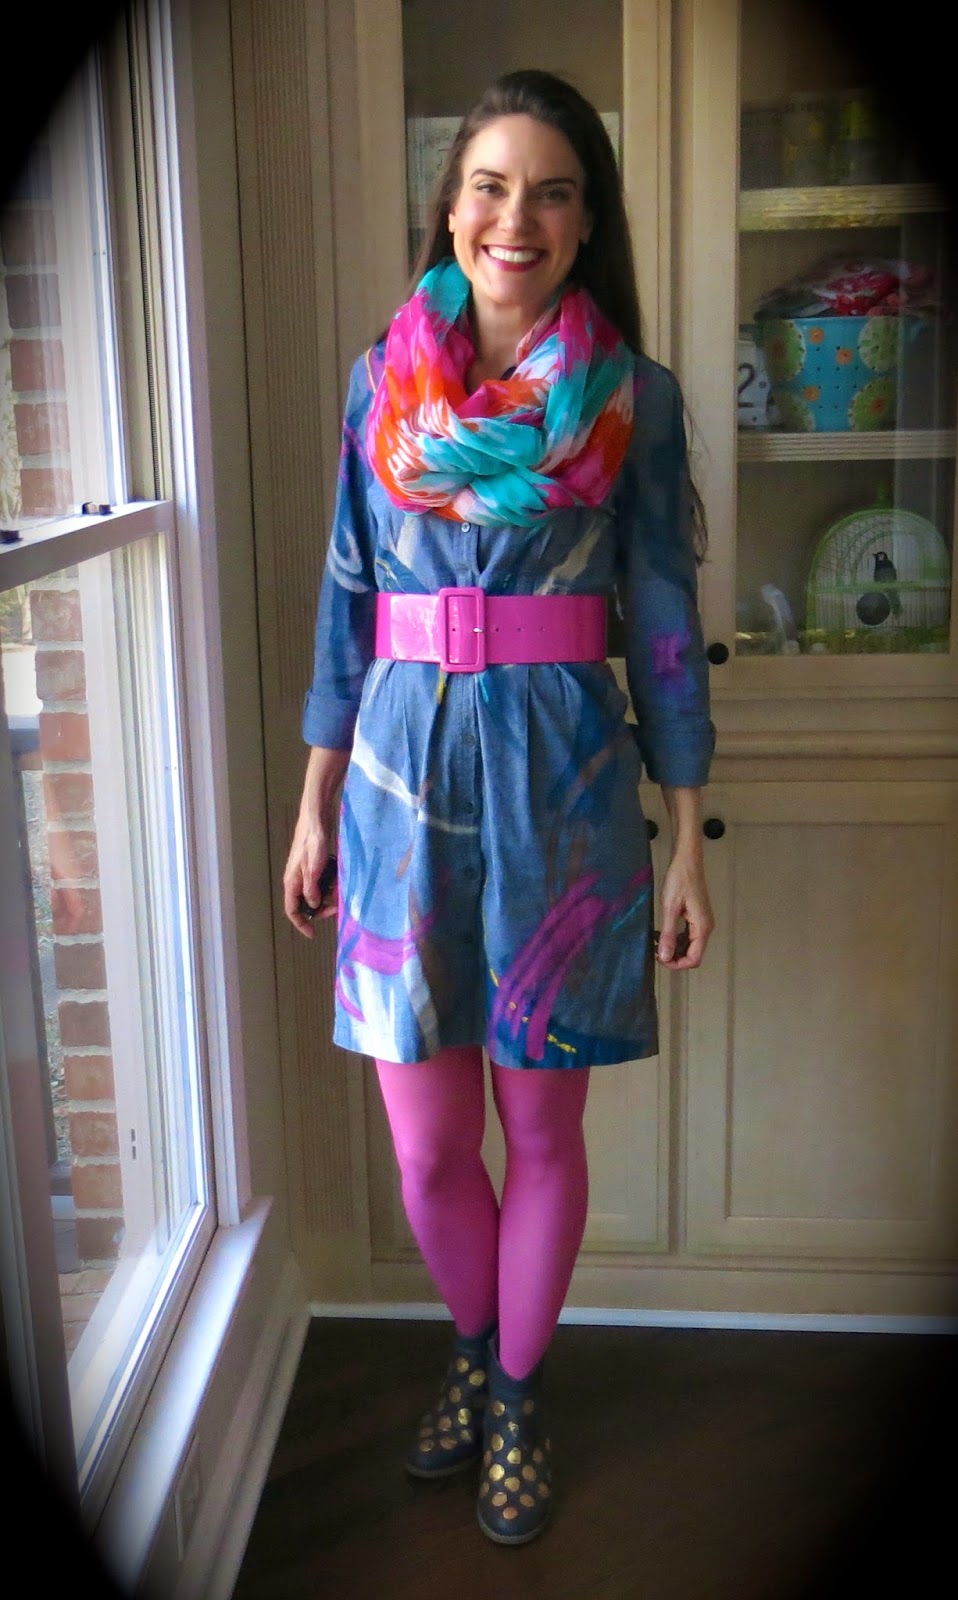
Monday, Monday: Any Mamas and Papas fans out there? I went through a seriously intense hippie phase in high school (in-between my alternative and retro phases) and they were among my fave bands. In fact, I've been called Mama Cass a good amount of times in my life (along with Casserole and Caster Oil {huh?}) which is cool because I always loved the lady. But wait, how did I get here again? Oh, yeah, Monday, Monday. Wow. scarf: Charleston; painted dress: made by me, DIY here; pink tights: Target; World's Biggest Belt: Amazon; gold leafed booties: made by me, DIY here

Hey, how are ya? Feelin' good? Reading any good books? Hopefully you are tiptoeing into The Art Spirit with the Artsy Book Club and ready to chat! I know I am...
Now, last week I suggested we read up to page 51 but I only made it to 27 for a couple of reasons. This isn't a fast read. This is a slow read: take in some paragraphs, let your brain chew on it, stew it over, see how it might apply to your life and then read some more. I was really enjoying it, underlining nearly everything, destroying the columns with my notes until I got to page 20 when he wrote at letter to a class of art students. Don't get me wrong, it was all good but just not as easy to gobble up and swallow. I found myself having to reread several passages because my mind was starting to wonder. Did you all struggle with that portion too?

Prior to that, I have some super fave quotes that I just have to share. The man was like a Super Teacher. I can't help but thinking, "why have I never read this book before?!" It has so much insight on how to teach artists. Okay, some gems:

"When the artist is alive in a person, whatever kind of work that may be, he becomes an inventive, searching, daring, self-expressing creature".

I really wish I would have heard that quote in college when I was in painting school and thought that one was only an "artist" when painting. I had a serious love for batik and textiles that I pushed aside thinking that it wasn't "true" art. 

"Where those who are not artists are trying to close the book, he opens it, shows there are still more pages possible."

"The work of an art student is no light matter. Few have the courage or stamina to see it though."

I really think that all high school art students as well as their teachers need to be reading this book. Seriously, you guys. Robert Henri is amazing!

Okay, I have to know, because I could quote all day, what's been your take-away? Are you enjoying this read? I'd love to hear from y'all in the comments! 
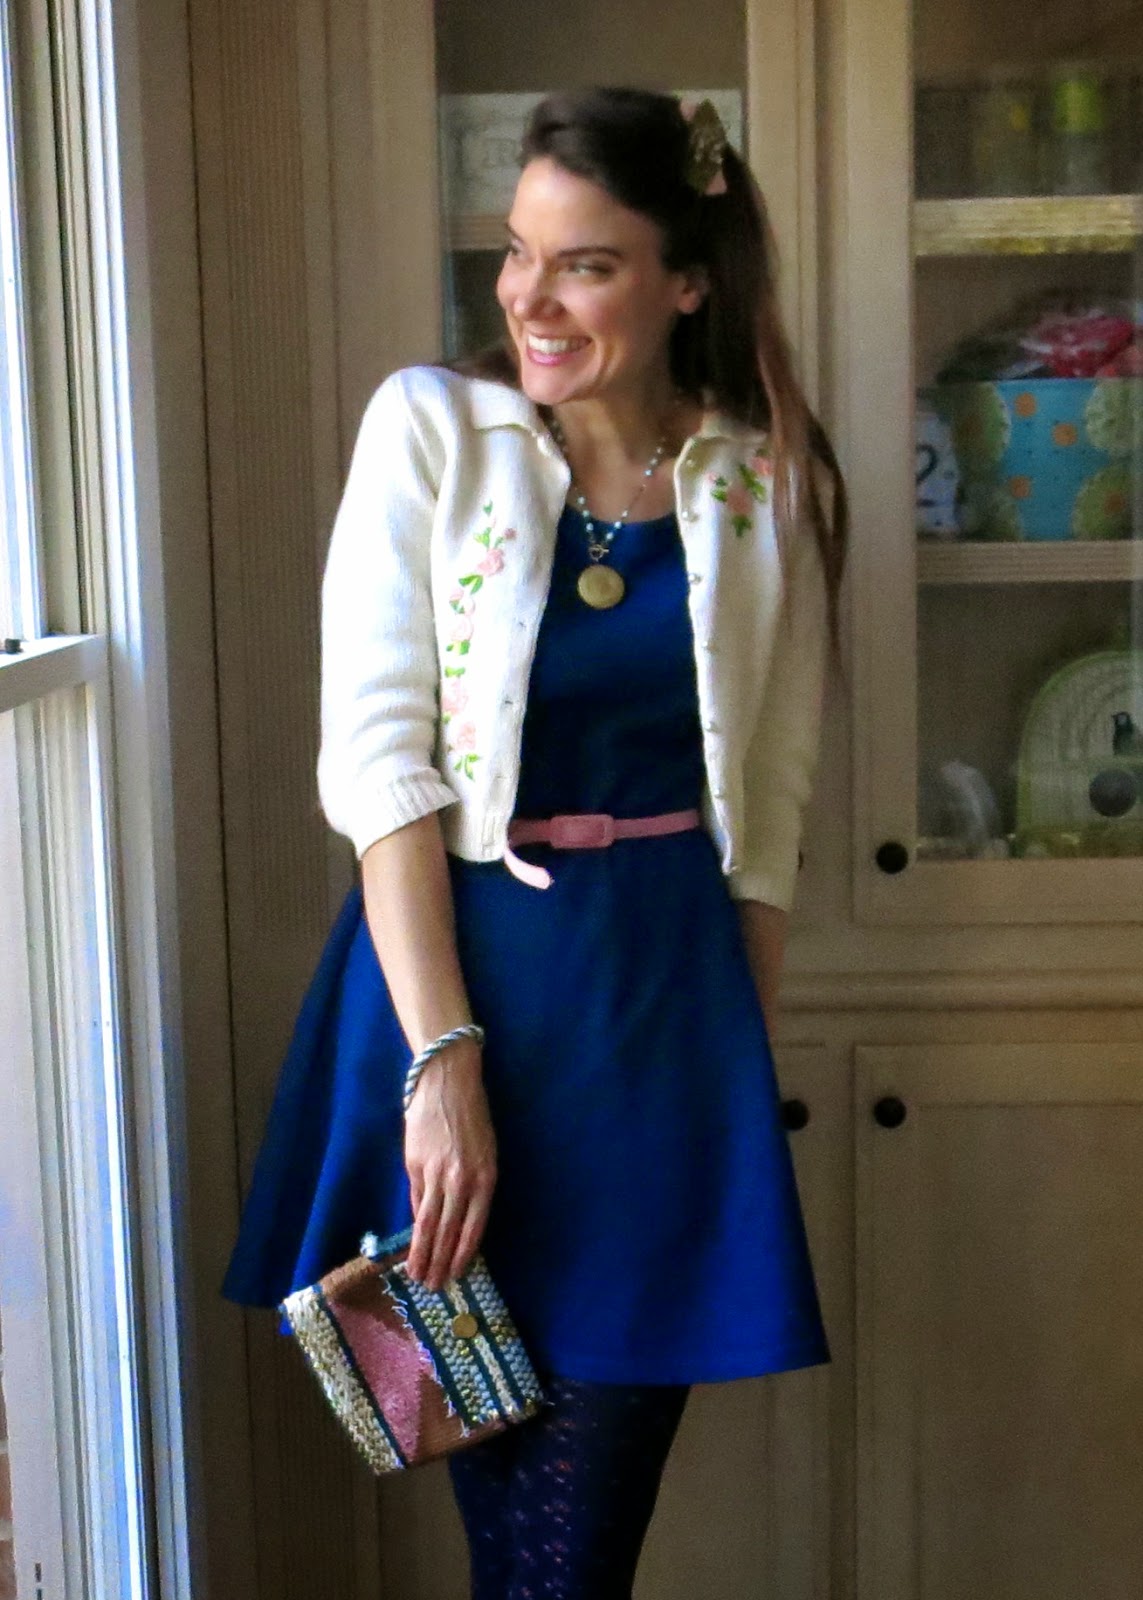
Feelin' Catty Tuesday: Let's be honest, I'm catty every day of the week. I ain't braggin'. I come by it naturally. By the way, don't ask me what's happening in the photo. And to think, it was the best of the batch. sweater: made by me, DIY here; boots and belt: Anthro; dress: vintage; crinoline: Amazon; tights: Target
Wuz Up Wednesday: Aside from this here ensemble, I have no recollection of Wednesday. Is that bad? I can't even tell you what I had for dinner. My guess is popcorn. sweater: Free People, found at Buffalo Exchange; shirt and skirt: JCrew; Tights: Urban Outfitters
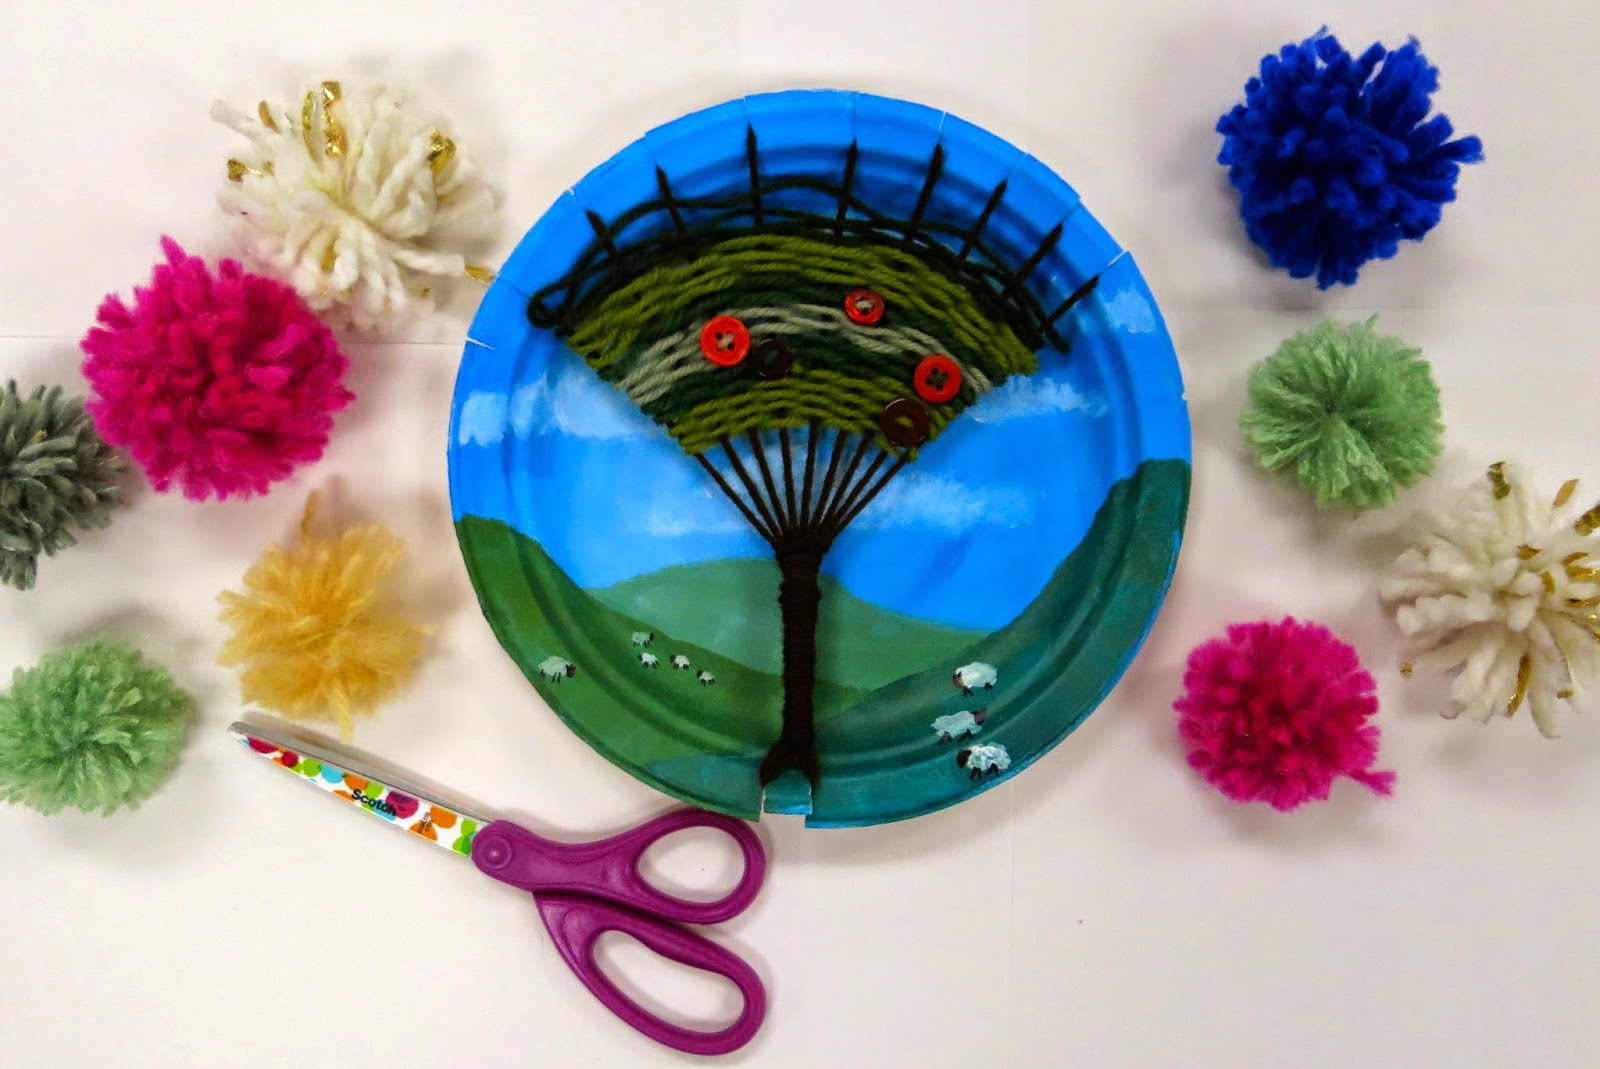
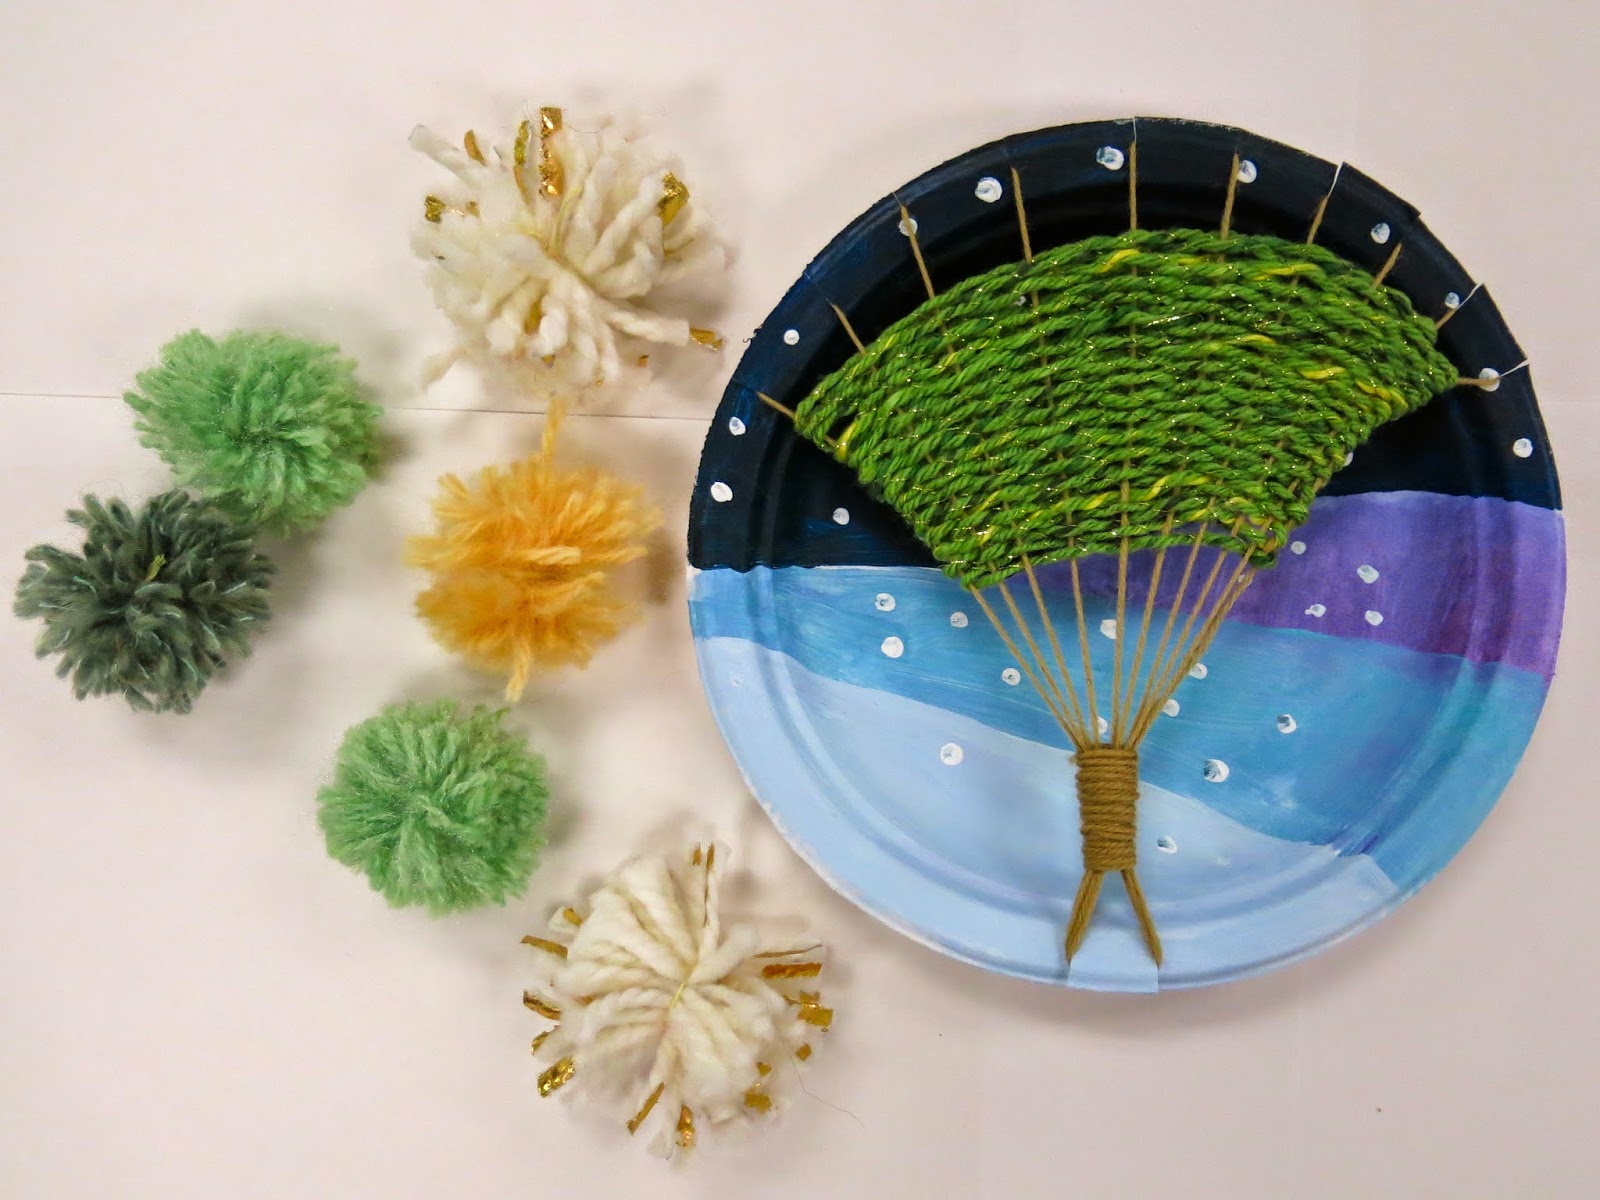
 Recording Studio Thursday: I remember this day! We had so much fun at the recording studio with the third graders (more here, in case you missed). The guys working the place were so great. One said, "Oh a dress of onomonopias!" and later one said, "Lichtenstein!" Either way, I was impressed. By the way, I don't think I ever shared a DIY post on this jacket with you! I bleach dot-dyed the top with a q-tip and added the appliqué the same way I did for the dress. Lichtenstein dress: DIY here
Fried-Day: So I have a good friend who is an incredible teacher (hi, Bethany!) and is super duper organized. She was telling me how she has her clothes picked out for the week. I do no such thing. I don't have an organized bone in my body (what would that look like?! Would I look like a blob?!). For zample, on morning I thought A. What will I wear? and then B. What am I teaching? I had 3 kindergarten classes learning shapes...so here's what I came up with. sweater: Target; skirt: Plato's Closet; necklace: Paper Source

Oh, one last thing! This goofball blog that you are currently reading is up for an award! That's right, I've been nominated for Wild Card Blog of the Year. There are some amazing art education blogs nominated so if you'd take a moment to go and cast your vote (good news: you can vote for as many as you'd like), that'd be swell. 
 photo signature_zpsd10b3273.png

Thursday, January 15, 2015

In the Art Room: A Recording Session!

Well, kids, today was beyond exciting as I took the kids to a recording session! That's right, they sang the lyrics to a song that will accompany one of my favorite art room books, Beautiful Oops!
So just how did something this cool come about? Well a wonderful guy by the name of Mark Meckel reached out to me and asked if this was something I'd be interested in. My first reaction was, YES! However, not knowing a single thing about teaching music to kids, I knew I'd need the help of our super fab music teacher. She immediately jumped on board as did the third grade team. Next thing ya know, we are recording a single!
And that's about all I can tell you for now. However, I just couldn't keep this excitement to myself, I had to share. MANY more details to come, kids!
We recorded at The Blue Room which is in the Berry Hill area of Nashville. The facility was super amazing and the guys working there were just the best. They made the kids so comfortable and were eager to answer their many questions. 
 But the icing on the cake was getting to Skype with the author of the book, Barney Saltzberg!

 Leading up to our adventure, we did put down our weavings for a bit and tried our hand at painting some Oops! I'll share more of these happies with you soon.
 When we returned from the trip, the kids worked on creating Thank You notes with an illustration of the experience on the cover. I love all the details in the one. Although I'm wondering why there's a kid on the floor! "Get Up!" says an unhappy adult. Hmm, might have to ask about that!
An empty studio after the session. I was so loving this drawing of The Blue Room.
 The kids had much to say about the experience. 


Quite a day, right? And one I'm sure they're not soon to forget. I know I won't! 
 photo signature_zpsd10b3273.png

Tuesday, January 13, 2015

In the Art Room: God's Eye (Ojo de Dios)

Hey, guys! Can I just say how happy y'all have been making me? I've heard from so many of you that are weaving in your art room and beyond (I'm actually working on a weaving outside of the art room too, I can't wait to share that with you!). Thank you so much for your emails with helpful tips, tricks and projects as well as all the weaving love! Y'all are seriously the best.

Today I thought I'd share with you a weaving project that is great for a coupla reasons which I shall share with you in glorious bullet points as I'm feeling very bullet-pointy:

*  First, it can be as easy or as difficult as you decide to make it. Weaving a basic God's Eye is simple but Ima gonna show you some that'll blow your mind. 

* Second, it's a great project for those early finishers that still have the weaving itch. I use much of the same weaving terminology when explaining it to the kids which not only reinforces vocab but also helps the process click even more.

* You can throw in some culture and contemporary art while you're at it! The Ojo de Dios was originated by the Huichol people of western Mexico. Originally, they were created when a child was born. Each year, a new layer of yarn was added to the weaving. Once the child turned 5, the weaving was complete and hung in the child's home. It's believed to be the eye of God watching over and protecting the child. Cool, right?!
My kids have thought so. This weaving was completed by a third grader just this afternoon! I shared with the kids a wonderful God's eye I'd found at the thrift store and they were interested in embellishing theirs further. This worked out perfectly during art class as I had several kids finishing off other projects. 
So a traditional Ojo de Dios looks like this. I scored this beauty for a coupla bucks at the thrift store. The kids were so inspired by it today!
However, weaving Ojo de Dios isn't limited to the Huichol people. There are many contemporary weavers creating stunning versions. I'm so inspired by these beauties by Jay Mohler that I'm thinking of creating my own! Has anyone every tried their hand at this kind of weaving? I'd love to learn more. 

So, just how does one go about creating a simple Ojo de Dios? I created a coupla clips for you! So, get your kitten mittens on some sticks (or straws as I'll show you in the clip) and let's get started!
In my room, we didn't use straws but various sticks glued together. Like popsicle sticks, chop sticks and toothpicks!

The weaving comes together very quickly. You'll be surprised how fast and fun these weavings are!
 I mean, the majority of these were completed in one art class! These were created by my third grade kids.
 And these are by my second graders! We added brass bells to the ends of our weavings with Twisteez wire. A paper clips was hot glued to the top so that they could be easily hung for display. 

Popsicle sticks are the perfect thing for first time weavers. The flat surface of the stick gives the kids plenty of room to number each stick (see video clip for complete details). And, for some reason, I found that the kids grasped the process of weaving much better on these sticks as opposed to other sticks. I've no clue why. Whatcha y'all think about that? A kid-mystery, says me.
 I just wanted to give you a sneak peak at the backside. The front and the back of the weavings look very different. I stress that to the kids over and again. This is the key to knowing whether or not you are doing it correctly. Again, if you watch the clip (they're short, I promise), you'll get what I'm saying.
I'd love to hear about how your weaving adventures are going! Have you had your kids create Ojo de Dios before? What tips and tricks do y'all have?

For more weaving goodness, feel free to check these posts out, y'all!

The Weaving Series: Paper Loom Weaving (perfect for first grade)
The Weaving Series: Straw Weaving (second grade and up)
The Weaving Series: Circle Loom Weaving (second grade and up)

The Weaving Series: CD Loom Weaving (second grade and up)

 photo signature_zpsd10b3273.png