Showing posts with label flipped art room. Show all posts

Thursday, March 24, 2016

In the Art Room: Creating Videos!

Hey there, best buddies! Like most of y'all, I enjoy trying new things: zumba class (um, turns out you have to be able to gyrate your hips in ways that my genetic makeup won't allow); Japanese delicacies (so, like, fish ovary is as tasty as is sounds [drive heaves, again]) and not starting my day with coffee and dark chocolate (that experiment only lasted 10 minutes as it turns out coffee and dark chocolate are the only reasons I get outta bed in the morning). 

Despite my many adventures in new-thingie-fails, one thing that I have been doing lately and lovin' is recording video content for my art room (and for y'all!). I believe some folks call this a "flipped classroom" but edu-buzz words aren't my thing. Now, if you subscribe to my youtube channel (do you know how funny that is to say?), then you know I have created videos for my sub and for various projects as printmaking and embroidery. A whole bunch of y'all have asked me how I'm making these videos and I've totes hesitated telling you because I am...

Like, seriously. Just ask my P.E. teachin' buddies who bust me all the time for never checking my email (but, you guyzzz, they changed the format and it's super confusingggg). Anyway, you've been asking so I thought it was high time I delivered. 
Here's a lil list of what I use. Please note...this is for recording with a camera not an iPad. I can't afford one of those, y'all:

* Cheapo camera. Most cameras have a video record function. I used to use that Canon Powershot before the hubs upgraded me to some other Canon thingie. 

* Tripod or a stack of books. Don't let not having certain tools keep you from getting started. Just do it! 

*Access to iMovie
I recently set up a place to record at home. They were pitching these maps at my school (I KNOW) so I took it off their hands and hung it as a backdrop. It's not perf but it's better than a video of the big booty T.V. it's hiding. 

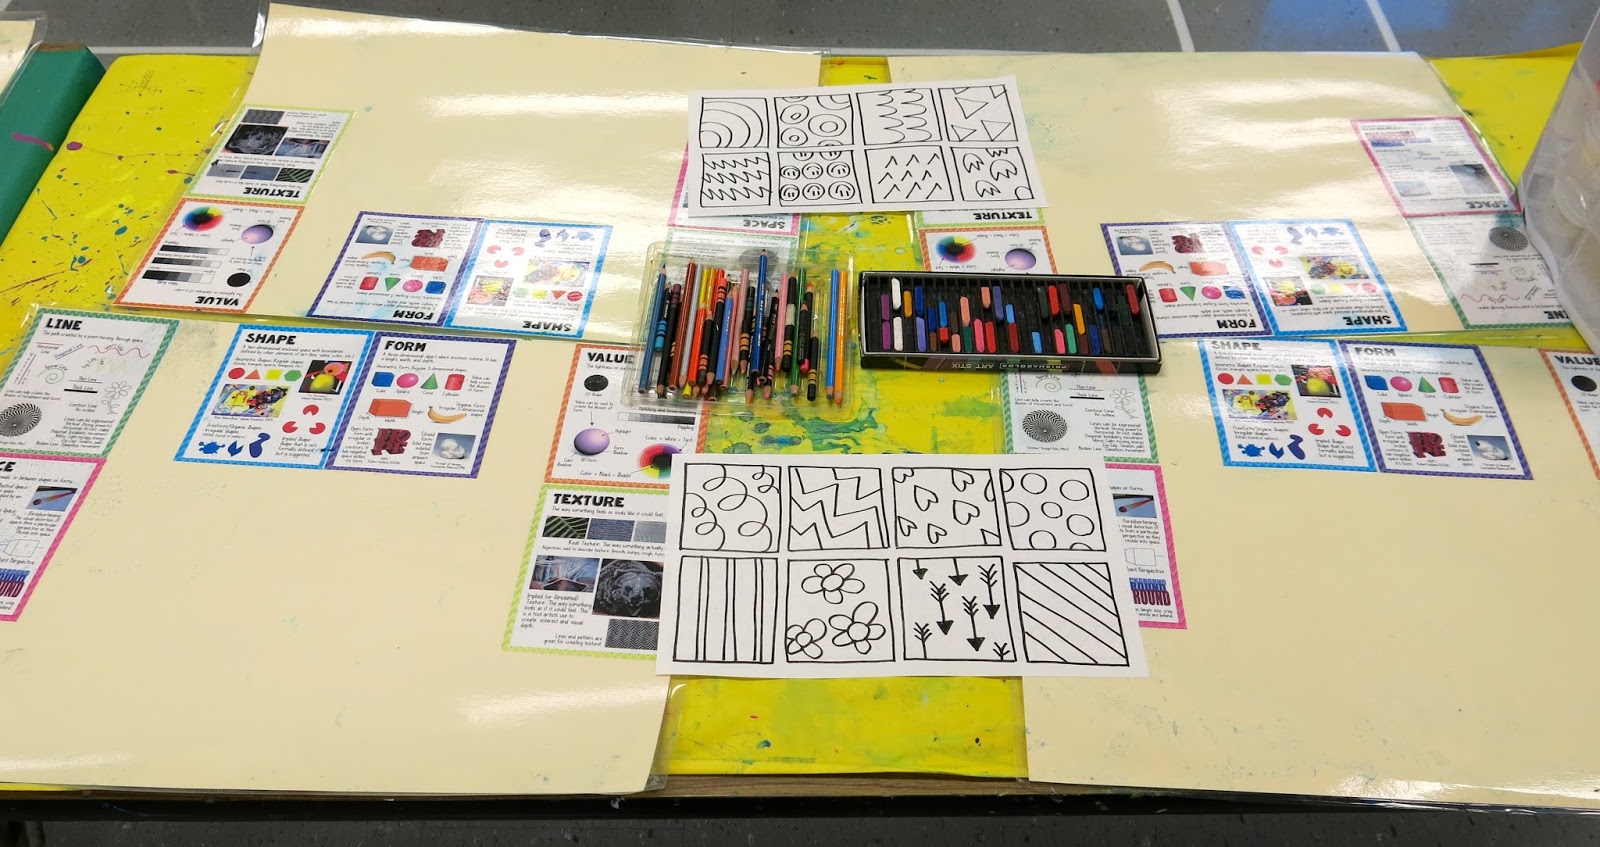
And here's my school set up. Not the best lighting but it works for what I need to share. The camera you see at the bottom of this photo is on a tripod. 
If you can't position yourself in front of some windows for good lighting, then you might wanna pick up some of those cheapo clamp lights at your local hardware joint. This, of course, would be getting a pinch fancy (if you'd call the above fancy!) as you don't need this to make your video. Like I said, don't let not having "the right stuff" stop you from giving this a go!
When I do my hands-on demos, this is how I sit. It's a great way to see what you are doing on screen the entire time. It's also great because your mouth is so close to the camera that the sound quality is good. My cameras don't have a mic plug in...but it's not necessary when you sit this close. 
If you watch the video, I think you'll find out just how easy making a video can be! I'll go over the steps quickly here but I think I do a decent job explaining in the clip. If I did miss anything, please feel free to drop me a line in the comments. Again, I am a newbie at this...so take everything I say with a salt lick, skip the grain of salt.

1. Upload your videos from your camera to your laptop. Save to your desktop.
2. Open iMovie. Import your videos.
3. Open "create" in iMovie to start making your movie. Choose a theme for your movie. I always go with "no theme".
4. Double click on your film strip (that's the individual video clips you have imported) to highlight them. Now clip, grab and drop the video into the movie strip at the bottom of the screen.
5. Continue to do this until you have all of your content.
6. To add transitions, look to the bottom left of your screen. Double click to highlight then click and drag to drop in between your clips.
7. Add titles in the same way!
8. To save, decide on where you would want it to go. I always save to my desktop and YouTube.
9. Give this part sometime, it might take up to 5 minutes before it to show up on your desktop depending on the length of the video.

(Special thanks to my former student Griffin Phillips for showing me how to make iMovie!)

And there you have it! I hope you find this helpful. Again, lemme know if you have any questions, y'all! Unless it's about checking your email. I can't help you with that one ;)

 photo signature_zpsd10b3273.png
Read more »

Monday, February 15, 2016

In the Art Room: Super Hero Selfies

So I've been teaching for almost a million years and I'm not afraid to say that I don't love everything about teaching art. There are some things that got me all feelin' like this when I'm teaching...
 And got my students doing all this cuz they just...can't...
My two least fave thangie-muhgies are teaching figure drawing and perspective. In no particular order of distaste. I'm an equal opportunity dis-liker. 

So, what did I decide to do? Put both things together into one lesson. Because two negatives make a positive, right? Turns out they do in this case as the kids loved this Super Hero Selfie lesson!
This big fat hairy project involved color theory, wax resist, scratch-art paper making, perspective drawing, figure drawing and, finally, the creation of a super hero selfie. I decided to create a video for y'all to view on your own or share with your students. Because each phase of this project might take a class period, I broke this video up into bite sized pieces. So that you can easily find the individual lesson, I've added a header to the video. This way, if you are running a flipped classroom, you can simply have your students move on to the next clip!
 Just to break it down for you:

  • Day One: The students used 12" X 18" pieces of paper, oil pastels and either warm or cool watercolor paint. I like to use 80 lbs white paper.
  • Day Two: We made our scratch art paper! For this, I've found oil pastel works best. Also, when the students go to paint, use slightly diluted black tempera paint. I love Sax Versa Temp paint. We used 12" X 12" squares for this.
  • Day Three: Wooden skewers and templates were used. I had a variety of those shapes you saw in the video for the kids to trace. Many kids struggled with the idea of having the windows go back into space. So we watched a couple of videos and practiced on dry erase boards until we got it.
  • Day Four: We drew the kids in action in P.E.! Once we returned to the art room after about 10 minutes of gesture sketching, we used mannequins to create our own super hero pose. Lines were traced over with Sharpie.
  • Day Five: We started finishing our super heroes, adding color with colored pencil and creating our compositions. This entailed cutting out the buildings and arranging them in a pleasing way with our hero. Early finishers wrote stories about their heroes!

Now with our snow days, my jury duty and holidays, we've really been on the struggle bus to finish these. Mostly because the kids have really gotten into it! They keep getting more elaborate with their heroes, adding side kicks, villains and costumes. 
I love that each phase of this project introduced them to something new.
Here's a peek after the their day. Homemade scratch paper isn't perfect as it sometimes comes off in flakes. But having made it as a kid, I wanted my students to have the same experience. 
Gesture drawing the kids in P.E. was a big hit. It really loosened up the kids and helped them have more interesting poses for their super heroes.
The wooden mannequins were also helpful. You can see this student's original drawing in pencil under her Sharpie'd lines. I love the sidekick!
Check out that pose! I can't take credit, this student draws a lot and is very talented. Not to mention, a big Star Wars fan!
Once together, the kids wrote stories that had funny and elaborate names for their heroes. 


And for once, perspective and figure drawing had me and my students all...

 What are some of your fave perspective and figure drawing lessons? Do you have some tips and tricks? I'd love to hear about 'em as I'm always in need of some help...aren't we all?
Also! Many of you have asked about my videos: how I make them, what equipment I use, etc. I'll be sharing that in a blog post this week so stay tuned! 

 photo signature_zpsd10b3273.png


Read more »

Tuesday, January 19, 2016

In The Art Room: Art Teacherin' Resolutions for the New Year, Part 2


Hey, y'all! A while back, I shared with you some of my Art Teacherin' Resolutions for the Brand Spankin' New Year (that post is jam-packed with resources from all over the place so if you've not checked it out, do it. I spent, like, foreverness on it. That's right, I be guilt-trippin' you into reading that post). So far, I'm loving almost all of the new thingies I've introduced to the kids (one is getting tweaked, deets to come!) and I thought I'd do a Part 2 because, let's face it, there's a whole lotta things that need to be resolved in my art room, y'all. 

But first, this just in!
This silliness of a blog has been nominated for AOE's Blog o' the Year Contest! I'd love y'all to throw a vote my way but, more importantly, go and check out all of the incredible blogs nominated! There are some new ones for me and I cannot wait to spend my snow day checking them out (okay, we've not gotten the "snow-yay phone call YET...I'm using the Power of Positive Thinkerin'). 
Art Room Jobs: Okay, so speaking of AOE, I have a girl-crush on one of their writers, Alecia Eggers. She is THE MOST organized art teacher on the planet, y'all! I want her to come, organize my art room, my life and, finally become my life coach. I learn so much from her posts and videos on AOE. However, because I am such a hot mess, I always have to put her tips and tricks into a Cassie-Fur-Realz context. I get all excited when I see her ideas but then I take a deep breath and say, "Cassie, fur realz? Is this something you can maintain?" Well, with my spin on Alecia's clean-up jobs, I think I can! I have the jobs you see above posted in two places in my art room. One under the large telly in the top photo (it's small but big enough for the kids to view when they sit on the floor) and the other is Large Marge on my white board (shown above). 
Because my tables are covered in paper and my chairs get moved around so much, I decided to color code the table legs! I used stickers but they were pretty lame at sticking so I ultimately put clear tape over them. Which means I coulda just used cut pieces of construction paper. Le sigh. Now, my tables seat four children...but most seats are not taken. So the kids know they must do their job and the job of an empty seat beside them. Let's talk jobs!
TABLE TIDIER: So, like, make the table tidy. Like how you found it. Only better. Hence make it tidy-errrr. Which means supplies put back...
Scissors and pencils in their lil orange caddy, table top trash can emptied (which is just a Folder's coffee can with a laminated Warhol print wrapped around it) and drawers of art supplies organized and closed. 
Speaking of, I've not really thought through my drawers yet (uh, that didn't sound quite right). I know glue in various forms will go in the top drawer (glue sticks, glue sponges and glue cups) but the lower drawers are pretty much empty. I'm thinking eventually our everyday-ish supplies will go there like oil pastels, colored pencils, you get the idea. I'd love to print up some pretty labels too...but that's on the back burner with everything else. 
MESSY MAT MOPPER: Did y'all notice my laminated and ART-ucational messy mats?! You don't even know how happy these guys make me! But more on that in a minute. The job of the mopper is to use a pre-dampened sponge to wipe down the mats on their table. This job is a favorite currently. Because kids are weird. 
MATERIALS MASTER: These dudes and dudettes are in charge of, you guester, materials. They have to get out the special supplies for their class and put them back at the end of class. In my Barbie Art Teacherin' Dream World, I'd have my counters labeled and all that jazz. But, look, I'm no Alecia Eggers, okay?!

SOUND SILENCER: Ya know. They get to shush the above-a-whisperin' kids. This job is also a fave...unless the SS is a known chatter-box. Which leads to self-shushing. Always fun to observe. 
 Art-U-cational Messy Mats!: All my classroom teacher friends have these awesome things taped to student desks. The alphabet. A number chart. Other stuff. For years I've wanted to do something similar but I couldn't figure out why/how/spaghetti (ADHD. The struggle is I LOVE PIZZA real). Then I started buying things off TPT like it was going outta style and one of them was this fab-o Elements of Art purchase by Mrs. Nguyen  (also a Blogger of the Year contender, go girl!!). 
For the reverse side of the mat, I found a free color wheel and color mixing chart on the interwebs. 
The kids have LOVED seeing the recipes on their mats! One first grader even thanked me and some kindergarteners were excited to see that what they were painting was correct according to the mat. It was a chore to make these (I had my fab friend Carol give a girl a hand, thank you, Carol!) and it did take us about 2 hours to cut, glue and laminate 25. But I think they will last a good long time. 
 Relocated "I Can" Wall: Previously this was located by my telly but it often was blocked by an easel. And then I would forget to update it and refer to it. Like, seriously, that's bad, y'all! (please ignore the HAWT MESS EXPRESS under my demo table. ALECIA! CLEAN UP IN AISLE 13!)
Of course the I CAN's include an I CAN DANCE TO OLD 70'S RECORDS. Which wouldn't be complete without a disco ball, y'all. 
 The "I Can's" are divided by grade level and by "Today, I Can...", "So That I Can..." and "I Know I've GOT IT When...". I also used these awesome magnetic strips I found at the Parent/Teacher Store to divide up my board. 
 Filmed Sub Plans!: If y'all were here 10 minutes ago, you know I filmed my latest sub plan (go here, kids). I remember reading about how Ron Clark does this and thinking, that is GENIUS. Well now that I'm out for several days for jury duty, I thought I'd give it a shot. I went to school this morning to prep and I met my sub. I could tell she was a little nervous about the whole thing (she had an understandable technology aversion of which I can relate) but at the end of the day, when I dropped by, I heard she LOVED it! And look!
I just grabbed a couple of fourth grade and second grade pieces, put them together and let out a squeal! They did fab-o! I'll share the finished mural soon. This has made jury duty and missing teaching the kids a little less painful.

Alrightie! That's all the Art Teacherin' Resolutions for 2016! Here's to stickin' to 'em. Cheers! 
 photo signature_zpsd10b3273.png
Read more »