Sunday, October 26, 2014

What the Art Teacher Wore #120 and A Weekend of Artfulness

More Fall Colors Monday: Every morning when trying to figure out what to wear (are any of you the "laying out my outfits the night before" types? I just can't seem to get my life that together!), I go between wearing fall-ish ensembles and my Halloween duds. What'd you wear this week? sweater: thrifted; t-shirt and tights: Target; skirt: gift from a friend, balls added by me (of course); belt: Anthro; shoes: Dolls by Nina, ancient

I would personally like to make a plea to the universe and the passage of time: Slow the Funk Down. Suriously. How is it that the final days of October are upon us, y'all? It feels like school just began! I do believe a big fat part of the prob is that stores started stocking Christmas decor promptly after removing Back-to-School stuffs. Regardless, I'm starting to get that edgy "so much to do/so little time" feeling and me no likey. 

Edginess aside, I did have some seriously big fun this weekend at our annual state art conference. I left school promptly after my last class of the day, drove the three hours to Memphis and headed to the University of Memphis for a wee reception...
I know, right? I can't quite wrap my head around it either. Mostly cuz I have some serious art teacherin' room for improvement. There are always like 20 things I need to do better. But it was very nice to be recognized. 
And be in such great company. I mean, these ladies rock! Just listening to their bios as they were recognized made me wanna hop off the stage, hide in a corner and throw my big puffy red crinoline over my head. But I saved that for later and offered this goofy sh##-eating grin to the camera instead. More on the rest of the conference in a minute. 
 Floral Embroidery Tuesday: On my lil fall break vacay, I scored this dress on Olvera Street. There were so many vendors selling these cute dresses but the key was finding the one with the best price, size and color. I fell in love with the bright embroidery on the black background of this dress immediately. dress: Olvera Street; belt: gift; fishnets and tights: dunno, Target?; shoes: thrifted Crocs
I took some amazing classes at the conference (I tried to squeeze in photos but decided they deserved an entire blog post so stay tuned, kiddies) and I also taught one! Mine was what they called a "Super Session" which is fancy talk for a One Hour Session So Work Super Fast. Because my time was limited, I decided to introduce needle felting with the option of the participants either creating a needle felted palette or a miniature work of art. After a short instructional chat (which included me on-purpose flipping everyone  off. There's photographic evidence of this...but I had second thoughts on sharing it here. I'm getting conservative in my old age), my "students" set to work. 
Since I couldn't have all y'all there, would you be interested in a lil blog post on this? Lemme know in the comments if you are. I have created a coupla videos on needle felting (along with approximately One Million blog posts) so you can visit here for more of that. 
Here's an example of someone creating their own masterpiece. Don't you love it? This was a simple class to teach as the supplies were limited to wool roving, a needle felting tool, a foam cushion and inexpensive felt sheets for creating our design upon. 
 I know, right? Awesomeness. 
Tilt-a-Whirl Skirt Wednesday: As y'all mightah guessed, I do love me some vintage fashion. And no 1950's circle skirt is complete without a crinoline (we call 'em "can-can's" down here in the South) underneath. I scored my latest can-can from Amazon in the Halloween department. I love it, it's perfectly can-canny. The prob? When I swish past tables in the art room, I often times knock the kids' artwork to the floor. They're all, "Mrs. Stephens!" Oops. Sorry! sweater and skirt: vintage, found at an antique mall
Not even gonna lie, my fave part of these conferences? Seeing my art teacherin' buds. My amazing art teacher friend Debbie Flynt and I have known each other since the very first time I attended Tennessee Arts Academy (which, by the way, is open to all art, music and drama teachers of kindergarten through 12th grade and Should. Not. Be. Missed.) some 10 plus years ago and have been buds since. Jim Dodson is not only an art teacher force to be reckoned with but also the brains behind the art sessions at Tennessee Arts Academy. We have entirely too many fun memories and inside jokes and I wouldn't have it any other way.
 Bustin' a Move Thursday: Wow, I knew this was gonna be a crazy day. I had to haul myself to Memphis after a full day of teaching and get there by 6pm for the reception. I made it by 6:12pm without breaking (too much) of a sweat. jacket: Oh, a DIY to come, I promise!; dress: Target; tights: gift; purse: Amazon

My craziness must have been evident to my first grade kids as they drew my silly face in this portrait. Personally, I believe it's one of my faves. Until we chat again, I hope y'all have a super awesome week ahead!
 photo signature_zpsd10b3273.png

Thursday, October 23, 2014

In the Art Room: A Light Up Mural

Disclaimerness (please excuse me, but I have ness-disease. Meaning I must add a ness/ish/ify at the end of nearly every otherwise boring word or else I don't feel complete. Ish.): This here Light Up Mural was created last year and I never got around to sharing it with y'all. Since winter will be upon us before you know it, I thought now would be a super awesome glittery good time to post it. So there. Disclaimerism over. 

I know many of y'all create murals with your students. My students have created grid murals, collaged murals and one giant We-Are-the-World inspired self-portrait mural. They can be pretty labor-intensive for both the kids and the poor art teacher who has to crawl around on her knees hot gluin' the thing together but in the end, they are totes worth it. The visual impact is stunning, says me. And this here light up mural was one of my faves. But before we get to that, lemme show you some murals of mural-tastic past along with some linky-loos for your link-clicking pleasure. 
This Monet-inspired mural was created by my kindergarten through second grade students. We created it at the end of the school year, using scraps and painted papers. This was a great mural to hang up at the end of the school year as it kept the school cheery throughout the summer and into the start of a new school year. All the details can be found here
If you are an art teacher and you've been on pinterest for 5 minutes that you've seen that rainbow self-portrait mural. Shoot, you prolly even had your kids create one. I know I did. It was the start of my mural-makin' disease. This mural was created by my students the following year. We had a "travel the world" theme and this was how we kicked it off. Now, I ain't gonna lie, it was a beast to put together. That's why I happily passed that task off to some green college kids who came in to my room to "observe" (which for me translates to "cheap labor"). Full story here, friends. 
 If this flowery dot mural looks familiar, that's cuz we just made it this school year! It presently hangs outside my art room and I absolutely love it. It brings a smile my face every morning. And it truly was a snap to create. Read more here, please
This mural was actually the inspiration for the light up mural. In fact, you can find even more details on how the light up mural was created by going here as I prolly did a better job of 'splainin things. 
Grid murals are a good time if you like putting together puzzles (which I don't) where the pieces don't always match (fun-ness!). However, the visual impact is pretty rad. This one hung in our school cafeteria for a while until it was replaced by this bad boy last year...
My fave grid mural to date. And this one went together much easier than Starry Night. Not to mention that each class created it's own soup can so the kids could easily find "their piece" of the soup, so to speak. Deets here. 
This mural still hangs outside my art room door and I love it. This mural project not only resulted in a giant collaborative work of art but also two separate art projects. It was like the gift that kept on giving. Lookie here and I'll show ya.
So, getting back to the mural at hand (thank you for indulging me in my stroll down Mural Memory Lane), lemme give you the rundown on who-did-whuh: kindergarten painted the sky papers after looking at a lil van Gogh; second grade created the printed trees during a short chat about texture and line; first grade made the lil collaged houses with some left over papers from a previous project and the third and fourth grade kids created the ice skaters. 
Which they did by working on sketching their roller skating buddies in P.E. class. We walked down to P.E. with our clip boards and charcoal sticks and spent about 15 minutes drawing away. Mind you, this was after a chat about gesture drawing. 
When we returned to art the following class, we chose our fave sketch, used a wooden mannequin to copy the pose seen in the sketch and created a more detailed drawing from that. Clothing was NOT optional (ahem) so that was added as well. Drawings were then traced in Sharpie and colored with colored pencils.
And then carefully cut out. Yes, we did have to tape some limps back on. I happens. We call it Art Room ER. 
Dude, the cuteness. It's burning my eyes.

With the help of some super mom volunteers, the pieces of the mural puzzle were put together. Then the sky portion was folded down. I then started cutting slits into the paper and poking some LED lights through the openings.
Like this, see?
I know, it looks like a big ole stitched scar. That's why it's on the back, y'all.
But from the front, ooh-la-la! Sparkly. The light switches are kept in a pocket located to the side of the mural. Just outta kid-reach.
Most of the time, the mural is left unlit. However, I'm excited with out it will look during December. I think it will definitely bring some holiday cheer.
And there you have it! What murals have y'all done? Have you crazy kids attempted a ceiling tile grid mural type deal? If so, would you please come to my school and teach me and the kids how to create one? Pretty please and thank you!

Tuesday, October 21, 2014

DIY: A Lichtenstein Dress That'll Knock You Out

 'Kay, can we all just say it right now: the best part of this ensemble is the hair. Gee, thanks, guys! This is actually what my hair looks like if I don't flat iron it. What?

Since the start of my artworks-turned-frocks journey (frock-works? I need a name, y'all. Whatcha got?), I've had Lichtenstein on my mind. Which sounds totally weird I know but it's the truth, Ruth. His work is so colorfully comic bookish that I just knew it'd be a hit with the kids and I (mistakenly) thought it'd be a snap to complete. Little did I know that the creation of this number would be a descent into applique'in madness. But more on that in a sec. First, more goofy wig/dress pics!
When the applique'in times got tough, I turned to a lil internet shopping to relieve the tension. I just knew this outfit wouldn't be complete without a red belt (Pin Up Girl Clothing, y'all. Check it.) and a crinoline to match (found on the cheap via Amazon). Of course, as the world knows, Target secretly pipes in a magical You-Didn't-Just-Come-in-Here-for-Laundry-Detergent-YOU-ALSO-NEED-A-FOAM-WIG! potion through their air vents thus making it inevitable that I purchase the wig. Although you should try 'splainin that to a hubs. For some reason, they seem to be immune to the magical Target potion. Humph.

Lest you think I only applique'd the front of my frock, oh no, I placed a big ole "POP!" and "BAM!" on the back of my arse. You know, just in case I wake up one morning with a Kardashian can. 

For my "blank canvas", so to speak, I used this cute lil 1980's dotted number that I (re)discovered as I was packing away my summer duds and replacing with my fall-ish ones. I've worn this dress several times and every time I did, I always thought, "this would be so much cuter with a shorter hem" and then I would think "SQUIRREL!" and promptly not alter the dress. This time, howeverness, my first order of biznatch was to hack -n- hem a good 8" off this thang.
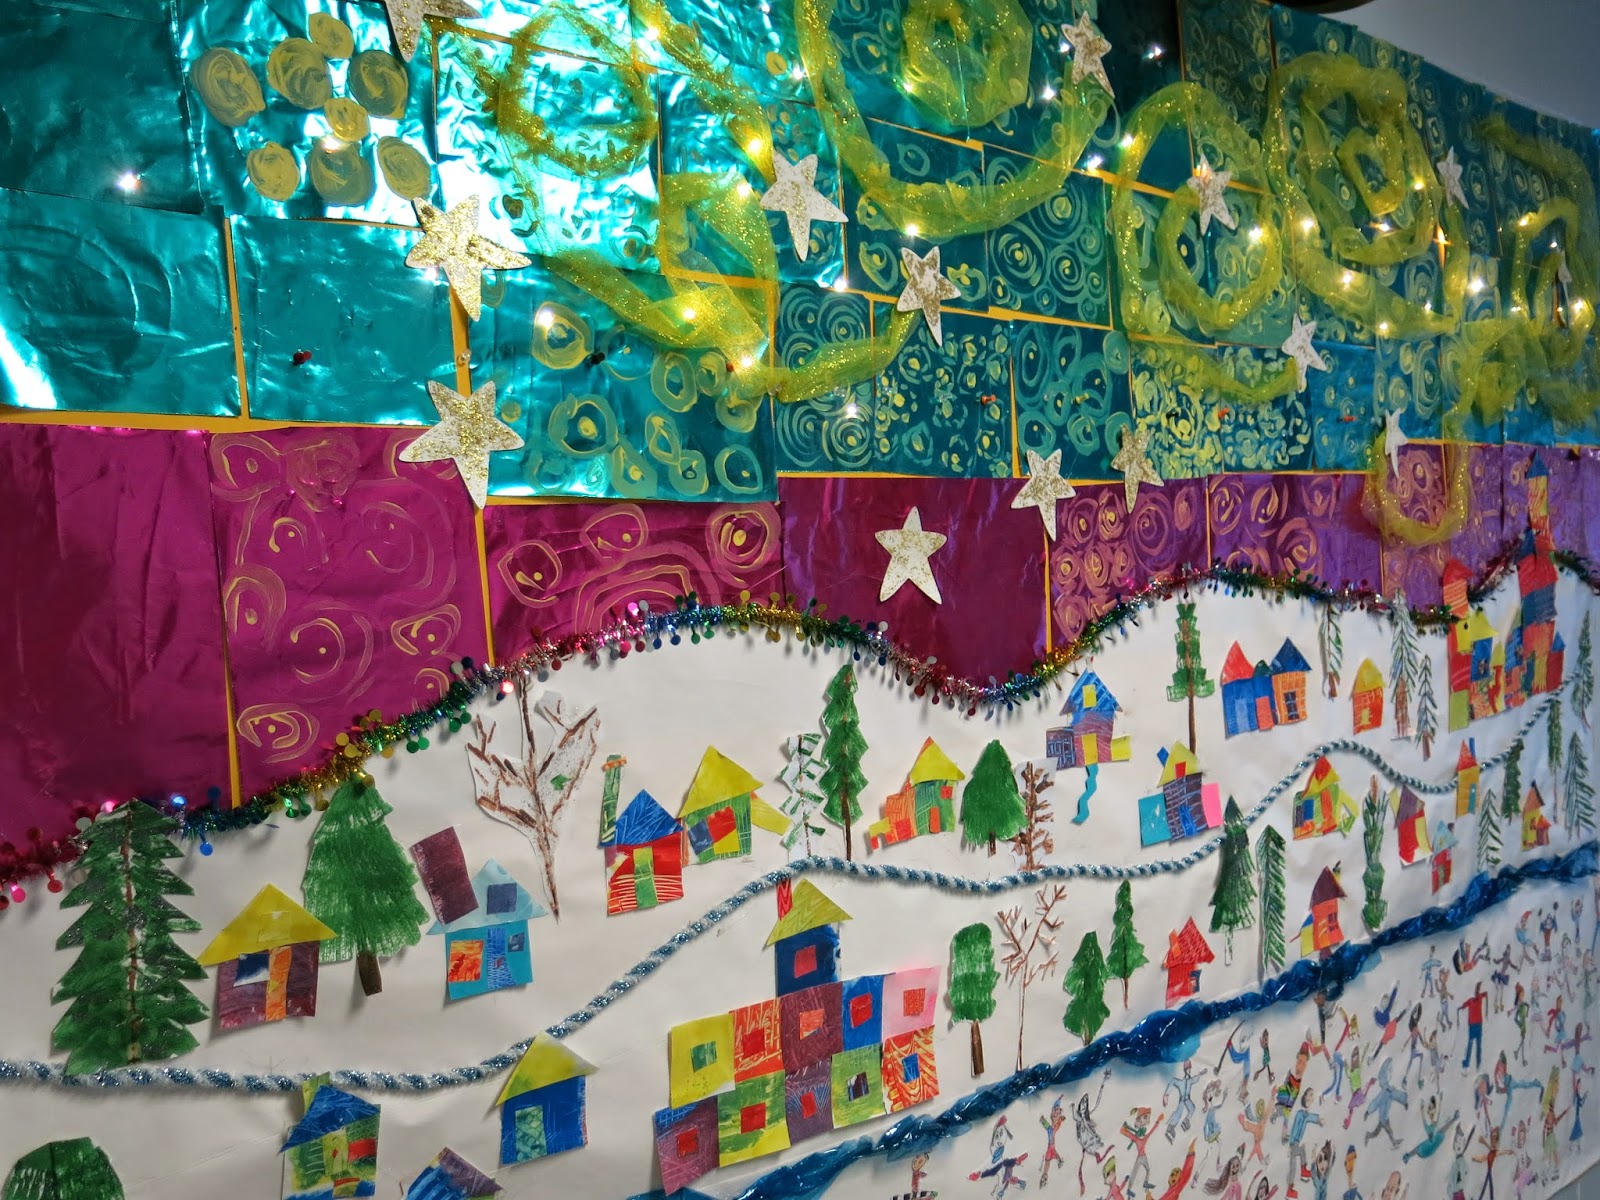
By the way, art teacher buddies, have y'all introduced Lichtenstein to your students? I'd love to hear about what projects you've done. I did find my buddy Phyl had created some rad landscapes with her kids inspired by ole 'stein. Check it here, friends. I'm thinking a mural perhaps? Or maybe some painted ceiling tiles (my principal lady is on me to have the kids paint the ceiling tiles. I've never done that. You guyzzz?! Hep me!).
For the action words, I would first sketch 'em out. Then I would stack two pieces of the lighter fabric (because I didn't want the black to show through the yellow so I did a lil double layerin') and one of the back. My sketch was then pinned to the fabric and the cutting commenced. 
BAM! The only easy part.
Playing with the background fabrics was my fave part cuz I'm a girl that loves to play with fabric. Seriously, I think I could happily spend my days just combining (seemingly-random to the normal person, perfectly-matching in my crazy eyes) fabric swatches. After deciding what looked best together, I drew my designs out in chalk and cut them out.
And then the stitching began. Seriously. Didn't I learn anything from the Andy Warhol Campbell's Soup Dress? Appliqueing the lettering was so unfun. I guess that's why it took me so long to get to this here dress. I had to wait for the wound to heal before giving it another go. 
Not only was there the appliquéing of the letters, but also the black shadow. Oh, and the three layers of fabric. I mean, do I know how to have a good time, or what, y'all?!
I mean, lookie here. Is it any wonder I found myself in the aisles of Target wearing a foam wig and talking to myself (ha, like that's anything outta the ord)? I told you, a descent into appliqué-crazy.
I tried to do the majority of appliqué separate from the dress. This was cuz I knew rotating that lump of a dress around my machine would be most unfun. So I tried to only save that for the outer edges. I do believe I went through three spools of black thread and wound my bobbin at least a dozen times before all was said and done. 
But in the end, I'm super stoked I toughed it out. This just might be one of my fave artist dresses. I even got a lil outta hand and created something to match...but for that, I'll post in yet another photo-heave post. For now, let's just stick to frock-talk, shall we?
Of course, what's a lil Lichtenstein without imitating some of this paintings, riiiiight? I opted outta painting my face (you've seen this, right? Nutz.) but I do have a lil phone prop for times like these (what, don't you?).

"Hello?"


"Girl, this ain't Jeff. This is Jeff's wife!"


By the way, did I tell you that I got Target to taking a whopping 5% off the wig? Yeah, it was a little dingy from being tried on by everyone in state of Tennessee so they took a whole dollar off! I might have head lice but a got a buck in my pocket, yippie!
P.S. One cannot wear this wig without making annoying faces. My apologies.
See? What'd I tell ya?! 

I'd love it so if you'd leave a comment. Especially one that justifies the purchase of a big foam wig. Don't do it for me, do it for the hubs. 


 photo signature_zpsd10b3273.png