
.jpg)
Be sure and subscribe as I have more videos coming your way!


I like to distribute paint with a couple of customized paint trays. For example, on the first day I paint with kindergarten, they all receive a tray of warm color paint. On the next, it may be cool color. This helps keep our paint trays from getting completely demolished by students who are new to learning my painting routines. This method also allows students to learn the warm/cool colors as well as the notion of analogous colors.
As far as paint goes, I'm using Prang's Tempera Paint. You can find it here.
Tip #2: Ice cube trays for distributing paint!
My favorite way to distribute paint is...ice cube trays! I've been doing this since my first year teaching way back in 1998. Back then, we didn't have fancy ice cube trays like these. I had to do the stack-and-sack method of stacking my trays and putting them in plastic garbage bags overnight. Thankfully, we have these neat trays that do an excellent job of keeping paint from drying out.

Nothing sucks the life out of a good ole painting party like a water cup spill. You can find dog dishes like mine at the Dollar Tree. I also found them for a heftier price tag here.
What I love about them is that no only do they not tip but they also have a spot for my sponges. The sponge is where my students dry their brushes, further removing drippy water from their brush. What I don't love about these is that the water reservoir is shallow and I have to change out the water between classes. So...it's a trade off. If you don't use the sponges or want a deeper water cup, I also love these:

AND they come in a rainbow assortment which is fun if you color code your tables. I also love the wavy rim for resting paintbrushes.


Tip #4: A sponge to further clean the brush!
Or, as we call it, Dirty Ole Sponge Bob. If you teach students my trick of drawing an X on the sponge, it will help them remember to wipe their paintbrush AND keep the tip nice and pointy. You can find sponges at the Dollar Tree or you can also find them here.

Tip #5: Contain the mess with TRAYS!
Okay, so these trays are a little expensive BUT they are super thick and sturdy which means they will be able to handle the weight of the painting supplies placed on them. However, I have purchased trays from Dollar Tree on their site and was able to purchase an entire box. The only thing is that if they don't have this available in store, you will have to pay for shipping. It's cheaper if you have them shipped to the store and pick up there. The Dollar Tree trays are much thinner and not as sturdy. But I loved them for having my young students create their artwork on. Not only did it help to capture and contain the mess but it also made it so much easier for them to carry their work to the drying rack.

FIFO bottles are a great way to get paint to your students without lugging a gallon of paint around the room. I also love them because you can customize and mix your own colors! You can find them here and learn more about them in the video if you aren't familiar.

Thick tempera paint is made for texture! And while I used to love to pick up bags of texture making supplies at the dollar store what I found is that I spent so much time at the sink CLEANING. I eventually stopped using them and switched to the ole stand by: the texture comb. They are easy for kids to use without their hands getting too messy and, even better, they are much easier for ME to clean! I love 'em and they are constantly being used in my art room. Find them here.

We don't have time to wash the paint from our tables! I mean, we might have time but do we really wanna spend our time that way? For me, I had classes back to back with no time for cleaning so Messy Mats saved the day with keeping our tables covered and clean. You can color code them with this railboard found here.
I also just like the ole standby of tagboard! You can buy a pack of 100 and it will last you for a couple years (maybe longer!) here.

Tip #9: Clean those hands and tables with these!
I like to keep a bin of soapy water and a couple of these towels on each table. The kids know that they are ONLY to use these towels during clean up...otherwise you may have friends washing their hands throughout the lesson. I show them how to wring the water from the towel before using it on their hands and table. I swap these out with clean towels and water while the students work so each class has a fresh bin of water. These towels wash up great in the washing machine!

Share with your students how to mix paint so you don't have to buy them all! The colors you WILL want to order are: red, magenta, yellow, blue, turquoise (or cyan), white, black and brown. I usually order my paint by the gallon so we don't run out. You can find the paint I buy as well as anything I may have forgotten here.


As for paintbrushes, when I first began teaching, I used what I had in my art room: those coarse, long-handled bristle brushes. They usually wiped more paint OFF the paper than they did put it on! Now I only have students use soft hair brushes like these.


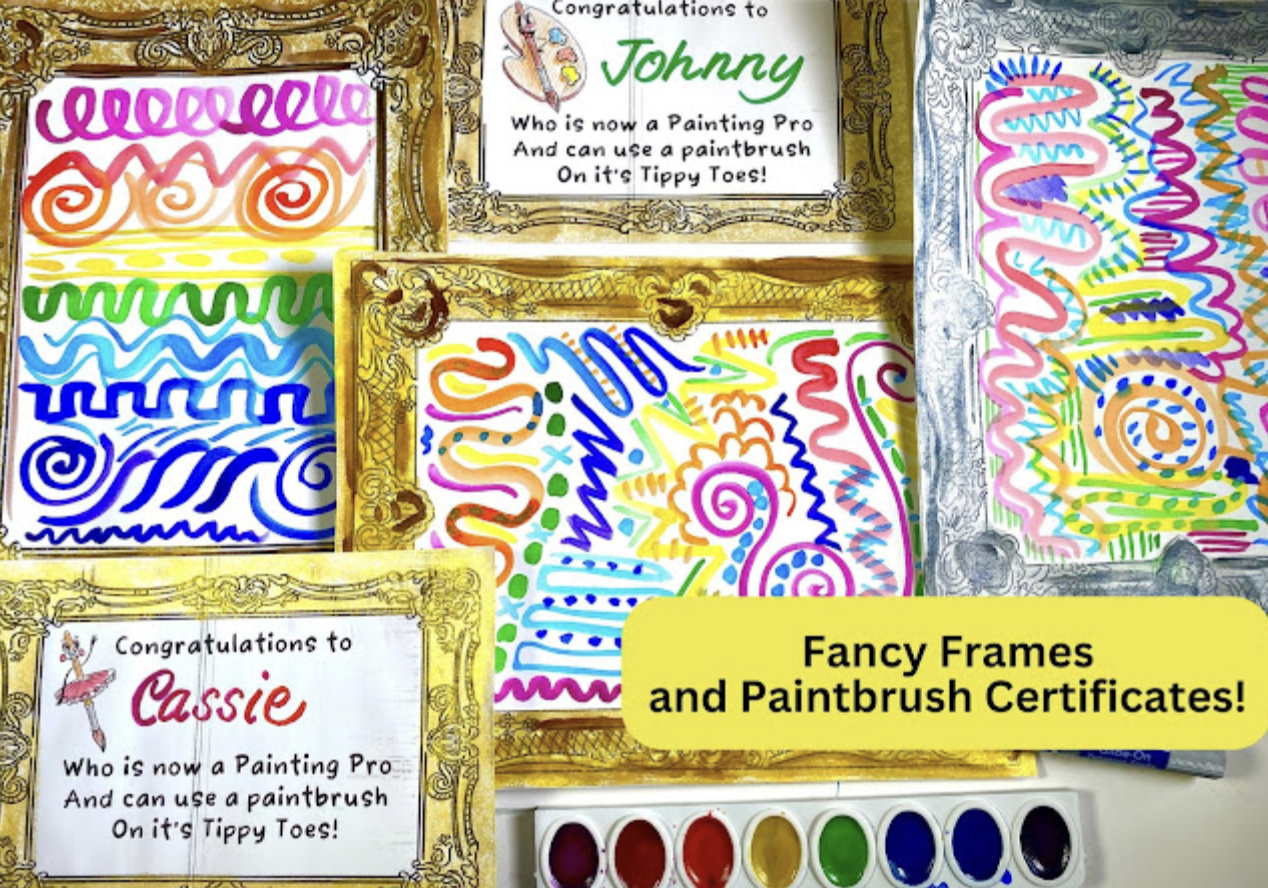
These totally free downloads will have your students handling their paintbrush correctly in no time. Whether they are working with watercolor, tempra or tempra cakes, these sheets will save those paintbrushes! Find them free here.

I created a video to share with you how I would use these sheets in my art room...I put them in a sheet protector so that students can practice painting with just water! More details here.
Here's another example of me sharing a beginning of the school year paining lesson with students. Lesson details in this blog post!
Here's a video of my sharing my painting set up in my art room.I hope this big ole blog post helps you feel more comfortable busting out the tempera paint in your art room. NOW...it's summer so go put those pjs back on, grab a snack and take a nap!


No comments:
Post a Comment
Thank you so much for your comments. I appreciate each and every one :)
Note: Only a member of this blog may post a comment.