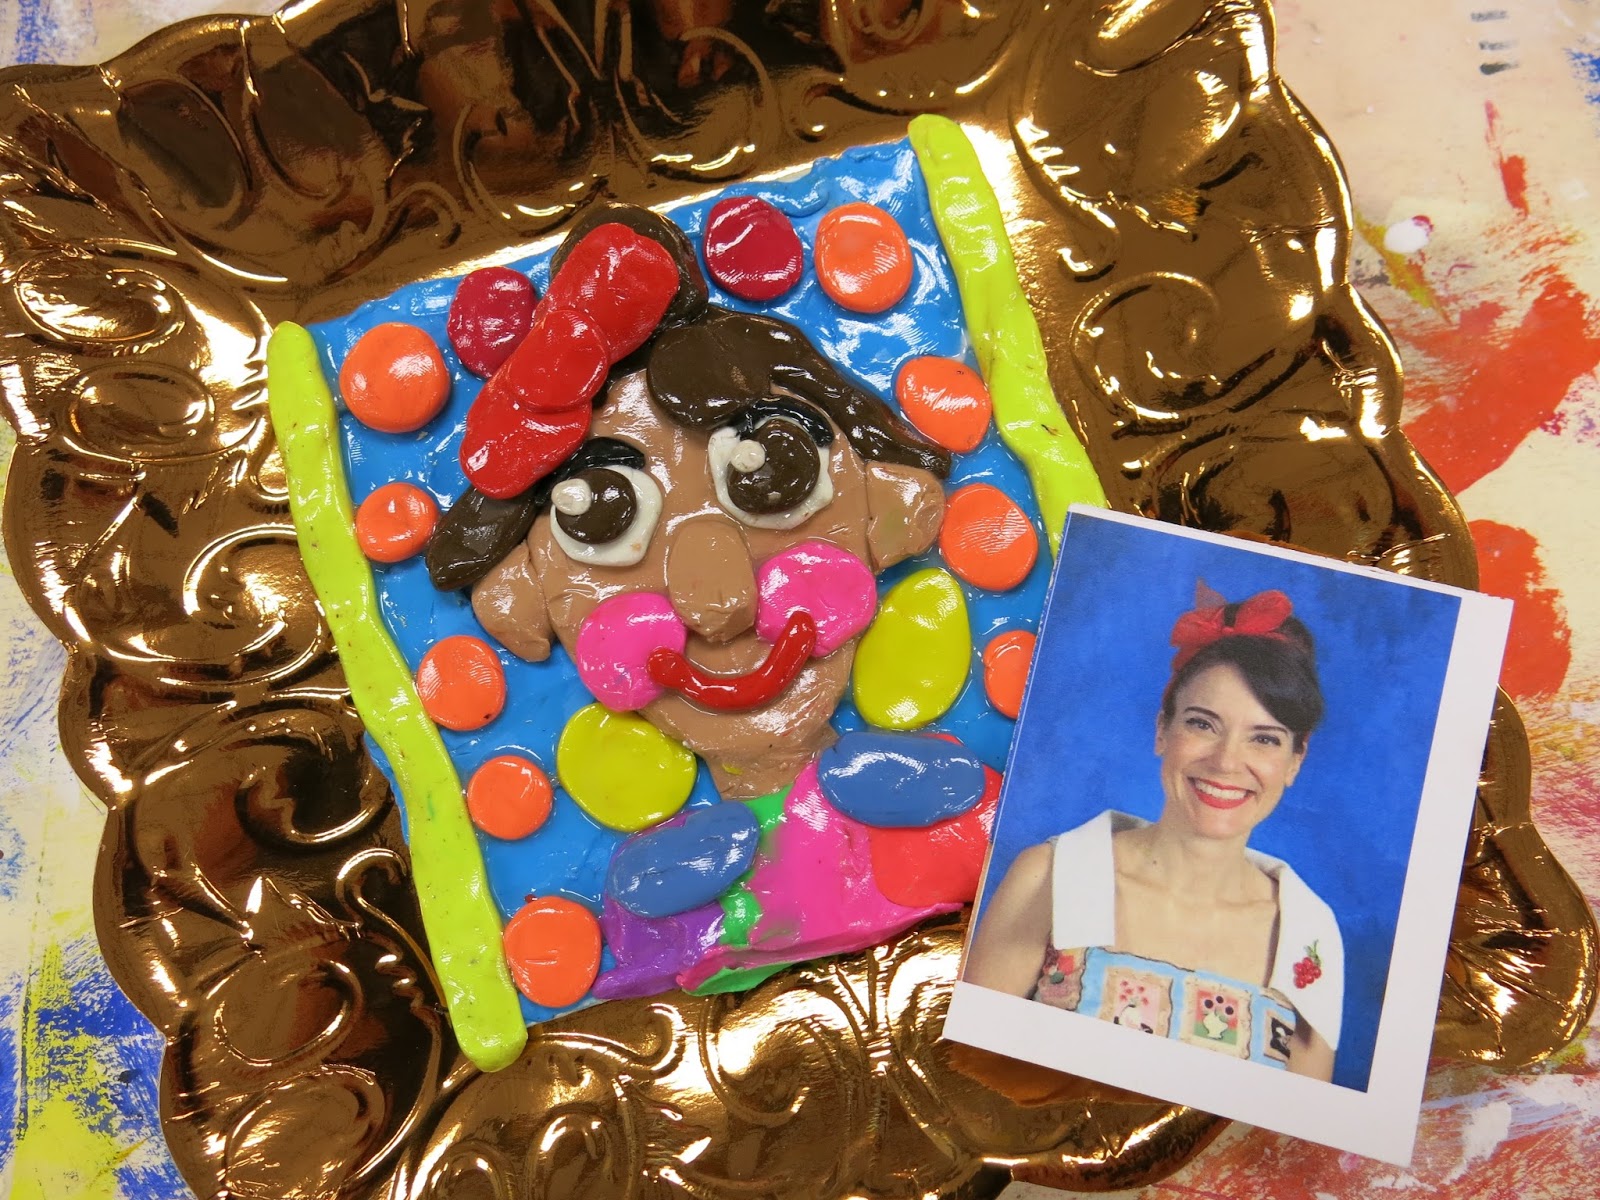
Showing posts with label modeling clay. Show all posts

Wednesday, October 19, 2022

Creating Lines with Modeling Clay

I recently shared that I created line-making stations for all of my students. You can check out a video and blog post on that here. While I was out, I created this video and sheet as a sub plan for all grades. I've since decided to add it to my early finisher centers! Check out the video I created for the kids here:

And here's how I plan to use it as an earlier finisher center. The kids loved working with it while I was away so this should be a fun activity choice for them!


photo signature_zpsd10b3273.png
Read more »

Thursday, January 25, 2018

Gallery of Gratitude, Part 1

Hey, y'all! I am so excited with how these kid-created portraits of the faculty and staff at my school are turning out, I thought I'd share. This is just Part 1 of the Gallery of Gratitude posts...I'll be sure and post again once these are on display.

In case you missed the first post about our Gallery of Gratitude, you can check it out here. This idea is not a new one at my school...you can see our Gallery of Gratitude from a couple years ago here
 Two of my fourth grade classes got their portraits complete. They did such a great job and I have so much left over modeling clay that I think I'm going to have them create self portraits next week. They've become pros at this and have really loved creating them. Here's the lesson video I created and used:
Here are the supplies we are using:

* Modeling or plasticine clay. No one brand is better than another. I have just been purchasing whatever is cheap at the craft store.

* Model Magic Glaze. Here's the thing: modeling clay always stays soft. These portraits will be on display for a while in my school...so I knew I'd want them to be protected with a hard varnish. This "glaze" works really well at becoming super hard. I think ModPodge might work pretty good...but this stuff is a lot harder than that. 

* Plates from Hobby Lobby. So our "frames" are actually plates from Hobby Lobby! You can probably find them online. 

* Matte board. I cut ours down into 4" squares.
 Day #1: It took us some time to cover the entire background, create a skin color and add the head, ears, neck and nose. That took us an hour, believe it or not. Chatting about the project and watching the video took some of the time too.
Day #2: We really made progress. Almost all of the kids finished their portraits...some were super close! I thought I'd share what their works in progress look like.
Biggest bit of advice: HAVE PHOTOS! The kids really studied the photos, matching outfits, hairstyles, glasses and more. My sweet buddy the bookkeeper printed off yearbook photos and each student was able to use one as a reference. I plan to hang these photos near the clay creations when on display.
 And now, forgive me while I share a ton of these cute clay portraits!
 When we take these down, they'll be gifted to the teachers, faculty and staff. The kids will also write a message of gratitude about that person to be hung with their portrait. I'll post about that in Part 2!
 In the background, the kids were asked to add something that "said" something about that person. Here's a portrait of a kindergarten teacher. 
 Those are books behind our library assistant!
 And music notes behind our music teacher!
 I am loving the giant earrings and the cherries in this portrait. 
 This teacher plays guitar in his class. The glaze was just put on so it will dry clear, not milky like you see.
 One of our custodians is also our school D.J. Here he is, outside on field day with his baseball cap on backwards spinning records.
 This background, love!
 Incredible attention to detail! This one makes me so happy!
 Artistic license was taken with hair color here and I'm loving it. 

More to come, y'all! I had to share our amazing progress!

 photo signature_zpsd10b3273.png
Read more »