Wednesday, April 26, 2023

Let's Talk Watercolor! 12 Watercolor Tips and Tricks!

Watercolor is a staple in the elementary classroom and art room BUT...it can be a bit of a headache. I recently saw on an art teacher's Facebook group a teacher sharing a brand new watercolor tray completely demolished in just one painting session (well, demolished is an exaggeration; all watercolor trays can be cured with a simple rinse at the sink). It reminded me how much I have learned from teaching art after a million years...and all that I learned about teaching watercolor paint to kids. So I put all of the tips and tricks I could think of (I'm sure I missed some!) in a video. I'll list them below but if you wanna just watch then...here ya go!

Tip #1: Ditch those cases! 
I kick off the video sharing super cute vintage watercolor cases and then...I tell you to ditch the case. Trust me! You will save the sanity of dealing with messy watercolor cases. AND it will help the paint to dry between use. 

Tip #2: Remove black, brown and white!
THIS IS A GAME CHANGER!! Trust me on this one. You will send me letters, flowers, hugs and well wishes when you do. 

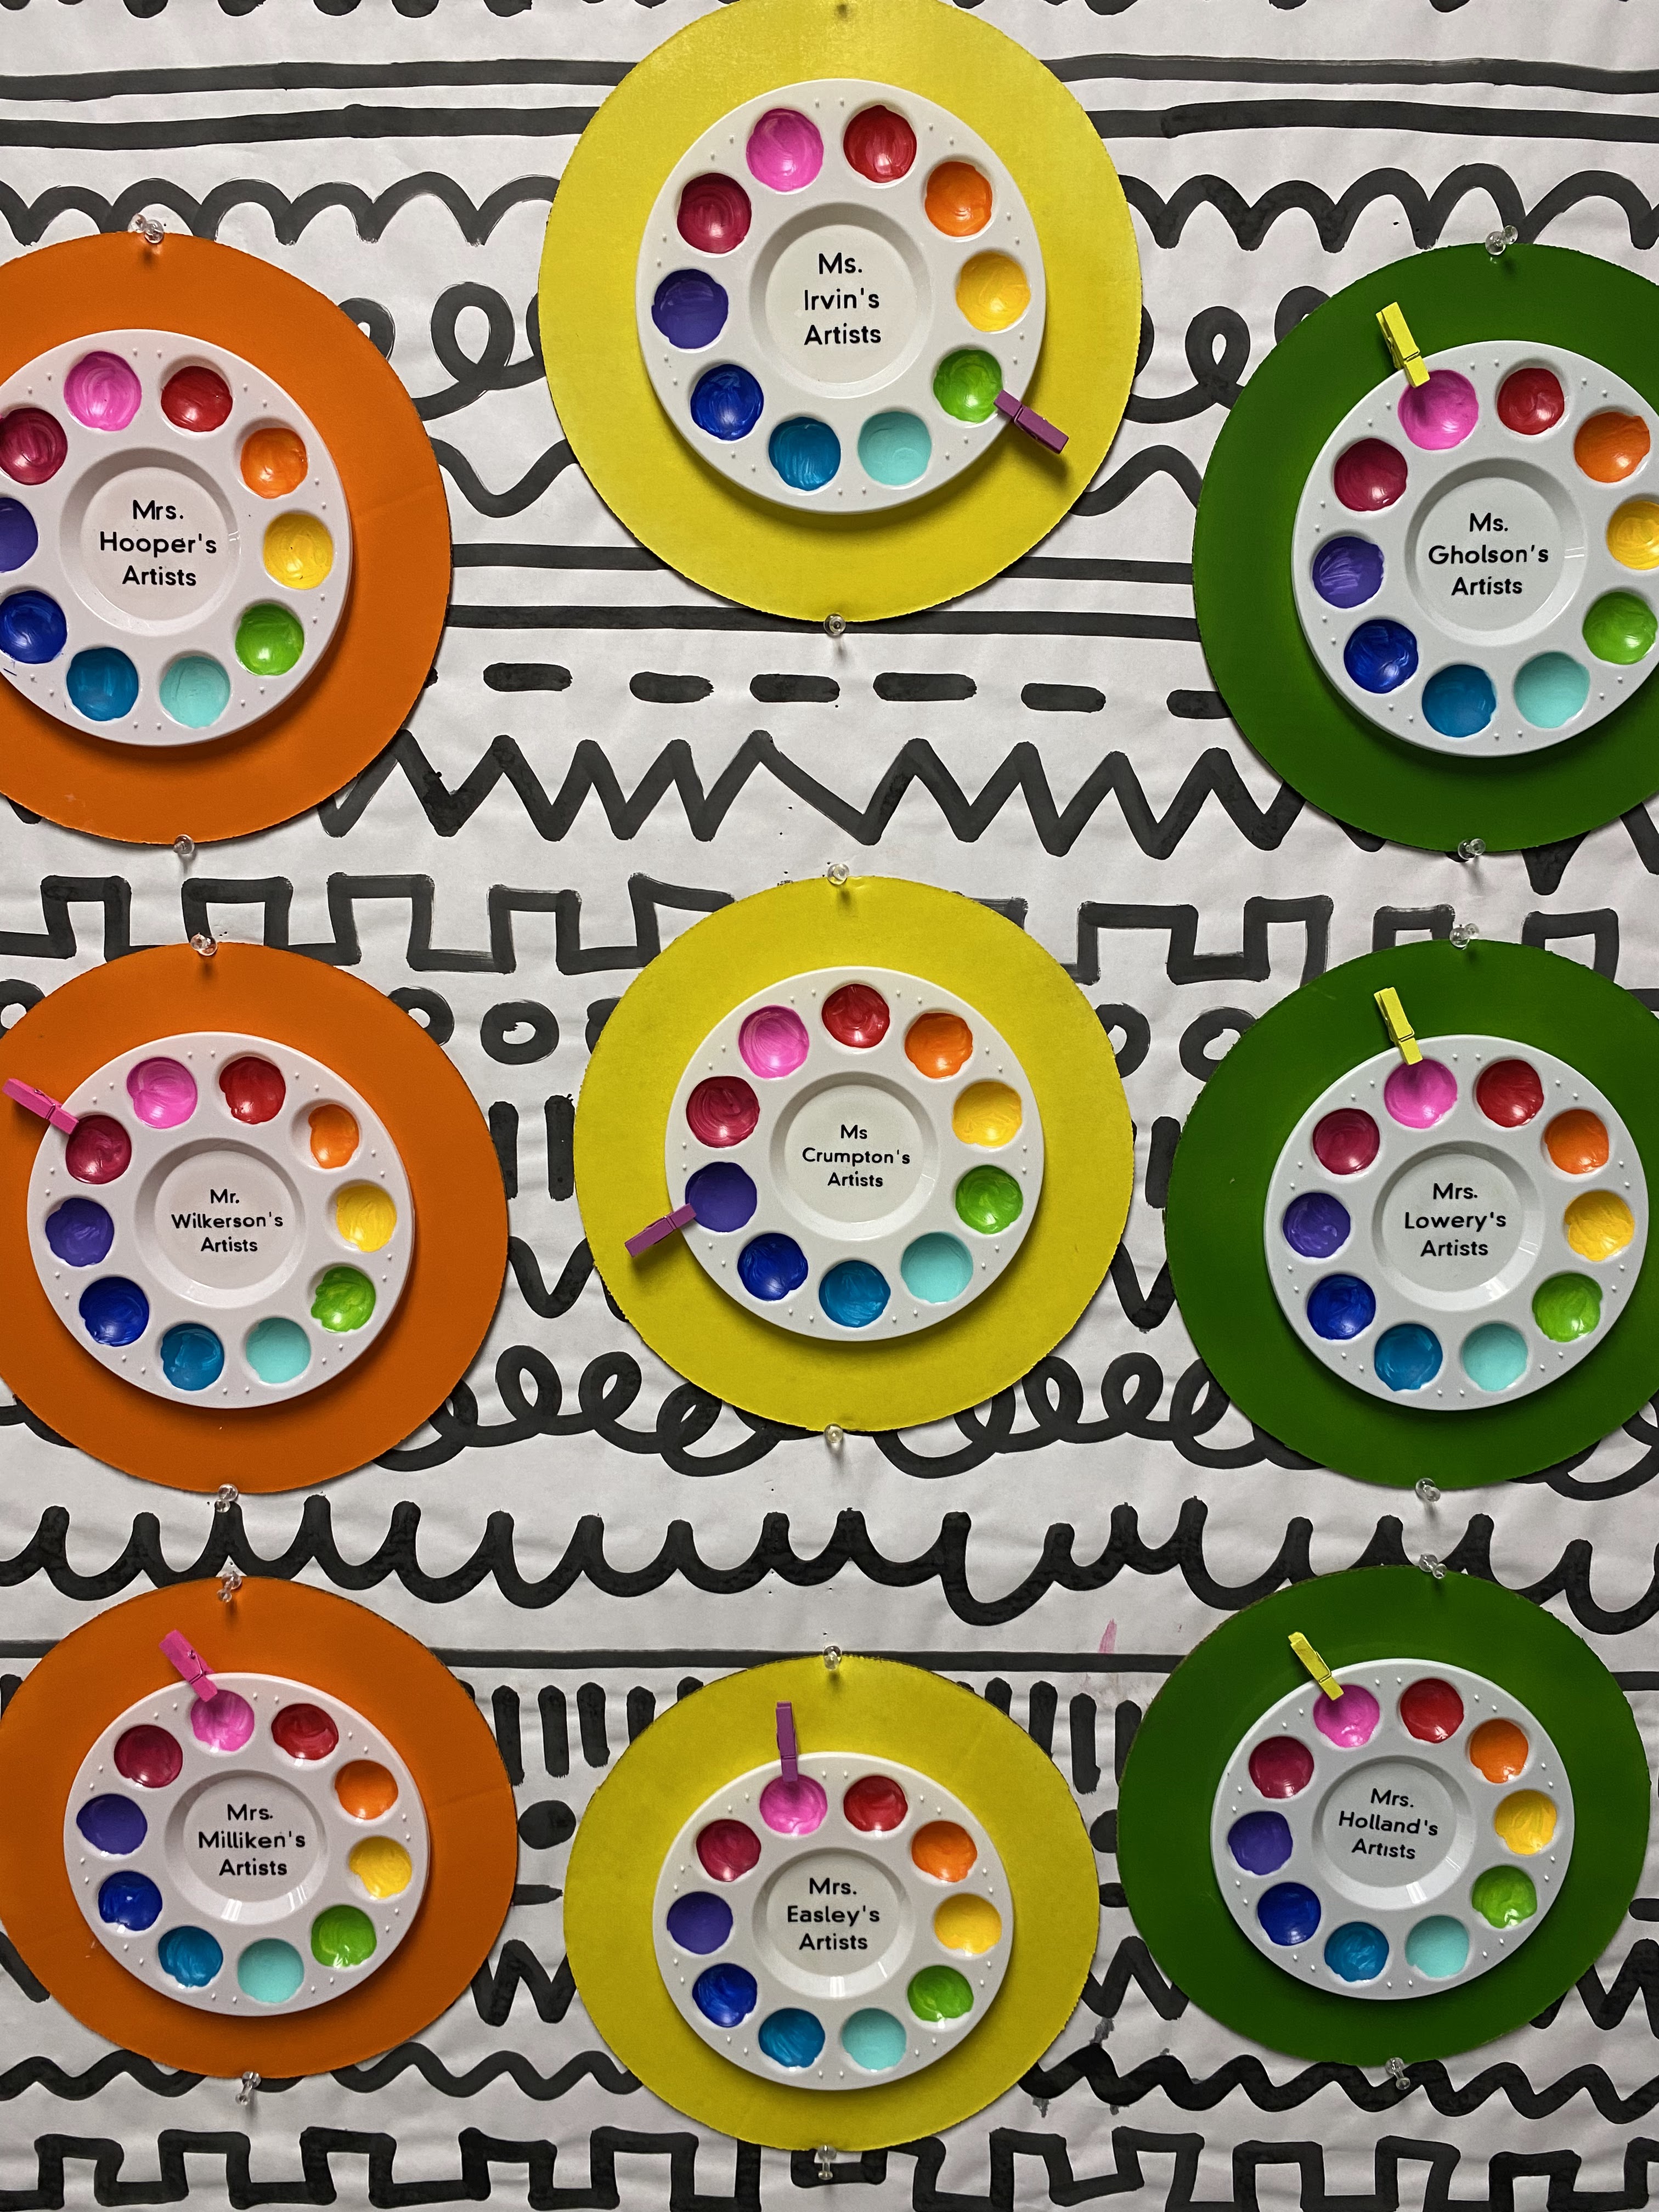
Tip #3: Customize your paint trays!
I have a rainbow tray, a warm tray and a cool tray. I want to create a flesh mixing tray too. 

Tip #4: Only buy refills!
So a big brand art supplier STOPPED making refills for their watercolor trays. I KNOW. However...my friends at Prang STILL DO! Hooray! You can check out all of my recommended watercolor supplies as well as those refills in my Amazon store

Tip #5: Use trays!
They capture the mess and make transport of supplies easy for you and your students. Need a supplier for trays? See my Amazon link...OR...check Dollar Tree's website! I often buy those trays in bulk on their website; I never see them in their stores. 

Tip #6: Try dog dishes!
I did add a link to these in my Amazon store BUT you can find them cheaper at Dollar Tree. These I actually do see in the stores!

Tip #7: Use wake up juice!
This might be the kids' favorite trick. They LOVE Wake Up Juice! They think it's so funny and my older kids love to use it independently. 

Tip #8: Teach proper brush care!
Isn't that the worst?! Seeing your precious paintbrushes ground to bits? Not to mention your paint pans demolished?! Try teaching a couple of my hacks: Ballerina Paintbrush and Pet the Kitten.

Tip #9: Cleaning the brush!
Nothing muddies up a paint set like not cleaning the paintbrush correctly. Get a sponge for this and thank me later!

Tip #10: Explain translucence!
So that kids know the difference between watercolor paint and tempera, you may want to explain the difference between translucence and opaque. 

Tip #11: No waster watercolor!
I'm getting tired of typing so check out the video on how I use every last drop of watercolor paint!

Tip #12: Let the paint dry out!
I share my simple hack for letting paint dry completely between use.

Now, I have chatted about watercolor paint in the past. You can see my video about watercolor here. And if you want to see me teaching watercolor to my students, you can check out this playlist! Or check out the one called A Glimpse Inside on my YouTube channel.  


photo signature_zpsd10b3273.png

Friday, April 21, 2023

Classroom Management: A Simple Behavioral System that Kids Love!

Hey there! 

I tried a new classroom management system this past year and I LOVED it. I shared about it on my Instagram at the start of the school year but hesitated to do so here. I wanted to make sure it was a system I could stick with. If you've read my book, Art Teacherin' 101, then you know I ONLY do systems that are easy and ones I can keep up with. This one...is it. Here's a video of just how it works:


And if you need a refresher on my classroom management series (much more to come!) here is my last video (blog post here):
Having this board near my entrance really worked well to serve as a reminder at the start and end of class. 
You don't have to get too fancy like I did. You could always just write their teacher's names in sharpie!
Comments are turned off here because of spam but my comments are open on my YouTube channel. I check them frequently, so if you have any questions, please feel free to ask! I also am updating my YouTube with videos multiple times a week so...subscribe if you like
Some of the TOP HITS for party themes:
* No Shoes Art Class (they LOVE this!)
* Open Seating
* Dance Party

Those are the top three. As far as the 20 Questions and Mr. Predicto...stay tuned! More on that to come. 


photo signature_zpsd10b3273.png

Wednesday, April 19, 2023

What the Art Teacher Wore Closet Tour!

Hey there! Today I thought I'd share a tour of my closet!

I've been asked many times to do a little closet tour and I DID do one a while back...when my closet was an actual closet. You can check that blog post out here. But there have been MANY reasons why I've always hesitated:

1. Because my closet is now a room. And, like, that's kinda crazy. And excessive. And...a lot of things. I know this. But honestly, this room was just sitting unused. We don't have kids and we don't host house guests (yes, the family stays at hotels when they visit. Trust me when I say it's a beautiful thing). So we had this unused room. And now it's my closet.
 
2. Because...I have an embarrassing amount of stuff. I don't get rid of anything, y'all. Well, I take that back. I do weed out 'trendy' impulse-buy items. These days I try to only pick up thrifted and resale clothing as well as artist-made goods. Notice the key words "I try"...but fashion is my creative outlet so and your girl loves to create ;).

3. Because this space is usually messy. I've had it kinda organized for a while but not until recently did I really get a place for everything. And while it's clean, I thought what better time to tour!

It's a long-winded tour. I had to stop and share all my fave things, right? So I apologize for the length but...here you go! My closet tour!


I created an Amazon store with links to all of the organizational items I share so I'll be posting those down below. I know I struggled to find what works for me. Being a visual person, all of my stuff has to be out where I can see it. I tried to fight that method of organizing for a long time...but now I embrace it. It works for me!
Closet organizational items can be found here. From the pegboard, to the storage stool; from the cart to everything else, it's all in that link!
I will be creating a Thrift Shop video soon in case you aren't sure where to start when you hit the thrift. It's a blast but can be discouraging if you don't have any luck. It's one of those things where you gotta go often and keep an open mind. 
Whenever we travel to towns, I always look for thrift and vintage shops to hit up. Fabric stores are fun too because then I can score something unusual to make into a dress!
For links to these wire racks and more home organization, check here
If you saw my sewing room tour, then you know my love for clear bins and wire racks
Here are more links to things you might see in the video:


If you have any questions, feel free to drop them in the comments on the YouTube video. I had to turn off the comments here; I was getting so much spam it was crazy! 
But if you are looking to embrace your inner fashionista or just wanna organize as a visual person, lemme know. I'd be happy to help!
Until then, thanks for joining me!


photo signature_zpsd10b3273.png

Saturday, April 8, 2023

5 Earth Day Art Projects You'll Love!

Hello, friends! Earth Day is coming up and so I thought I'd put together all of my very favorite Earth Day videos and lessons right here! I'm even placing the videos in this post so you don't need to hop all over the place. That's right, it's a one-stop-shop today on my blog. Enjoy!

First up is this Draw-Along Give the Earth a Hug.

Supplies needed:
* Scissors
* Paper
* Markers
* Crayons
* Glue

This project is another Draw Along but you also get to add color with a fun printmaking activity! Here's what you'll need:

* Black permanent marker
* Markers
* Paper
* Aluminum Foil


Making salt-dough clay is a blast! Just by itself! But to make something with it is even more fun. Here's what you'll need:

* Cardboard
* Flour
* Salt
* Food Coloring
* Crayons
* Markers


This pop-up poster involves turning markers into paint! Here's what you'll need to have:

* Paper
* Construction paper
* Markers
* Cup of water
* Paintbrush
* Scissors
* Glue

Who doesn't love to make a pop-up?! And this one just requires a few supplies:

* Crayons
* Paper
* Scissors

That's it!
Have fun creating!

Thursday, April 6, 2023

15 of my Favorite Lessons for Spring!

One of my favorite lessons (and more popular vidoes) is this Heather Galler-inspired floral painting. We did these in April and they were always an art show show-stopper! Not to mention, a great gift for Mother's Day! Full lesson with video here.
I even love them in black and white! If you are short on time, these could be completed with tissue paper squares...see my lesson below for more details on that process.
Liquid watercolor was how we finished these off. I like using liquid watercolor on larger projects. I always save pan watercolor for more detailed work. 
This lesson is a hit with ALL grade levels! I first did this lesson years ago with second grade. Last year, I did it with everyone and the results are always beautiful. Full lesson and simple video here!
So many ways to finish these beauties. We opted for chalk but we've also used bleeding tissue, watercolor and tempera paint too!
THIS is kindergarten, y'all! We finished these with oil pastel and watercolor. A more updated and kid-friendly video can be found in this blog post. 
Looking for a spring-time clay project? Check out these created by my kindergarten students! You can find the details and a video tutorial here.  And if you are looking for a list of my favorite clay supplies (as well as were to snag my clay book) check out this link!
Springtime is the best time to introduce landscapes to your students! This one is so fun...it's chalk like you might have never used it before! Chalk...that doesn't need to be set with a fixative. More here!
I will advise this: when adding paint after the chalking, use tempera cakes, they were so much better than the tempera paint I used in the video.
So, like, basically, ANYTHING you make and put in these PLATES from Hobby Lobby looks stunning. This was a quick kindergarten lesson that you can find here. Video too!

This one was so fun! Learn a little about Warhol AND get to use Puffy Paint?! Yes please and thank you! Again, I got a video for you. Check it out here. 
Nothing says spring like cherry blossoms! This one was inspired by Vincent van Gogh's love of Japanese prints. I created a video and you can find it here. 
I think my favorite part is the textured paper we created for the background!
What is better than neon oil pastels and watercolor?! Not much, I say. We loved creating these coloful landscapes and they so brightened the halls. For the complete lesson and the video (I told you, I got you covered!) here.
Cereal boxes for the win, friends! Start collecting now!
Honestly, I don't know who loves puffy paint more, me or the kids! Just keep a pin on hand to unclog the nozzle. The paint does tend to dry out and clog the inside!
Looking for more landscape ideas? I put together an entire blog post of my favorite landscape lessons right here! 
I want this as a quilt!
Here's a little lesson I created to use up popsicle sticks (ha!) and for a sub! These turned out so cute and the kids loved them! Video lesson here. 
Please tell me I'm not the only one with three million trillion popsicle sticks!
These clay flowers my third graders created were so beautiful! 
Each one was so creative. I provide the step by step photos in this blog post. 

The details! Loved the birds and bugs added!

Cute little kindergarten flowers! We even painted flower pots for Mother's Day. All the details here. 
This lesson was so much fun! We used watercolor paint for the backgrounds, we drew designs on the vases, we used black ink and tissue paper! It was a big fun lesson and you can find it here. 
Love the dragon on this one!
I made this mural at the start of a school year...but I also think it would be perfect for spring! It's a lot...but so many beautiful things were created. Check out the blog post here. 
Speaking of murals...this one involved the whole school! And would also be a great end of the school year collaboration. 
Happy and bright colors like this always put me in the mood for spring.
I hope you find a lesson or two here that you can use this spring! I'm always so happy to share with you all. 


photo signature_zpsd10b3273.png