Thursday, April 30, 2015

In the Art Room: Time to Make the Donuts

So if you've recently smelled the delish scent of donuts (or heard the crazed chatter of sugar'ed up chil-rens), then there's a good chance you've been hangin' out in my neck o' the "with sprinkles, please" woods. 
This week, my fourth grade artists were introduced to Wayne Thiebald, Peter Anton and Lucy Sparrow (all artists with work that is sweet-tooth provoking) via this wee prezi I created. Feel free to use and edit (you just might wanna remove that pic of me in my donut hat!). My kids thought this was just about the best thing everrr so I thought I'd share the deets of this fun -n- fast lesson with y'all here!
After an intro to Mr. Thiebald and friends, I showed off my hat created this past weekend. The kids were all, "wait, YOU took an art class?! Why didn't you TEACH the art class?!" It was a fun chat about how even as a wanna-be grown up, I still have lots o' learning' to do. 
Y'all don't even know how obsessed I currently am with creating hats. Itz 'bout to get all kinda hat-making cray on this here blog, fyi-ness. 
So for this here lesson, you're gonna need the following:

* Donuts (not necessary but super fun and a GREAT motivator! I chatted with my school nurse about allergies beforehand, of course. Also, call the donut joints ahead of time, they will prolly give you a good discount if they know what you're up to!)
* 8" X 10" white paper. I've started trimming an inch off my paper before giving it to the kids. This way, I can easily frame it by just cutting my construction paper in half.
* 9" X 6" white paper for the donut. 
* Oil pastels.
* Tempra paint.
* Texture combs. 
* Doilies or paper plates.
* Puffy paint. 
This project took us two, one hour art classes. For me, that's a fast project. Which should really be a clue to me that my art projects take too long. I'm working on it!
By the way, I love puffy paint. Almost as much as the kids. They used puffy paint earlier in the year for this fun project
1. On their 8" X 10" paper which was folded in half lengthwise, the kids used "naked" oil pastels (paperless, people) on their sides (aka, sleeping-style) and created two different patterns: one for their background and one for the surface or table for the donut to sit upon.
2. On the smaller paper, the kids used oil pastels again coloring at random.

** NOTE: In my art room, when I have a lot of directions to give, I present the directions in bite-sizes. For example, I have them those directions and set my timer for 7 minutes. This gave them enough time to "go shopping" for their supplies, write their names on their papers and complete steps one and two. When my timer goes off, the kids know, finished or not, they are to report to the floor to hear the next set of directions. 
3. The kids were told to go back to the store this time for a texture comb, a large paint brush and a messy mat. Once at their seats, they used whatever color they wanted for their "wall" and their "table". As soon as one section was painted, they immediately created texture with the texture comb.

**I LOVE my texture combs. We use 'em all the time and the kids find them fascinating. I purchased this set a million years ago from one of the art supply catalogs. I used to make my own outta cardboard but those break down after while. These have lasted me for years. 
4. The last step for the first day: paint a donut. We chatted about point of view and foreshortening for this portion. They simply painted an oval, painted a smaller oval hear the top of the donut and filled it in. Because these kids just finished a big fat color-mixing unit, they knew how to mix a good color for a donut. Once the donut was painted, they used the back of their brush to draw the icing.
Once complete, we slid these puppies onto the drying rack and gathered for our donut dining session. And that was the end of our first day.
Now you'd think the kids wouldn't be as excited about the next day being that it was donut-less. But, I tell ya, you bust out the puffy paint and the kids get real excited, real fast. 
5. The kids cut out their donuts. Several wanted to have a colored icing so they mixed up tints of colors for that. Others were content with they way their donuts looked with the scraping method. Like this dude. Once the donuts were cut out, either a half a doily was glued to the table or a 1/3 of a paper plate. Those that used plates decorated them with paint.
6. The final step: El Puffy Paint-o! Twas the perfect thing for sprinkles and an outline. The kids were absolutely thrilled with their delish looking work. I can't wait to see them on display for our upcoming art show!

I hope your week has been as sweet as these yummies! Have a great one, y'all!
 photo signature_zpsd10b3273.png

Tuesday, April 28, 2015

DIY: A Wayne Theibald-Inspired Donut Hat

So I've been a-thunkin' about this for sometime: my wardrobe is missing something. The prob? I don't have a whole lotta real estate left on this here head-to-toe o' mine to bespangle any further. From the dresses I stitch to the shoes I paint, I've pretty much got the crazily-dressed territory covered. However, there is one last bit of unchartered territory that could use a lil bit of panache: the top o' my noggin. Therefore, when I heard that my fave local art museum, the Frist Center for Visual Arts,  was offering a hat making class, I jumped at the chance. Best part: a whole bunch of other art teacherin' buds decided to join the fun as well. Cuz nothin' keeps craziness crazy like good company, know what I'm sprayin'?
And, ya gotta admit, this here hat is pretty cray. As if you'd expect anything less coming to this here blog, amiright?!
I gotta tell you, the best part of the class was our instructor, Mark Sloniker. I mean, look at these hats of his! I think we were separated at birth as these are my kind of awesome sauce. Mark was so kind to walk us through just how each of these masterpieces were created. I love it when an artist is transparent with their thought and creative processes, aren't you? I love that Mark is a self-taught hat maker as that made us all feel at ease with our novice hat-making skills. It also opened us up to endless possibilities. 
I had one idea for a hat coming in to the class but when I saw Mark's hats, I was inspired to go much more fun and funky with my look. His creations totally put me in the mind of Wayne Thiebald so I decided to create a hat dedicated to him!
I love Thiebald's yummy looking works of art and I've never introduced his awesomeness to my students. What better time than the end of the year, right? In fact, tomorrow morning I'm popping over to Dunkin Donuts to scoop up some still life goodness for my students to work from. I can't wait to see their faces during art tomorrow! More on that later this week.
Of course, Peter Anton has some super yummy sculptures as well. I think he'll be a fun tie-in as well. And you better believe I toooootally just ordered some donut themed fabric for a brand new dress, y'all. Any excuse to buy fabric, kids. It's a disease, I tell ya. 
Oh! Here's a snap of Mark talking us through his hats. We all cheered when we found out were got to keep our mannequin heads...it's the little things, y'all. 
So I decided to create my hat around the platform of a headband. I created the "plate" for my donuts out of stiffened felt (found at craft stores) with a pattern of ribbon glued to it. A ribbon trim was added to the edge of the plate (by my friend Crystal. Thanks, buddy!). In the bottom of the photo you can see my three stitched and stuffed donuts in the making. 
Meanwhile, everyone else was also hard at work. I love the messy creativeness of each artist's work space. 
Once all of my donuts were decorated (my fave part) and complete, I was ready to begin assembling. My initial thought was to simply glue the donuts to the plate and attach to the headband. But when Mark suggested that I make the donuts look like they were flying off my head, I was sold. This required some sculptural skills on my part which I seriously lack. With Mark's help, he showed me how simply it was. Here's what I did: I glued a piece of aluminum wire to the headband. Then I wrapped the headband in ribbon to hide the wire. I cut a small slit in the plate and slid it down the protruding wire. Each donut also received a small cut at the top and bottom and were also slid down the wire. 
This may or may not have been when I was trying to sweet talk Mark into finishing my hat for me. I'm tooootally one of those "can you do it for meeeee" students, y'all. P.S. check out my super cute friend Crystal in her palette hat!
So, if you can imagine, there's a wire coming from the headband up through the plate and all three donuts. Faux strawberries and a wee doily were added to balance out all that donut-y goodness. 
Meanwhile, all my buddies were making totally classy and sophisticated hats. Some of 'em even managed to make two hats in the time it took me to create one. In fact, I was the very last hat maker to finish with my buds Virginia (seen above in the peacock feather hat) and Crystal (seen above the flowery palette hat) helping me along the way. Thanks, ladies!
Here are just a handful of the finished masterpieces that were created that day. I love them all! And I'm so stoked to introduce hat making to my students. I just wish we had the time to do so this school year. 
I did wear my hat today and the kids loved it. My head, however, did not. I brought Mannequin Mary to art so she could wear it when I could not. 
 
So what does one wear with a donut hat? A pink gingham number with Frankenstein green tights, of course! That is, until a donut dress is created. I'll be back later this week to share those donut masterpieces my kids will hopefully complete. I'm off: Time to Make the Donuts, y'all!

 photo signature_zpsd10b3273.png

Sunday, April 26, 2015

DIY: Bedazzled Bros // What the Art Teacher Wore #138

Sunshine Day Monday: I was having a very Brady moment on Monday, can ya tell? Since everything is now in bloom, I decided to bust out all my flowery dresses and look the part. dress: vintage, gift; necklace: vintage, my mom's; blouse: gift; tights: Target; shoes: Clarks

Hello thar, all y'all! I hope your week was a wonderment of wonderful. Mine was on this side of groovy with a great interview with the lovely Heidi Easley on Tuesday (pretty sure you can still check it out here). I'm so thrilled that the interview brought some new friends here (welcome, y'all!) and if you entered to win the drawing, the winner-winner-chicken-dinner will be announced this Tuesday (and if you've no earthly idea what Ima talkin' about, then, well, you aren't entered to win nuthin except a big ole "howdy!" from moi). 

My weekend was super fun as I took an incredible hat-making class at The Frist Center for Visual Arts here in N'ville! If you follow me on the instagram-crackers, you saw some of the incredible hats and even my (nearly complete) disaster-piece. I'm hoping to have it finished off and a lil DIY-in' blog post for you this week. So, stay tuned!

AND speaking of DIY...did you notice that this isn't just a What the Art Teacher Wore post but also a DIY number? That's right. You see, not too long ago, I was interviewed by the AOE Live dudes: Tim Bogatz and Andrew McCormick (you can catch the interview here, kids) and it came out that the guys were really suffering from some severe fashion deficiencies. And while I promised to jazz up their ensembles by bedazzling their khakis, I opted to take it to the next level by sparkle-izing their ties. Because nothing says Pro-fessional Art Edumacator like studs and rhinestones. AMIRIGHT?!

So, I present to you...DIY: Bedazzled Bros 
Here you see Tim proudly wearing his wonky starburst patterned tie (did I mention this was my first Bedazzled Rodeo?! That thing is not for the novice crafter, ahem. Do any colleges offer a bachelors in bedazzling? Cuz I could use a course or three.)
Personally, I think Andrew's tie is a nice subtle kind of glam. Which totes fits his personality, doncha think?
 Oh, what's that?! You too wanna make a bedazzled tie? Well, of course you do! It's all the rage in art teacherin' dude land. You'll need to start by heading to your local thrift store and stocking up on ties. Next up: hop in your time-travelin' machine and pop on over to the mid-1990's and scoop yourself up one of these gems. Pardon the pun:
 Lookie there! It's TANA FROM NATIONAL TV! (like, who the heck is Tana, y'all?!). I'm so excited that I was able to add some "sparkle and excitement" to Tim and Andrew's otherwise sparkle-less and unexciting wardrobe. P.S. My apologies for the awkward close up of the lady's jeans. Look away, friends! Scroll down, SCROLL DOWN.
 Whew, camel toe crisis averted. Back to our regularly scheduled bedazzling. So the tool is really quite easy: insert said bedazzle into the machine and press down. It kinda works like a stapler, y'all. 
 The sparkly beauty is practically blinding. 
And, wait, what's this?! An artist always signs her masterpiece, y'all. It'll be worth the big bucks some day (and by "big bucks" I mean maybe a whole dollar; and by "some day" I mean this summer when they attempt to sell 'em at their yard sales). 
By the way, I'm currently selling prints of this glorious image in my etsy shop. The proceeds are going back to the mid-1990's to help them aid in better fashion-choice making. Thanks, guys! Every contribution helps!

Now, what was I wearing again...
 Ah, Yes, Flowers on Tuesday: Somedays, I walk into Anthro and the clothes are practically free. Like this $19 dress I managed to skip out the door with. However, I've put myself on a Anthro-shopping-hold as I have entirely too much clothing from there. I'm gonna make more of an effort to start stitching all my clothes. Who's with me?! necklace: made by me, DIY here; dress and shoes: Anthro
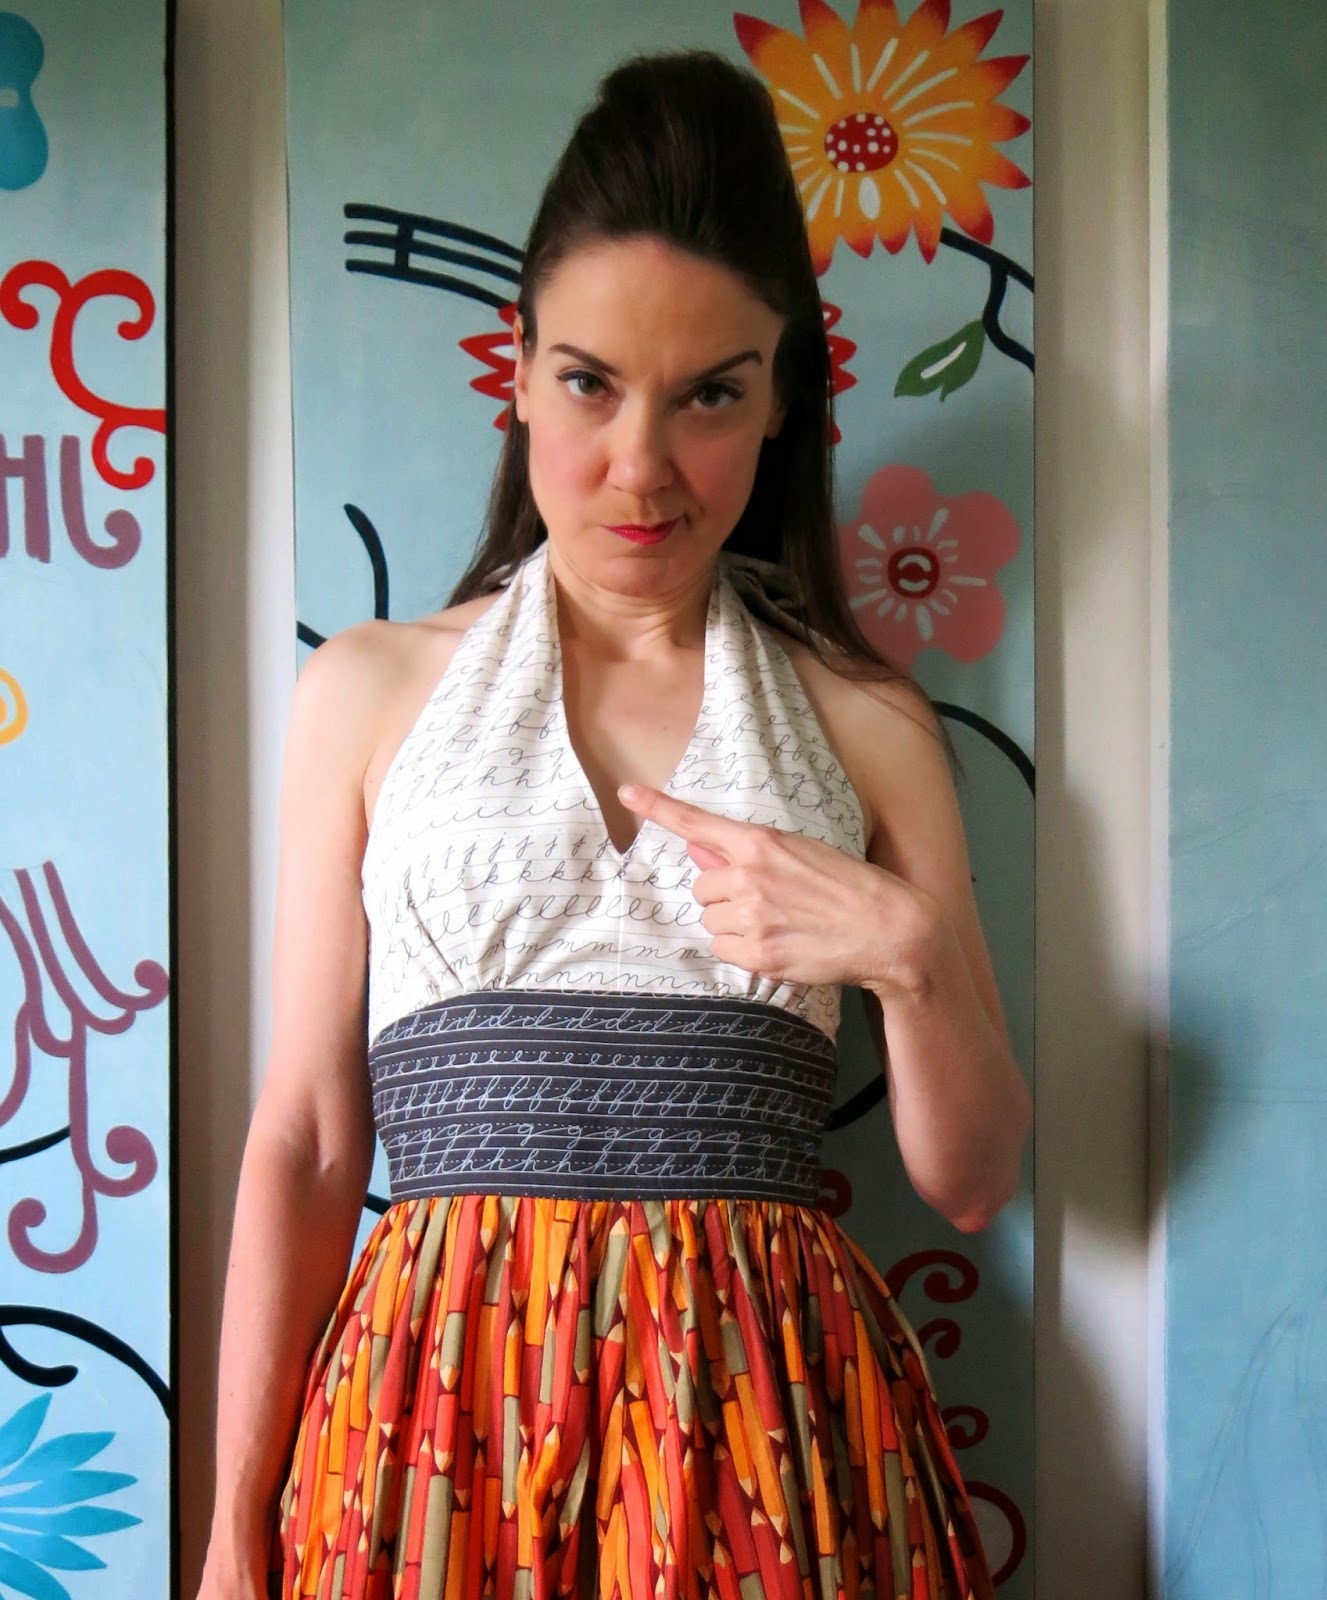
 Wear Your Dress Backwards Wednesday: Sometimes a dress just looks better worn backwards. Like this Anthro number. The ruffly part is meant to be in the back but I think it's way more flattering this way. dress: Anthro; belt: Pin Up Girl Clothing; tights: TJMaxx; shoes: ew, I hate these things! But my feet are happy so there's that.
Floral Friday: Yeah, so I missed snapping a pic on Thursday, my bad. Believe me when I say it was another floral number, ermkay? blouse, brooch and skirt: vintage; sweater and sandals: Target


 photo signature_zpsd10b3273.png

Thursday, April 23, 2015

DIY: Standardized Dress-ting

Okay, y'all. Before you start in on the "OMGahhh, how you get all this sewing stuff done?!" I gotta confess: I started this dress over the summer. 'Twas gonna be apart of my Fall Back-to-Schoolin' 2014 Collection (yes, such a thing actually exists in my wee mind). But when I got just a breath away from being finished (like, we're talking a zip and a hem. You'll notice I never did get to that hem. Ahem.), I up and quit on this here number. I can't even remember why, y'all. But if I were to guess, I'd say something glittery caught my eye and I dropped the dress like an ole stinky non-glittery sock. Howeverness, with my sweet students getting ready to enter into Standardized Testingland, I decided to finish what I've now dubbed my Standardized Dress-ting Ensemble. 
Get those No. 2 pencils (shoes) sharpened, y'all, and try to ignore my inappropriately low neckline. Nothing to see there, folks, move along, move along. 
So I got a wild hair at Joann's whilst pattern shopping and scooped up this number. Like, why? I know I just can't/shouldn't do low V-necks. I've never in my life owned a cleavage nor have I ever developed beyond that of a 12 year-old girl in the upper lady lumps department. But I just swooned at the pretties on the pattern package and was sold. Le sigh. Maybe the Boob Fairy will come to visit if I leave my training bra under my pillow. What y'all think? 
Let's talk about something I do have plenty of: fabric! So the fabric I used for this dress was from my stash, believe it or not. Which means if you want the same, you gonna have to hit either ebaytown or etsyville. This here pencil fabric is Kaffe Fassett and I love the retro-y color palette. I did find some here for y'all. 
I am so totes in lurve with this fabric mostly cuz it really reminds me of elementary school and the one subject I was super good at: Cursive Handwriting. I didn't have art classes growing up so those purple ditto sheets where I practiced my loops and letters made me so stinkin' happy. Of course, these days, cursive writing has been taken out of most curriculums which is a stinkin' shame as research shows that it enhances reading. I was jotting down notes just today while teaching a class and one of my fourth grade students quipped, "I have no idea what you just wrote. I can't read cursive." What a shame! I've decided to introduce cursive writing my last week of art teacherin' this year. How about y'all? Do you write in cursive? Have you ever created a cursive writing lesson or incorporated it somehow?

 Oh, pardon moi. Lemme step off my cursive-y, boobless soap box and get on with the post at hand, ermkay? So, like, let's talk about that unfinished hem. I did surge the thang but I wasn't sure about length and I was just to excited to share it with you to wait. But if you look at the photo on el lefto, you'll notice a break in the fabric where my crinoline ends. I think that would be a great length to hem my dress. Whuh bout y'all?
I am glad I gave this pattern a go because I do keep recycling the same pattern. So this was like a learning experience or whatever. I guess. 
 I am highly aware of my right boob gap. Zup wit dat?!

 Whateves, let's talk pencil crown, shall we? 
 For this baby, I used a thick headband and my stash of golf pencils. You know from my (nonexistent) golfing days. I sharpened a bunch of those bad boys (which makes for the best Back-to-School smelling crown everrrrr.)
And just started gluing 'em all over the headband. In a semi-sensical order. I think the kids are gonna totally dig it. 
By the way, this is my second year to Dress for the Test. Last year I felted a coupla testy numbers like this top.
 And that sweater
And there you have it! A Standardized Dress-ting number for all y'all bubble-fillin', test-takin', rather-be-cursive-writing kids out there. Now if you'll excuse me, I have a freshly sharpened pencil crown I need to sniff, er, I mean, polish. Chao! 
 photo signature_zpsd10b3273.png