Hey, guys! Can I just say how happy y'all have been making me? I've heard from so many of you that are weaving in your art room and beyond (I'm actually working on a weaving outside of the art room too, I can't wait to share that with you!). Thank you so much for your emails with helpful tips, tricks and projects as well as all the weaving love! Y'all are seriously the best.
Today I thought I'd share with you a weaving project that is great for a coupla reasons which I shall share with you in glorious bullet points as I'm feeling very bullet-pointy:
* First, it can be as easy or as difficult as you decide to make it. Weaving a basic God's Eye is simple but Ima gonna show you some that'll blow your mind.
* Second, it's a great project for those early finishers that still have the weaving itch. I use much of the same weaving terminology when explaining it to the kids which not only reinforces vocab but also helps the process click even more.
* You can throw in some culture and contemporary art while you're at it! The Ojo de Dios was originated by the Huichol people of western Mexico. Originally, they were created when a child was born. Each year, a new layer of yarn was added to the weaving. Once the child turned 5, the weaving was complete and hung in the child's home. It's believed to be the eye of God watching over and protecting the child. Cool, right?!
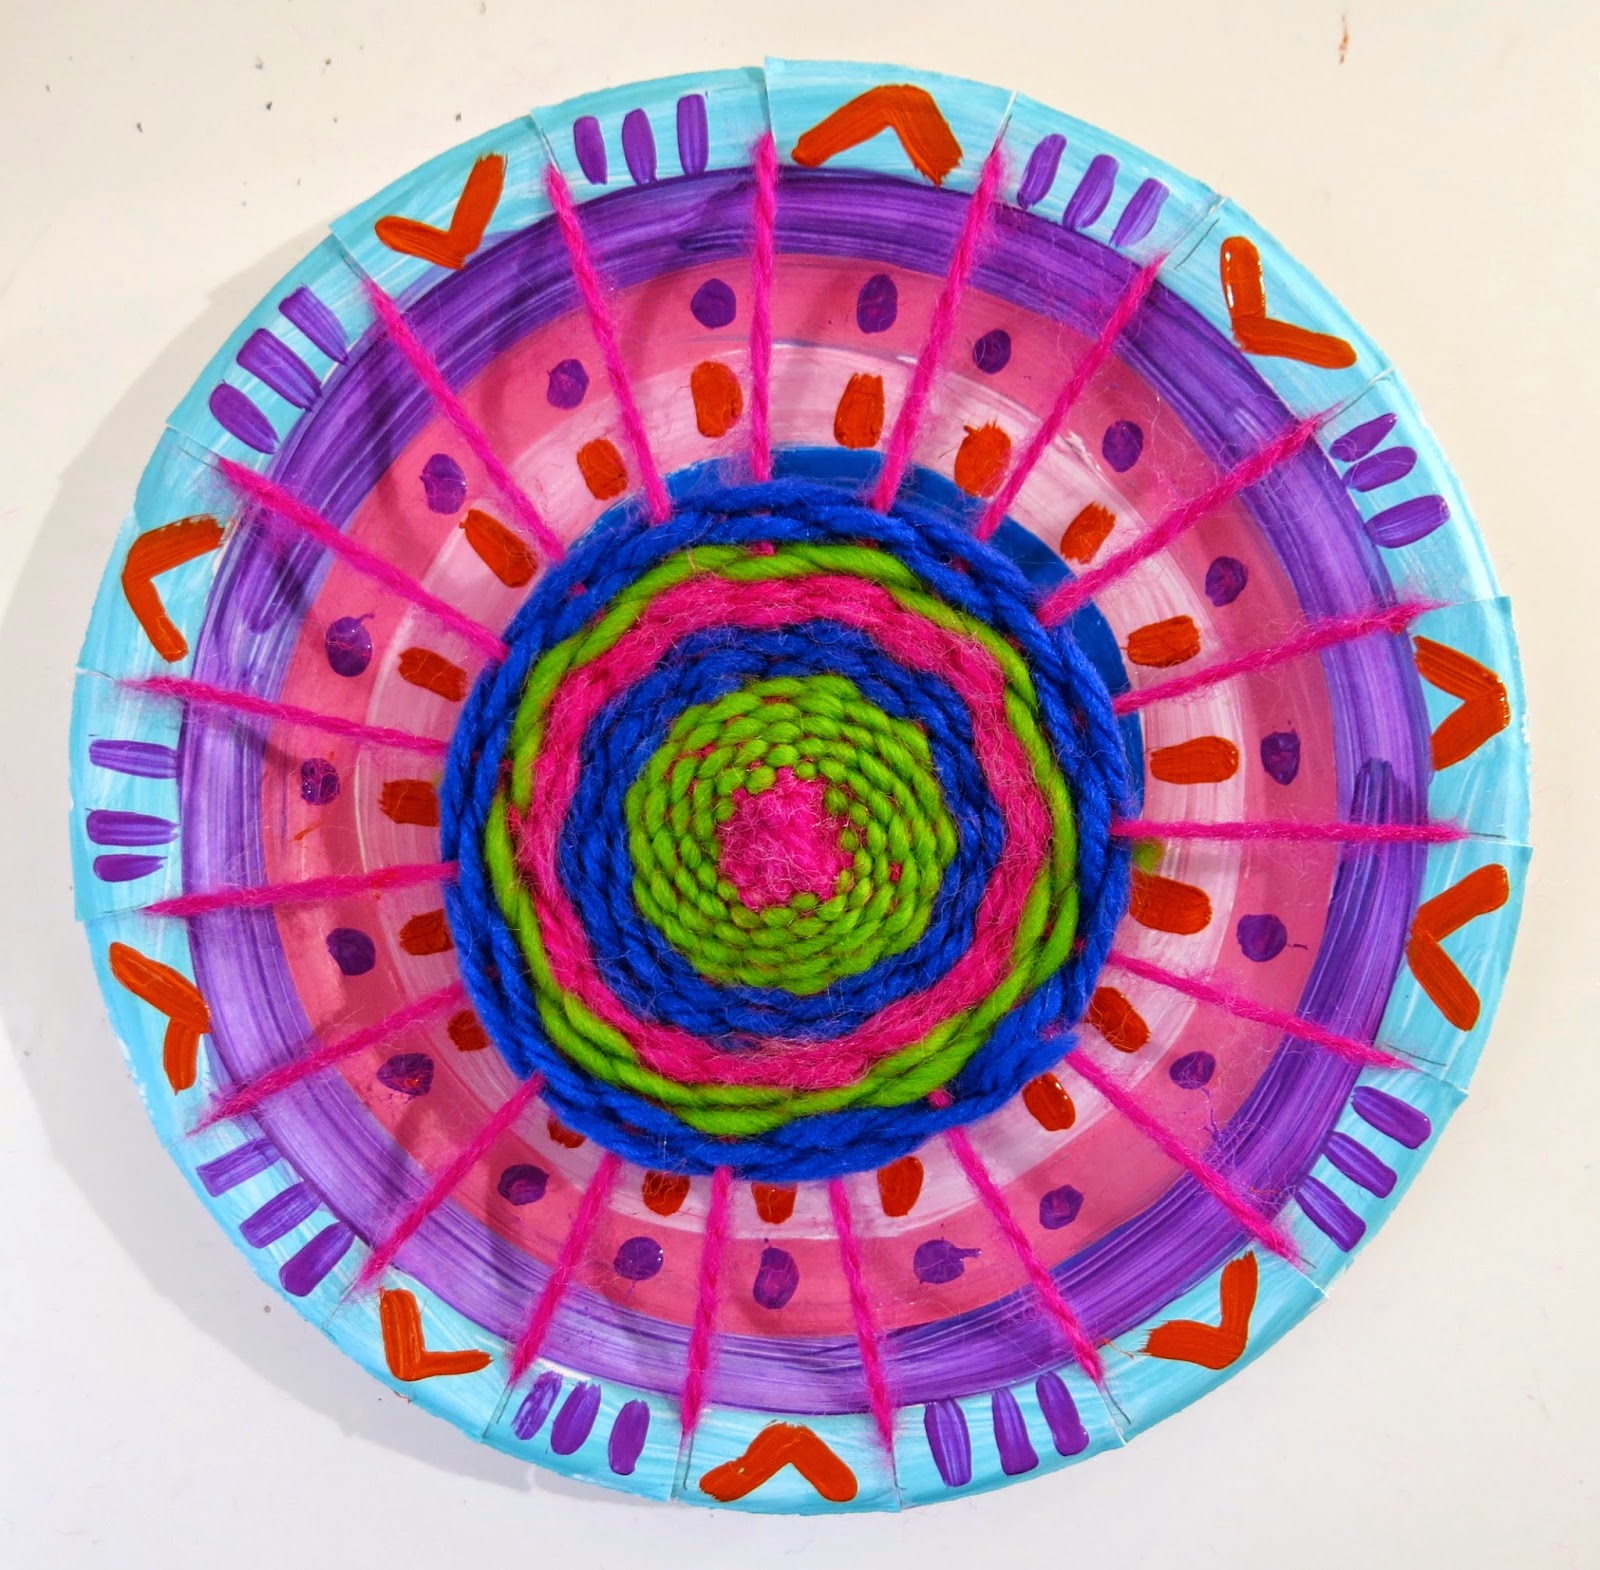
My kids have thought so. This weaving was completed by a third grader just this afternoon! I shared with the kids a wonderful God's eye I'd found at the thrift store and they were interested in embellishing theirs further. This worked out perfectly during art class as I had several kids finishing off other projects.
So a traditional Ojo de Dios looks like this. I scored this beauty for a coupla bucks at the thrift store. The kids were so inspired by it today!
However, weaving Ojo de Dios isn't limited to the Huichol people. There are many contemporary weavers creating stunning versions. I'm so inspired by these beauties by Jay Mohler that I'm thinking of creating my own! Has anyone every tried their hand at this kind of weaving? I'd love to learn more.
So, just how does one go about creating a simple Ojo de Dios? I created a coupla clips for you! So, get your kitten mittens on some sticks (or straws as I'll show you in the clip) and let's get started!
In my room, we didn't use straws but various sticks glued together. Like popsicle sticks, chop sticks and toothpicks!
The weaving comes together very quickly. You'll be surprised how fast and fun these weavings are!
I mean, the majority of these were completed in one art class! These were created by my third grade kids.
And these are by my second graders! We added brass bells to the ends of our weavings with Twisteez wire. A paper clips was hot glued to the top so that they could be easily hung for display.

Popsicle sticks are the perfect thing for first time weavers. The flat surface of the stick gives the kids plenty of room to number each stick (see video clip for complete details). And, for some reason, I found that the kids grasped the process of weaving much better on these sticks as opposed to other sticks. I've no clue why. Whatcha y'all think about that? A kid-mystery, says me.
I just wanted to give you a sneak peak at the backside. The front and the back of the weavings look very different. I stress that to the kids over and again. This is the key to knowing whether or not you are doing it correctly. Again, if you watch the clip (they're short, I promise), you'll get what I'm saying.
I'd love to hear about how your weaving adventures are going! Have you had your kids create Ojo de Dios before? What tips and tricks do y'all have?
For more weaving goodness, feel free to check these posts out, y'all!
The Weaving Series: Paper Loom Weaving (perfect for first grade)
The Weaving Series: Straw Weaving (second grade and up)
The Weaving Series: Circle Loom Weaving (second grade and up)
The Weaving Series: CD Loom Weaving (second grade and up)

Today I thought I'd share with you a weaving project that is great for a coupla reasons which I shall share with you in glorious bullet points as I'm feeling very bullet-pointy:
* First, it can be as easy or as difficult as you decide to make it. Weaving a basic God's Eye is simple but Ima gonna show you some that'll blow your mind.
* Second, it's a great project for those early finishers that still have the weaving itch. I use much of the same weaving terminology when explaining it to the kids which not only reinforces vocab but also helps the process click even more.
* You can throw in some culture and contemporary art while you're at it! The Ojo de Dios was originated by the Huichol people of western Mexico. Originally, they were created when a child was born. Each year, a new layer of yarn was added to the weaving. Once the child turned 5, the weaving was complete and hung in the child's home. It's believed to be the eye of God watching over and protecting the child. Cool, right?!
My kids have thought so. This weaving was completed by a third grader just this afternoon! I shared with the kids a wonderful God's eye I'd found at the thrift store and they were interested in embellishing theirs further. This worked out perfectly during art class as I had several kids finishing off other projects.
So a traditional Ojo de Dios looks like this. I scored this beauty for a coupla bucks at the thrift store. The kids were so inspired by it today!
However, weaving Ojo de Dios isn't limited to the Huichol people. There are many contemporary weavers creating stunning versions. I'm so inspired by these beauties by Jay Mohler that I'm thinking of creating my own! Has anyone every tried their hand at this kind of weaving? I'd love to learn more.
So, just how does one go about creating a simple Ojo de Dios? I created a coupla clips for you! So, get your kitten mittens on some sticks (or straws as I'll show you in the clip) and let's get started!
I mean, the majority of these were completed in one art class! These were created by my third grade kids.

Popsicle sticks are the perfect thing for first time weavers. The flat surface of the stick gives the kids plenty of room to number each stick (see video clip for complete details). And, for some reason, I found that the kids grasped the process of weaving much better on these sticks as opposed to other sticks. I've no clue why. Whatcha y'all think about that? A kid-mystery, says me.
I just wanted to give you a sneak peak at the backside. The front and the back of the weavings look very different. I stress that to the kids over and again. This is the key to knowing whether or not you are doing it correctly. Again, if you watch the clip (they're short, I promise), you'll get what I'm saying.
I'd love to hear about how your weaving adventures are going! Have you had your kids create Ojo de Dios before? What tips and tricks do y'all have?
For more weaving goodness, feel free to check these posts out, y'all!
The Weaving Series: Paper Loom Weaving (perfect for first grade)
The Weaving Series: Straw Weaving (second grade and up)
The Weaving Series: Circle Loom Weaving (second grade and up)
The Weaving Series: CD Loom Weaving (second grade and up)


