Hello there, weavers! I present to y'all today one of my fave weaving projects: Tree Weaving! If this looks familiar to you, that's cuz I shared this process with you a coupla years back and it's one of the most viewed posts on this here blog (which means, like 10 people read that post, yay!). I hope means a good amount of y'all have given it a go!
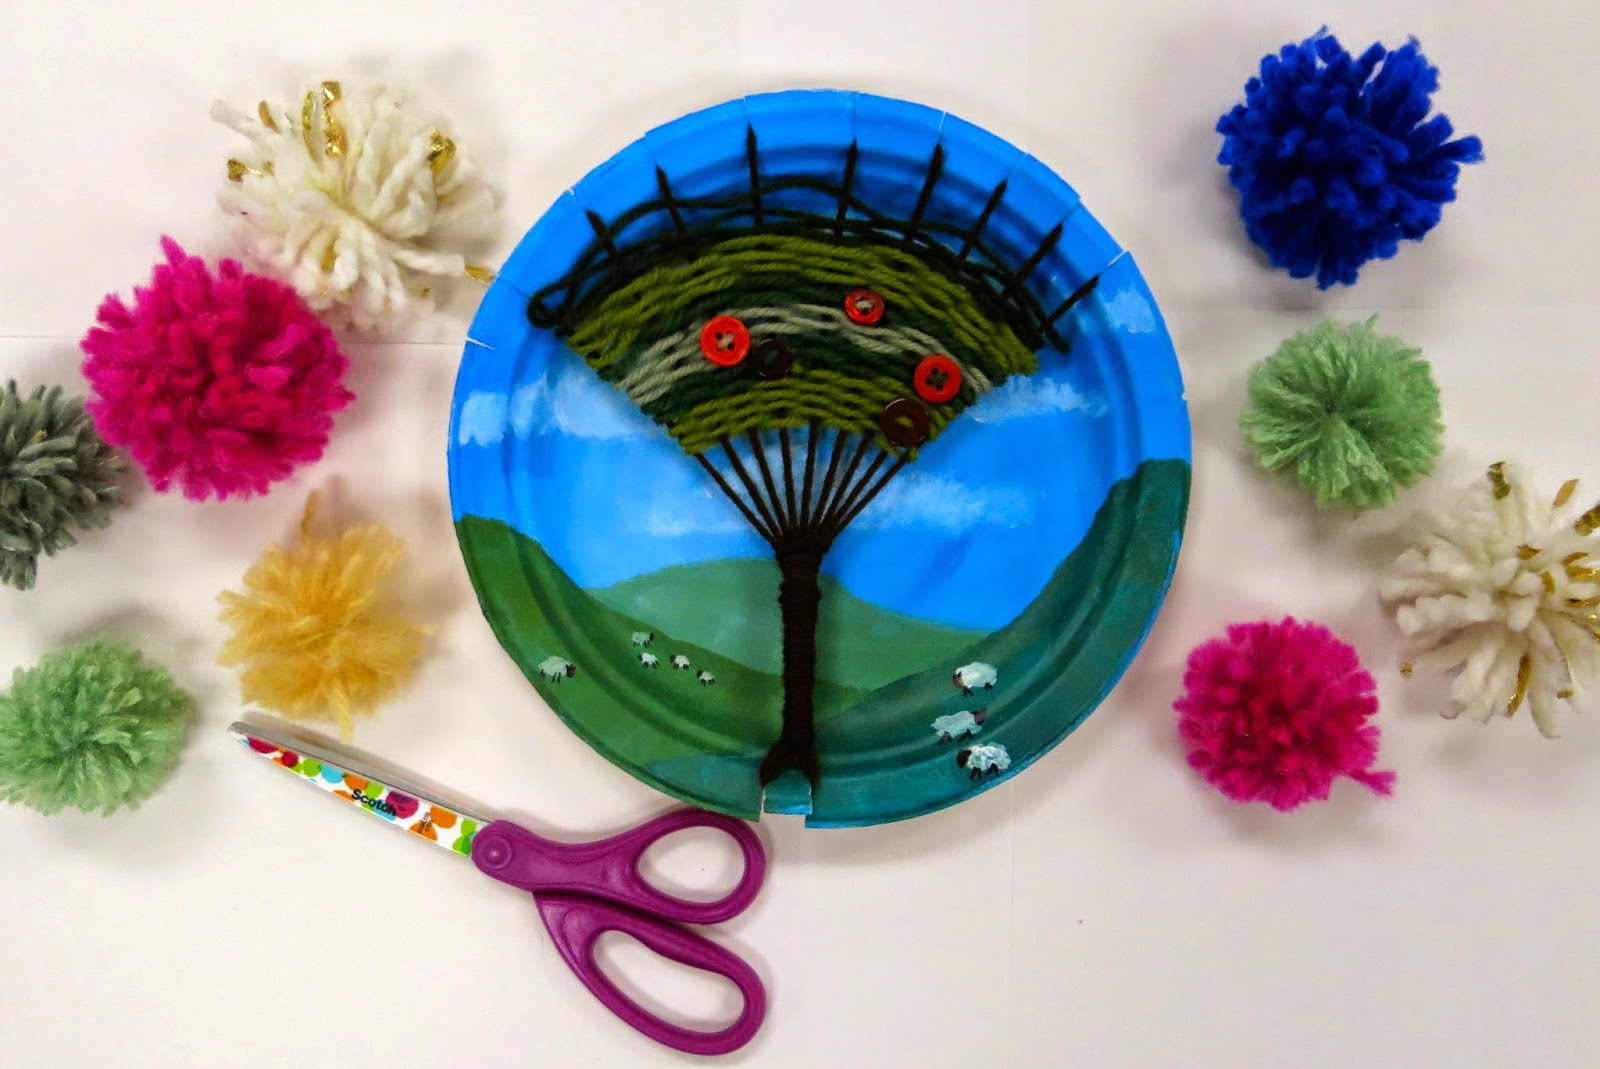
My third graders finished these lovelies off in the early fall with summer still on their mind. However, many of them opted to weave with fall colors for the leaves which turned out super cute as well. I originally stumbled upon this idea when trying to dream up a different weaving experience for this age group as I was kinda feelin like our past project of weaving on peg looms had grown kinda stale (read: I was super tired of it. I have a really hard time repeating projects. Are y'all like that? It would make my life so much easier if I did!). So, playing around one day, I created this: Which then I got me so excited I created another one!
So just what does one need to create a tree weaving? Lemme see, rustle up the following: * Chinet Plates. Don't skimp, y'all. They are pricey but they are the best. The thickness of the plates is what makes them a stable weaving surface. * Paint. I don't think it matters what kind. The Chinet plate is so thick, you might be able to even use watercolor on it. Hmmm... * Warping Yarn. I had a variety of browns, tans and grays on hand for the tree trunk. * Weaving Yarn. Whatever colors your heart desires! Let's get started. For the complete lesson of how we painted these plates, please follow this link. It's way more in-depth about that portion of this here lesson. Today, I'm just sharing clips of how to do the actual warping and weaving.
In this clip, I'll walk you through cutting the correct amount of notches in your plate and warping your loom. If you don't like hearing the sound of my voice, go here for the visual step by steppies.
I'll show you a coupla different methods of weaving. Start at the top or the bottom, it's up to you. Definitely give it a go first before unleashing the kids on those plates.
My early finishers worked on their artists statements which they glued to the back of their plates. They had a choice, they could either write about the product, the process or something they learned. In a paragraph form, of course (cuz, you know, if you don't remind them of that, you'll get the word "cool" or "grate" or "ausome" on the back of the plate. Not that my students would ever do that, cough, ahem).
What I'm finding in these self-reflection/artist statement writings is that the kids often talk about how they could do better. I like that. Not that I would ever say that to a kid but I like that they are motivated to try harder.
Need more weaving goodness? Here you go, kids! The Weaving Series: Paper Loom Weaving (perfect for first grade) The Weaving Series: Straw Weaving (second grade and up) The Weaving Series: Circle Loom Weaving (second grade and up) The Weaving Series: CD Loom Weaving (second grade and up) The Weaving Series: Ojo de Dios (second grade and up)
Not only is this one of your most viewed posts, but I have the feeling it is the most often borrowed and used. I've seen it on many other blogs, but I believe yours is probably the source for all of them.
Hi Cassie, Have you ever tried combining the tree weaving with Klimt? I'm hoping to try your idea using gold on the plates or in the yarn... Just wondered if you ever taught the two together or if you had any words of wisdom before I take it on. :) Thanks!
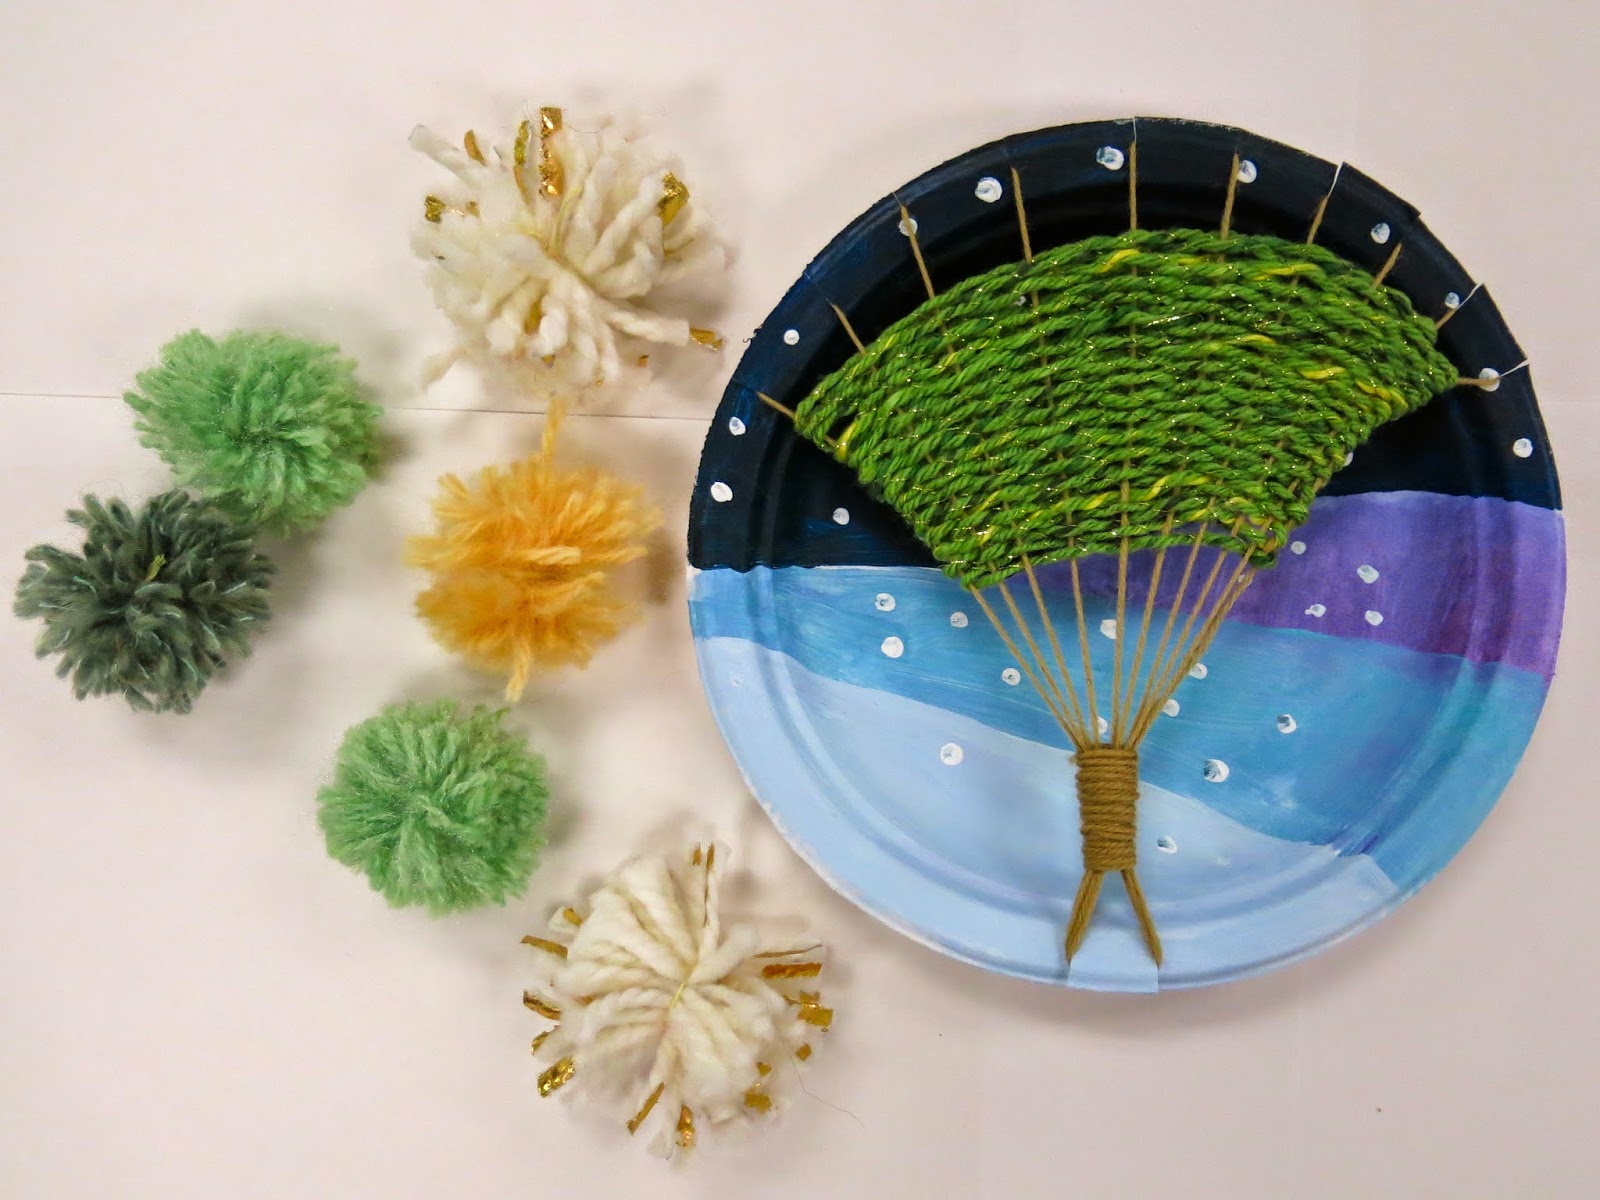
I wanted to share one of my 'tweaks' this year. I have been doing this tree weaving project with third graders for 2 years now (after first seeing one for your posts: first fall trees, last year cherry blossom trees with a Japanese inspired background (water, bridges, Mt. Fuji). The students love it! This year I wanted to try the winter theme with snowy blue ridge mountains in the background (hello from VA), but weaving leaves into winter trees doesn't make sense for us. So, I flipped it upside down, and we're weaving snow topped evergreen trees. They are looking great so far! I appreciate your insights and the inspiration you provide ;)


Great idea. Looks fantastic....
ReplyDeleteNot only is this one of your most viewed posts, but I have the feeling it is the most often borrowed and used. I've seen it on many other blogs, but I believe yours is probably the source for all of them.
ReplyDeleteWhat a wonderful idea! Looking forward to making it with kiddos :)
ReplyDeleteThis is beautiful! What grade do you teach this to?
ReplyDeleteHi Cassie,
ReplyDeleteHave you ever tried combining the tree weaving with Klimt? I'm hoping to try your idea using gold on the plates or in the yarn... Just wondered if you ever taught the two together or if you had any words of wisdom before I take it on. :)
Thanks!
I had never thought of Klimt but what a fabulous idea! Love to hear how it goes with your kiddos :)
DeleteI wanted to share one of my 'tweaks' this year. I have been doing this tree weaving project with third graders for 2 years now (after first seeing one for your posts: first fall trees, last year cherry blossom trees with a Japanese inspired background (water, bridges, Mt. Fuji). The students love it! This year I wanted to try the winter theme with snowy blue ridge mountains in the background (hello from VA), but weaving leaves into winter trees doesn't make sense for us. So, I flipped it upside down, and we're weaving snow topped evergreen trees. They are looking great so far! I appreciate your insights and the inspiration you provide ;)
ReplyDelete