There is so much stress at the start of the school year. All the set up, the creating the rules and routines, the prep and organization...it just doesn't end! AND THEN the time spent in meetings and ice-breaker-land when all you can think about is
I HAVE SO MUCH TO DO!
Well, have no fear. I've put together a blog post with some of my very favorite Back to School art lessons. Many of these links to blog posts contain FREE handouts and always free videos lessons. I'm here to help, y'all!
Speaking of help...if you find yourself needing more on all things art teacherin, have you checked out my book Art Teacherin' 101? I can tell it's back to school season as I'm packing and shipping them out as fast as I can. This book walks you through everything to survive your first few weeks and create the best art teacherin' year EVER. You can pick it up here.
As I share my fave lessons to kick off the school year, I've broken them into a couple of categories. These are my favorite ways to start the school year:
* All About Me Projects...what a better way to get to know your students! And for them to feel comfortable in their amazing uniqueness. Those lessons can be found in this post with plenty of links to handouts.
* Sketchbooks...I love doing sketchbooks at the start of the school year and I've done it a ton of different ways. I added all of those in this blog post. Again, lots of free handouts and videos just for you and your studetns!
* Dot Day! More to come on this as I have SO MANY Dot Day lessons. But I did add several at the end of this post.
Let's begin with my favorite way to kick off the school year: collaborative projects! This builds community and school pride. We created these painted shapes on the first few days of school.
Working with our table team, we came up with a positive four letter word to describe our school.
We even created a bunting to explain our word choice. This one was a lot of fun and very impactful to hang throughout the school.
Many of our collaborative projects are based around a theme. One year, we based it on the song Wonderful World. This was one of my all-time favorite collaborative lessons!
Busting out paint on those first weeks of school can see...bananas. So why not try your hand at a less messy collab like this one?I mean, check out that result!
Another low-mess and low-stress lesson that yields a high impact is this one! All you need are colored pencils and sharpies! AND then a lotta help to put the beast together ;) But worth it, I promise!
This collaboration was a first grade lesson but, really, I think all grades would enjoy this one! We began by painting on paper plates which is perfect at the start of the year if your supply order of paper has yet to arrive. Anyone else always late with that supply order?! Lesson here. One of my favorite parts of creating large murals like this is getting the kids involved with creating the collage papers for the background. We call them Painting Parties and they are a fun activity for the start of the school year!You can find out details on our Painting Parties in this here blog post!
We did a mascot-themed series of back to school lessons one year. As the tigers, each grade did a tiger lesson. I share more about all the different grade-level mascots here. These cuties were created by first grade. Lesson video can be found in this blog post. I love doing Monochromatic Selfies with ALL o f my students at the start of the school year. And the video I created to teach this lesson is one of my most viewed on my YouTube channel. You can find the complete lesson and video here!Encouraging individuality is this collaborative lesson based on the book You Be You! We each created a colorful fish and added the to a large collaborative mural. Check it out here! And for a look into how we created these, check out this blog post. A collaborative mural that I put up and just could never take down because it was right outside my art room door and I LOVE it is the It's Okay to be Different mural!I mean...SO CUTE!
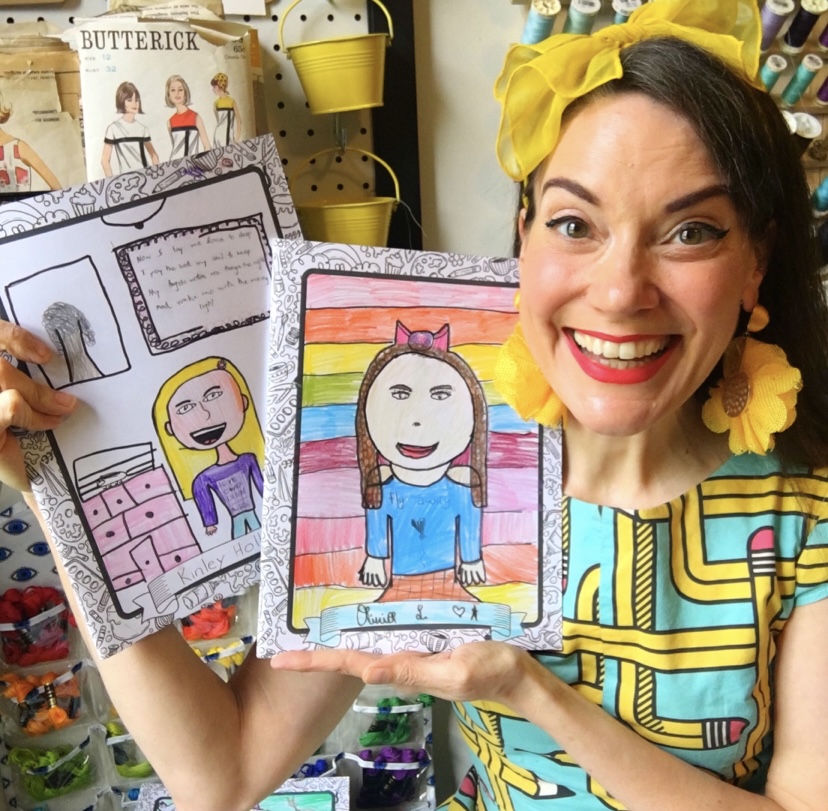
All About Me!
Back to school time is the best time to get to know your students...and for them to get to know one another! That's why Get to Know Me lessons are always a hit. I've done this a couple of different ways. One is by having the kids create a sketchbook with designs that share a little about them. This page was ultimately added to their sketchbook so they could share with family and friends when they took it home. Free sheet can be found here. If you want to take it a step further or have older students, why not have them create their own decoder sheet? I know they would love it!I REALLY love doing the same lesson with all grades at the start of the year (have you noticed?!). There's just so much stress at the start of the school year already. Why not make one thing a whole lot easier and set up the art room for a lesson for all. I mean look how pretty! This is another lesson I shared that was a big hit: Getting to Know Me paper sculptures! Lesson details here. We work on these for the first 3 art classes (where we learn rules, routines and the rest) before calling them complete. Then they immediately go in the hallway for the most colorful and fun display! See more here. This is the same lesson I love to do with kindergarten...but without the decoder sheet. It's always a hit!
Sketchbooks is another great way to kick off the school year. I've done sketchbooks many different ways. One of my favorites was upcycling file folders that were donated from the school secretary and let the kids experiment with paint and texture tools on the first days of art. Then we proceeded to add paper, staple and decorate them with fun Duct tape. All the details you could ever ask for right here. Looking for something a little less messy? We did our names on our sketchbook covers one year. I also tried my hand at having the kids use folders that they could add paper and handouts too. I liked this process a lot. You can find the free handout in this blog post. Did I mention I like to change things up?! Here's another version of our sketchbooks. These are half the size. On the first days of school, we used tempera sticks to decorate the papers which was a lot of fun. Each line told the view a little about us! You can see that lesson here.
I also...created my own sketchbook series with my pals at Prang! You can buy them on Blick, Amazon or any place you buy your art supplies! My kids loved these the best. I actually have created two sketchbooks. One is sold in packs of 12 called Sketch Smart and it's designed for the art room. The other is called Amazing Artist Sketchbook and it's sold individually...but has great pages that would be perfect sheets for Early Finishers! Dot Day!
I actually have so many blog posts on the different Dot Day back-to-school lessons we have done that I think I may have to make it into a separate post! I'll drop several of them here...but stay tuned. Or, if you just can't wait, you can use the search bar on my blog and most of them will pop up.
One of my most recent first day/Dot Day lessons was done on pizza pans! This was a HUGE hit with my students and it got everyone, kindergarten through fourth, painting within the first days of art class. You can check out the lesson here. Let's be real: covering all that you need to on those first days doesn't always leave a lot of time for big and elaborate lessons. So...try this one on for size! I have a great handout here. All you need are markers, crayons and circle stickers from the dollar store!
Still want more?! Here's a post on Dot Day ideas.
More first day of school lessons that I may have forgotten can be found here. And here! Oh, my....and HERE. This is what happens when you've been blogging and teaching FOREVER.


 No matter what, I do hope you and your amazing artists have fun! Please let me know if you do this lesson, I would love to see their awesome artwork!


.jpg)


.jpg)