If you are looking for the perfect Back-to-School art lesson; one that's low-mess and low-stress (because those first days of school are stressful enough!) then have I got the lesson for you!
Kid-friendly video here! But if you'd like visuals to go along with this or a lesson plan, my friends at Prang have you covered! Check it out here.
On that first day with my fourth graders, we got this far...which is pretty dang good! In that lesson, we were using a variety of color pencils but...what I really wish we would have had were THESE:
Now...I used to be a big fan of the Prisma Color Art Sticks...don't get me wrong, they are so stinkin' good but they are very pricey. These color pencils have that same rich color and buttery feel when you are coloring. They are larger so easier for students to hold and the triangular shape means they aren't constantly rolling off tables. They are larger than the average color pencil so I can't fit 'em in my pencil sharpener. BUT you should never put color pencils in electric sharpeners anyway as they have a fragile core and tend to break easily, regardless of the brand. So...get some of those metal hand-held pencil sharpeners and your students will be good to go!
I will say this: working on a size 9" X 12" sheet of drawing paper does make the drawing time-consuming. And it's exhausting for the hand with all the coloring...I say that from creating the video. My hand was tired! You could make the paper a smaller format for students to work on. This would speed up the lesson and make it so you don't have to hear "my hand is tired" all the time.
For the patterned background, it always helps to have idea sheets. So I created a FREE download just for you and your artists! Here it is:
If you decide to use this sheet in your classroom, I hope you and your students find it helpful. You do not have my permission to copy this sheet to sell it on Teacher Pay Teacher (yes, I have to say that because yes, people do it). Find this free download for you and your artists here!
If you want for your students to create patterns that perhaps symbolize something about them, you might want to share this sheet! Then, when you display their artwork, you can hang this next to their piece. It would be a great conversation starter for parents and family during Open House! Find this sheet here.
One of my favorite things to do when we return to school is have EVERYONE do the same lesson...it saves my sanity and it makes for an EPIC collaborative display. So put your own spin on this lesson and maybe deck the halls with colorful patterned selfies! You can check out this lesson (with video!) here.
Hello, friends! My kindergarten is wrapping up a self-portrait lesson and it's one that I've never done before with them. I'm super happy with the result and I wanted to share with y'all. Mostly I wanted to share some of the tips and tricks and things I learned in hopes that it may help you, if you decide to go down this rainbow/self-portrait path.
But first, let's chat about where this lesson falls in my kindergarten line of projects. We start the school year in kindergarten with Line Sculptures. From there, we moved on to Dot Painting. Following this, we painted Rainbows! Now, in the past, I completed this Line Unit before moving on but the last couple of years I've mixed it up a bit. I will bounce back to those lessons but for now, we are painting. We've also not finished our rainbows (by adding the sun and clouds) but that will happen this week.
My favorite supply for painting with kindergarten are tempera cakes. This is a little what my set up looks like. I always serve up paint (or have the kids get their own paint) on trays. This helps us carry the supplies easier and contain the mess incase there are spills. If you know me and my paint set up, then you know that we normally use dog dishes for water and a sponge. But sometimes we are using them for other things so this is my back up set up: water pot (these are my favorite and you can find them here, they are NO SPILL!), sponge for 'drying' our brush (sponges are called Dirty Ole Sponge Bob and I get them from the Dollar Tree) and a tray to hold the sponges (old sushi dishes!).
My tempera cakes are usually a mess. You can purchase tempera cakes in a set but they always end up getting crumbly or with a big hole in the middle. The tray the cakes come in is crap and a thing plastic. I noticed huge messes of paint left on tables a couple of years ago...which was from the thing plastic tray splitting and paint leaking out the bottom! So now I NEVER order the whole tray, just the refills like I do my pan watercolor paint. I love Prang's tempera cakes as well as Jack Richesons. I order all the colors in the rainbow. I use muffin tins and plastic condiment cups to create a palette for the kids. When we are painting our skin tone, the palette is changed to have only red, orange, yellow, white, brown and black. For painting rainbows, this is how I set up the palette.
We spend a LOT of time listening to this song and this song as well as learning the ASL for all of the colors in the rainbow! Then we hit the ground running and paint our rainbows.
Even in 30 minutes (the length of all my art classes), I always have early finishers! So early finishers are given another sheet of paper and told to paint a rainbow pattern. We wrap those up the following art class.
Hot Tip: Cut 2" off the paper that you plan to frame that way it's ready to frame on traditional size construction paper! I plan to frame these self-portraits on black construction paper 12"X18".
After listening, dancing and singing with the song, I demonstrated drawing a large self-portrait as the kids directed me. I asked "what should I draw first? What shape should I use? How big should I draw?"
Afterward, they were given paper and a permanent marker (I wished I would have had them use a regular black marker as the line would have been thicker). They did an amazing job!
The following art class, we learned all about scissor safety! And how to carry and wear our scissors correctly. Below is a video on how I explain scissor safety to my students (if you cannot see this video, try viewing this blog post from your laptop):
After cutting out, kindergarten glued their selfies to their rainbow backgrounds!
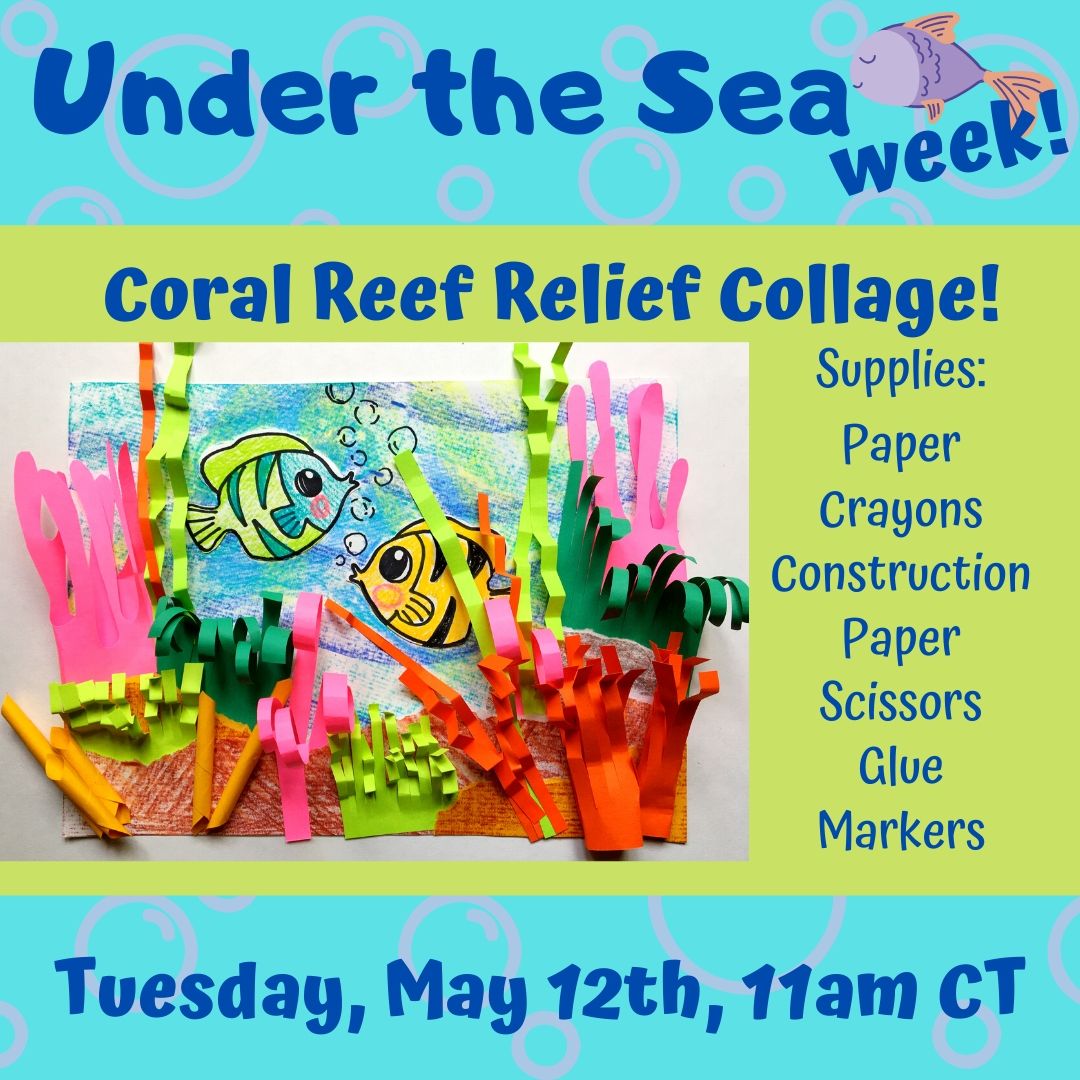
Yesterday we had so much fun creating our Snorkel Selfies and I think everyone would agree that their favorite part was creating the bubble print backgrounds. In case you missed, here is the video!
Here is the list of supplies I used:
If you would like to join the fun today, then you can grab these supplies:
To join my live art class, you can find me on my Instagram or my Facebook page at 11am CT. Or you can watch later on my YouTube channel. New videos are added to my channel everyday so you might want to subscribe!
Here they come to save the day! Second grade selfies are on their way, y'all. I've been sharing with you the self portrait projects my students have been creating for their Artome art show. So far, you've seen my Royal First Grade, the third graders' abstract self portraits inspired by Sandra Silbertzweig and the fourth graders Romero Britto-inspired selfies. For second grade, I decided to do a take on this fourth grade lesson from last year. The kids LOVED creating these super hero versions of themselves so I just had to share this lesson. Here is a video of my fourth grade's lesson:
Like I said, I did alter this lesson quite a bit to fit the needs of my wee second graders. Lemme tell you how we made them.
I see my second graders for 30 minutes, twice a week. So this here lesson is broken down into bite sized bits. On day one we: chatted about Vincent van Gogh and Starry Night. We spoke about creating movement and texture in our sky with line, shape and color. Using florescent oil pastel (my favorites are these), we created an evening sky. The following art class, we used watercolor in a cool cool palette to paint our skies.
The following class, we chatted about cityscapes and silhouettes. I found that there are plenty of images of city silhouettes online if you just do a quick google search. I printed off several and placed them on tables as idea sheets. We used watered down black tempera paint and small brushes to create our cityscape. Larger brushes were used to fill in the silhouette. I watered the paint down a pinch as I find that it makes the paint have more viscosity.
By the way, as y'all know, we ALWAYS have those early finishers. For my early friends, I had a wide variety of super hero idea sheets available. I tasked the kids to start sketching ideas for their superhero selfie if they happened to finish early.
After the silhouettes were painted, I cut up a TON of Post-It notes into tiny pieces for the kids to use as windows. I thought they were a great color for windows. The kids glued those onto their buildings and resumed their super hero sketches.
By the third week, the kids had completed their oil pastel sky, watercolor painting, silhouette city making and window collage. We were ready for the best part: our super heroes! Since the kids had been practice sketching for a couple of days, they were feeling really confident about diving into this final phase of their masterpiece.
To insure that their heroes would be a good size, I asked that the kids trace a circle for their heads. From there, we chatted about using shapes to create out bodies: rectangles for the torso and shapes for the arms and legs.
We also talked about masks, capes and symbols. When the kids were finished with their super hero, they traced them in Sharpie. Before coloring, we chatted about finding our skin tone. We also talked about limiting our color palette to three colors for our super hero costume. Checking out Superman, Spiderman and Ironman really helped them understand the idea of a limited palette.
Once complete, the super heroes were cut out VERY CAREFULLY before being glued into the cityscape masterpiece. The kids were so thrilled with their hard work... cannot wait to see them in a frame at our art show! I'll let you know how they look and how the art show goes. Until then!
If you follow me here, then you already know that all my kids are currently creating self-portraits for our upcoming winter art show with Artome. I shared what my third graders are up to here (Y'ALL. THEY ARE TURNING OUT SO AMAZING). My second graders are making a variation of this Super Hero Selfie project that I did with my fourth grade last year...I'll be certain to share those with you soon. My firsties are becoming royal with these Royal Self Portraits while kindergarten is doing a variation of Ain't Gonna Paint No More selfies. Because the Artome frames fit 9" X 12" artwork and I usually have my kids work twice that size, I've had to really rethink and adjust some of these projects. I'll be sure to share them with you in the near future. To get the ball rolling, I thought I'd share with you this videoed Romero Britto lesson and the fourth graders' results.
In case you don't know, Romero Britto is a Brazilian neo-pop artist who lives in Miami. I have shared his colorful work with my students when we did this project:
My fourth grade kids are so great at creating colorful designs and patterns that I thought this project would be perfect for them.
But I had to give 'em a little inspo first...
Before diving in to the video:
Here's what we cranked out the first day!
They did a bang up job and were pretty stinkin' proud. I teach doubled up fourth grade classes (meaning there are about 35 kids in the room). After doing the first portion of the video independently at our seats, we returned to the floor with clipboards, our papers and pencils to do a guided drawing together. I really liked having them watch the video as there were less interruptions. I did pause it every now and then to reexplain or allow the kids to catch up.
Once we were finished drawing on the floor together, the kids had mirrors at their seats. I told them that the guided drawing was a kind of template for them that they should alter and change once at their seats. I encouraged them to really study their faces, freckles, glasses and details and add them to their selfies. Once completed in pencil, they traced over their lines in Sharpie.
I really thought the kids would get further along than this...but they were so into drawing their likeness that I didn't want to rush them ahead. Next up, I'll provide them with some pattern idea sheets for them to draw their designs before adding color.
I really can't wait to see how these turn out!
I have noticed that teaching self portrait drawing to older kids is pretty tough. Not cuz they can't handle it but because they are so hard on themselves! So I really REALLY discourage any erasing until they are back at their seats. I tell them that it is "just practice" and that they are learning something new...and to go easy on themselves. Only when they return to their seats are they allowed to change and erase...but I don't allow them to get another piece of paper. When I had a students say, "I don't like mine," I asked, "what do you not like?" When she replied with an "everything!" I told her to pick one thing she liked the least and we worked on that. Then we picked the next thing and we worked on that. Within five minutes, she was much happier with her drawing. It's a process with this age group. You gotta do what works without letting them throw in the towel.
Next up, we'll add patterns of things that interest us (I used paint splatters and music notes in mine to give them some ideas) as well as color.
I'll be sure to share our progress! Until then, feel free to use this video and lesson in your art teacherin' world. I'd love to see what your kids create! Shoot me an email if you do.