Tuesday, May 24, 2016

In the Art Room: Art Show 2016

For as long as I've been at my current school (closing in on 15 years, y'all!), we've had an end-of-the-year/school-wide/hang-everything-up-that-every-kid-has-made-all-year art show. Along the way, I've learned many a thing which I've shared with y'all here and here. This year, I learned that I have The Best parent volunteers in the world (thank you Molly, Terri and Donna for making sure every child felt like a mini-Monet!) and that deer mesh and clothes pins were a match made in Art Show Heaven. Last week, I shared with y'all the clay display portion of the art show in our 1950's style diner. This week, I thought I'd take you on a tour of the halls of my school (with links to the projects shown) which were PLASTERED from floor to ceiling with masterpieces. Like, y'all. We didn't have a space to spare. Which truly is my style of decorating. So, let me show you around! Let's start in Kindergartentown. 
I see my kindergarten students once a week for forty minutes. Our clay tacos from the diner can be seen here. We worked on lines at the start of the year and built on that knowledge throughout with lessons on abstract painting, shape castle drawing and collage, winter landscapes, self portraits and guided drawings to name a few. 
One of my favorite lessons came from my buddy Laura Lohmann of Painted Paper. Those Model Magic flowers were so fun! 

I love doing guided drawings with my younger students throughout the year. That pigeon is an example. We read Don't Let the Pigeon Drive the Bus, which is short and awesome, draw together and work in watercolor paint. This reinforces line, shape and color. Not only that, but guided drawings build confidence in my students. If you've never done guided drawings with kids or are new to teaching art to children, I've really learned a lot from this book over the years. 
Of course, selfies and abstracts are something that kindergarten has down, y'all. Here's a link to my fave self-portrait lessons
With kindergarten, I usually stick with the same lessons, unlike all my other grades. Although, I do like to change the lessons up a bit. Here is an altered version of our winter landscape lesson
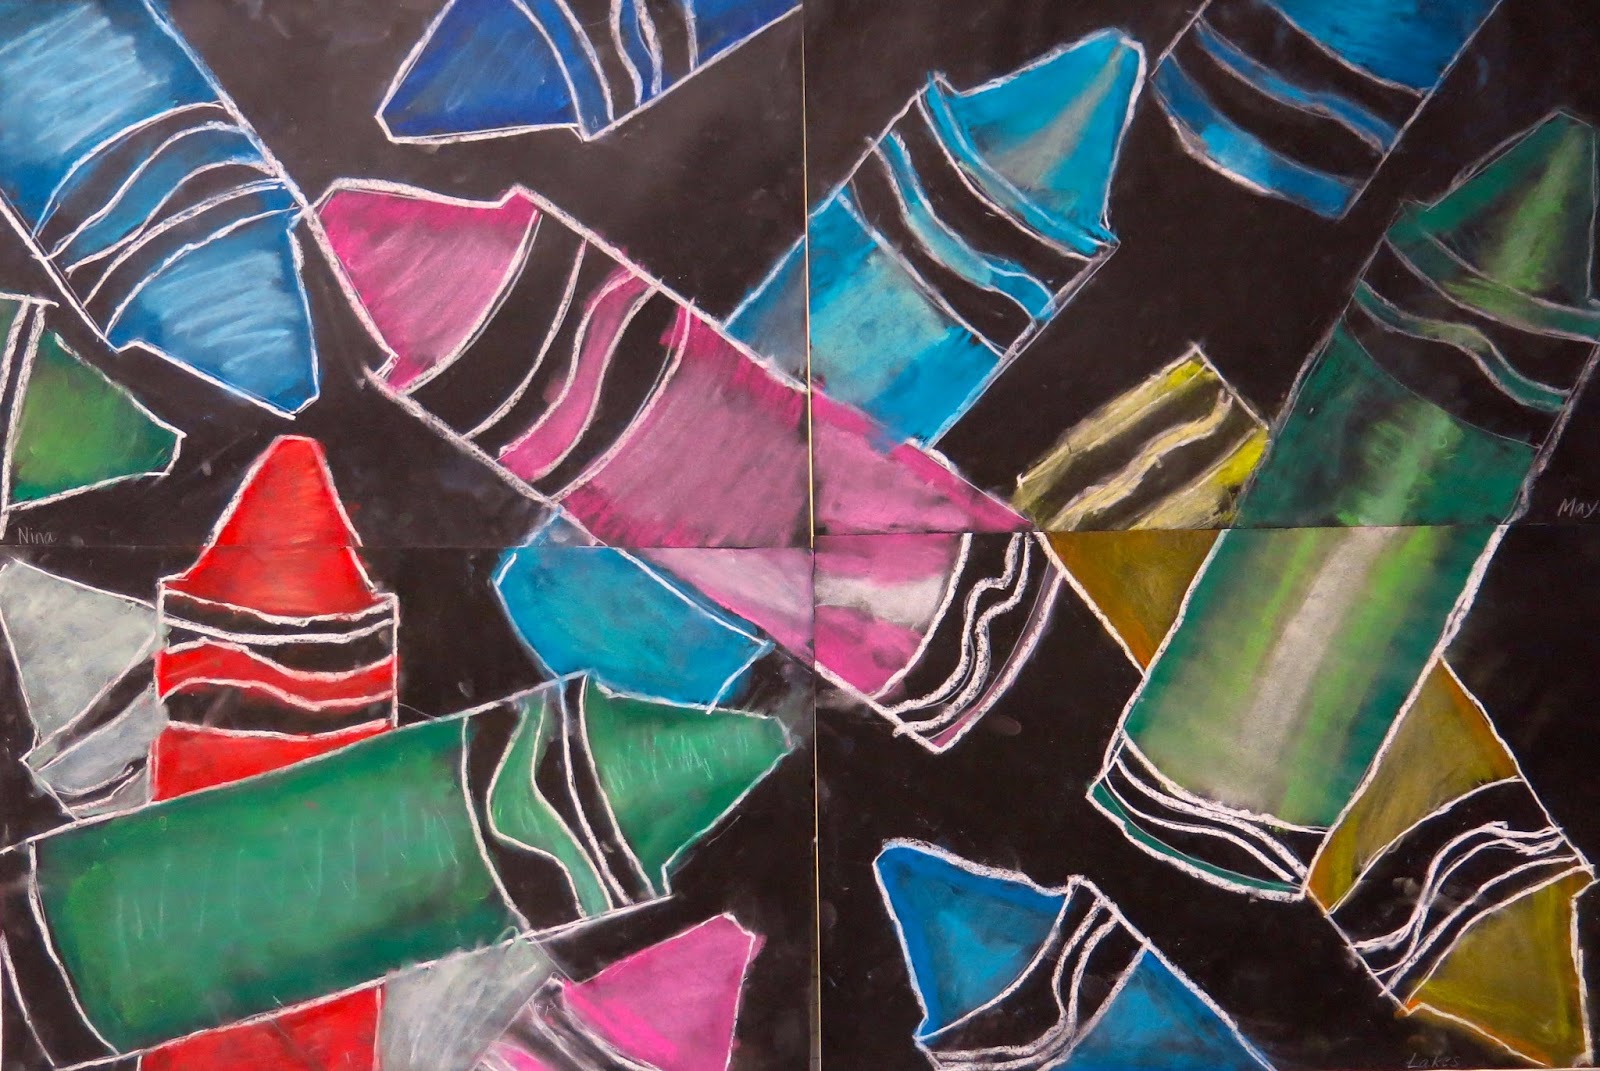
First grade comes to art twice a week for thirty minute blocks. I don't know how they did it, but first grade ended up with the most amount of work out of all the grades. I mean, that's ONE class, y'all! AND that's not even all of their work.
We did so many fun lessons this year. From the van Gogh-inspired trees to the Robert Indiana printed LOVE, these were a busy bunch of artists. 
 We did these selfies at the start of the year and those stars at the end. 
 Of course, they went all mad scientist on me! 
Occasionally, if we are between projects or simply have one art class before heading into a break, we'll create a guided/painted project too. That's how these Party Pandas came to be! 
 Second grade has the same schedule as my first grade: twice a week/thirty minutes. They were also super busy this year!
 Many of you have asked about the deer mesh and Gaffer's tape. You can see the tape at the bottom in this photo. More tape is used across the top just so the mesh does not sag. Then the tape is hidden behind artwork by my super crafty mama helpers. 
 One project we always do is circle loom weaving, a kid fave. And we created these Heather Galler-inspired cups of hot cocoa
Everyone in the school started the year learning about Rousseau. I love the second grade collaged version of his adventures! 
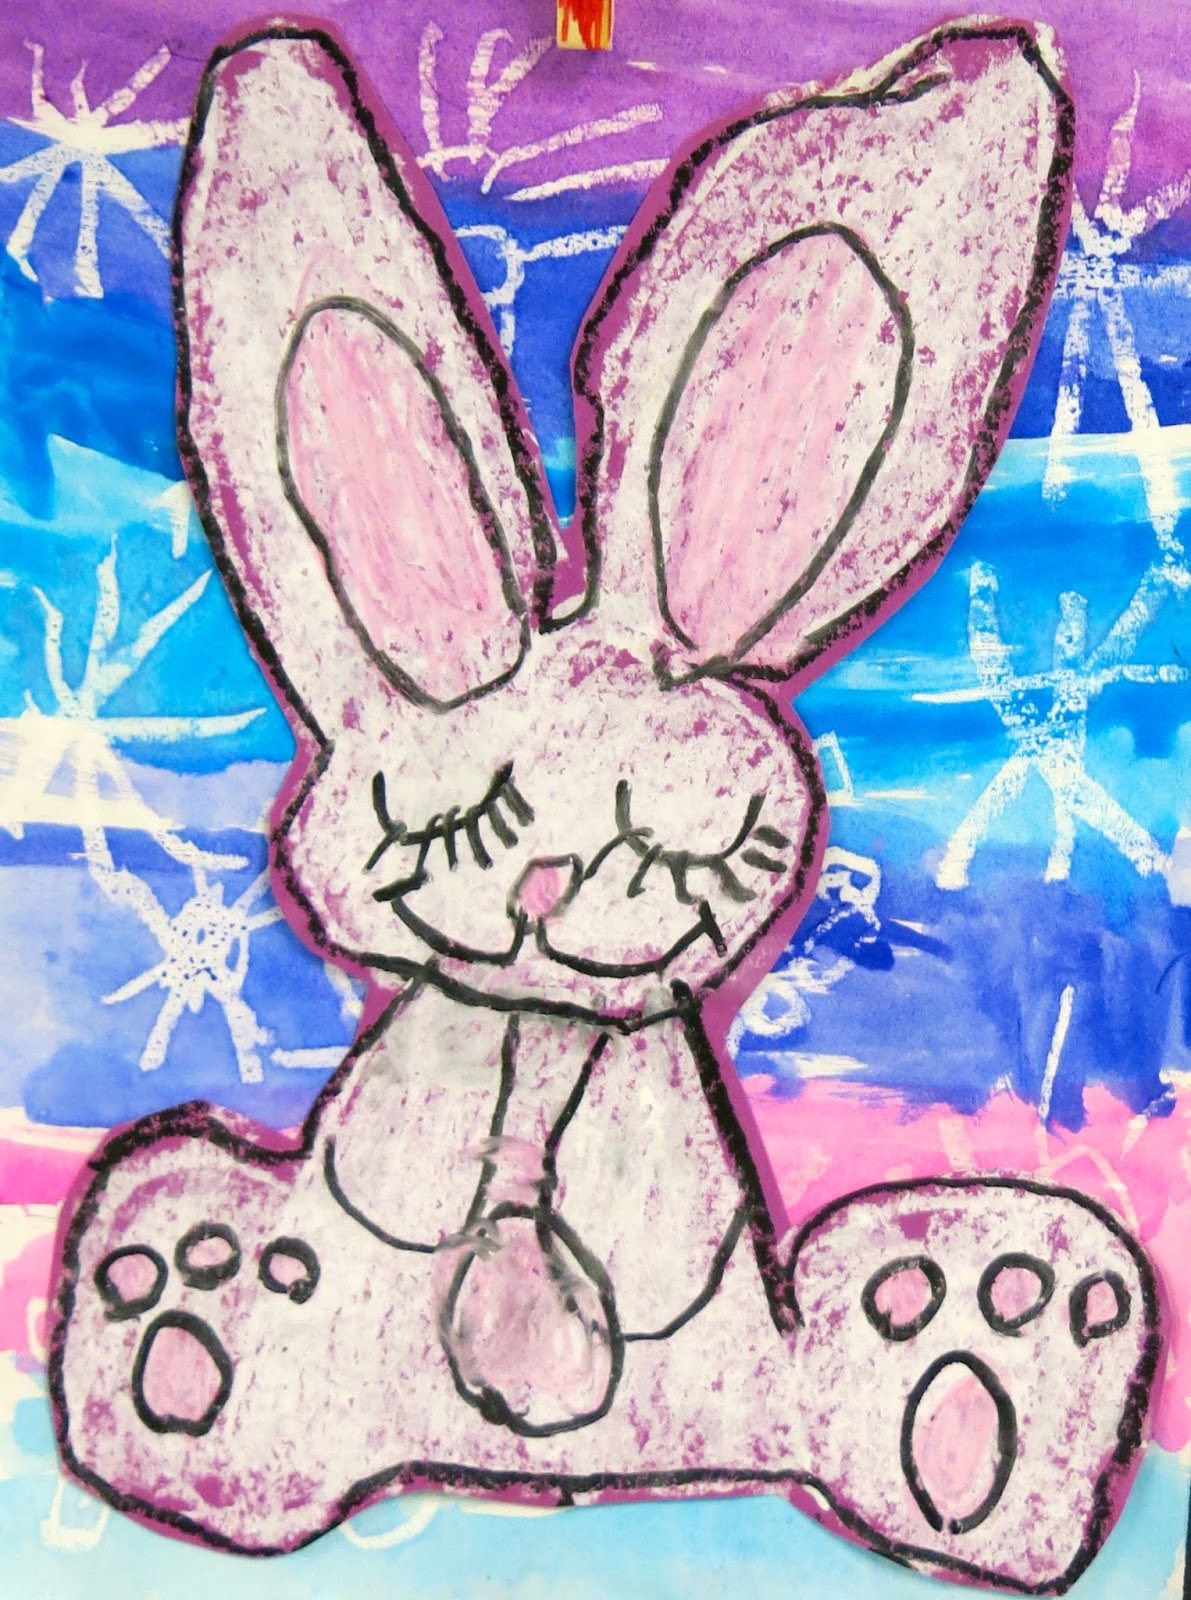
The bunny was their guided drawing/day-before-break project. So sweet!
Printmaking with second grade resulted in these winter-time selfies
 My third grade students come to art once a week for an hour. this means we do longer projects. We end up with less work...but bigger/greater things, says me!
 By the way, my early finishers worked on decorating the clothes pins that we hung the artwork from! They loved doing it and it added an extra layer of kid-created to the show. 
 My husband snapped many of the photos of the art show as I was swamped with young artists in my art room. He said this lesson was one of his faves. I realized I've not shared it with y'all...so stay tuned! I'll have a video of this lesson up soon. 
We finished off our stitching with metallic frames that added a bit of pop. And, of course, we created exactly ONE MILLION prints to achieve those printed landscapes
Third grade's answer to Rousseau were these painted paper tiger collages inspired by the art lessons of my buddy Laura!
Fourth grade not only created clay food and pencil/crayon sculptures, but they stitched, collaged, painted and chalked just about everything they could get their hands on. 
Instead of doing woven pouches like we usually do, our fiber arts alternative were these string art pieces. I really love them on those round pieces of cardboard and may have to do that again next year. 
 The abstract pieces the students created with artist Hannah Lane was also one of my faves. 
But who could forget the cuteness of their Rousseau-inspired pieces?!
 Or their Super Hero Selfies
 I've not done much collaborative projects in small groups (usually big stuff!) but this one was a crowd fave. 
Another crowd fave were these diner signs and advertisements we made for the art show! Snapping these photos and creating these pieces was a great way to build excitement for the show. You can see the video lesson of those diner signs here
I mean, check out all that cheesiness! If you give a kid a mustache...isn't that a book? It really should be!
Every year, I make a lil list of what I plan to do differently. Here it is in short order:

1. Start matting and framing work earlier (like, as they finish the work!)
2. Don't let the children of the parent volunteers EVER leave our school. 

There! Done and done. 

If you'd like to see Art Shows of Years Past, here you go!

* 2012 Art Show here and here
* 2013 Art Show here and here
* 2014 Art Show here and here


 photo signature_zpsd10b3273.png

Thursday, May 19, 2016

In the Art Room: Crayon and Pencil Sculptures

Because I'm a clay-loving art teacher with clay-loving students, I don't often venture down Papier Mache Avenue for sculpture projects. However, I knew I wanted my students to create giant-size art supplies for their fourth grade legacy. The only problem was, I knew they'd love their pencils and crayons so much that they'd wanna take it home. So my compromise was that they make one big one for the school (details on that in the near future) and one for themselves!
And I'm totally smitten with these! This project, like many of my others, morphed into a couple different projects from a group crayon mural to a sweet little photo op with some writing fun. In this clip, I walk you thru the construction of the armature for these bad boys. 
Because so many of us have different recipes and methods for papier mache, I left that out of the video. However, I can give y'all the dirty deets here. We used Art Paste and newspaper (that I rapidly cut on my paper cutter) to cover the taped bottom to about 2" up the bottom of the pencil. We completely covered the tag board at the top to about 2" down. Covering the tube was not necessary unless the kids just wanted to do it. For me, it was just important that they get the papier mache portion complete in one hour class period. 
The following class, we primed the sculptures which took all of 7 minutes. Knowing that, I created the Crayon Collaborative lesson (video below). This proved to be a great tie-in and just so much fun!
 The following class, the painting began. Students had to decide if they were creating a pencil, a crayon or a colored pencil. Once the colors were mixed, the kids set to painting. Early finishers resumed work on their collaboratives.
Finally, we added the sweet little details. The metal tooling for the pencil band and the labels for the crayons. Modpodge was also added to seal and protect (and add a little shine!). Again, every time we had a spare moment, we went back to our other project. It made for a chaotic and messy class time but, eh, that's what art is all about, right?
The kids came up with the most creative names for their crayons, it cracked me up!
Like, whuh? Grannie really digs a certain blue, perhaps? Maybe it's the color of her hair? I need to find out!
Here's a peak at the collaboratives they worked on as well. 
We used chalk...but I'm sure oil pastels would work really well for this process. And less dusty!
 By the way, not all chalk is created equal. I'm a big fan of Koss brand chalk. It's not cheap but that's because it's good. 
Save that pastel-y chalk for the sidewalk, y'all. 
 Can you guess which gender created this set of crayons? 
 It's my sweet fourth graders last year at my school. I've taught these children art for five years! I'm going to miss them and I know they are going to miss our school. So I created a little cloudy background, got a big lined piece of paper and had them pandomining writing their thoughts on the past and future. 
These images, along with their writing, were on display in the halls of the art show. It was hung next to their artwork for the year. Meanwhile, their sculptures were featured in the art room. 
 Of course, I had to read what they wrote! I do not know what "crazyness" this kid speaks of. 
 My younger students are fascinated with these giant art supplies and keep asking if they will be making them. I don't often repeat lessons out of sheer boredom...so I told 'em I wasn't making any promises but I did explain the process to them. 
 That last line, geesh. So sweet. 
 Here's a peak at one of the larger pencils that were created. These are staying behind with the school. Some of them are HUGE!
Let's hope brother has a good reputation! Until next time, y'all! 
 photo signature_zpsd10b3273.png

Wednesday, May 18, 2016

Art Teacherin' 101: Episode 3

In last week's Art Teacherin' 101, I chatted about my three big tips of putting together an art show: deer mesh, parent volunteers and a day off the day of the show. Next week, I'll share with y'all how incredible the two-dimensional displays the parents put up of all the students' work from all year. I have been greatly over-sharing here sneak peaks of the 1950's Diner theme for our clay displays. Well, it all went down last night and I gotta tell ya, it was BANANAZ in the best possible way. To best explain it to y'all, I thought I'd give you a guided tour of our JES Diner in this week's Art Teacherin' 101!
This was our first thematic art show and I daresay I'm totally addicted (as are the young artists, faculty and staff who all joined in on the fun). Not sure what I'll dream up to top this one! Here are a handful of snaps from the clay displays. 
To build excitement, I shared a countdown to the Diner opening on Twitter, Facebook and Instagram. Gotta get that social media buzz going, y'all!
Even with the day off the day of, I found myself struggling to get everything I dreamed up ready. Thankfully, I had my helper mamas, my OWN mama and some former students who are now in middle school help me. They put finishing touches on the mural, created displays, made labels and helped me hang the paper chains...all at the eleventh hour. It takes a village, people. And, sometimes, even The Village People if they know how to handle a hot glue gun. Let's talk projects!
We all learned about the artist Peter Anton who creates large realistic sculptures of food. Here you see my Kindergarten Tacos!
I put out an email for displays to the teachers and I got cake stands, cupcake holders and these chip and dip platters which were perfect for our taco displays. 
First grade town made these precious coffee and donuts. We even used our little weavings as small placemats. 
Cups and saucers were glazed and re-fired while donuts were painted with tempera and puffy paint (a crowd favorite). 
Although, in first grade town, it's referred to as "puppy paint". Y'all. It's not made from puppies!
Second grade made cupcake containers with two pinch pots. 
All clay projects were create in one week known as CLAY {CRAY} WEEK. To make my life a little easier, I did film all of my clay lessons and show them to the kids. This freed me up to prep clay while they watched. You can see more of that video-watching-demo-doing here
For third grade, I wanted to do both hamburgers AND pancakes...so I split the lesson. Meaning two of my classes did burgers (and anything extra, time permitting) and and two did pancakes (and, again, anything extra. Only requirement was that it be a food). 
The burgers HAD to be displayed in these sweet paper wrappers and trays, right?! I mean, that was a no brainer. By the way, when one of my students pretended to eat his fake food, I got the idea to snap photos of the kids with their food either as a chef, a server or a customer. All photos were printed and the kids used those to create advertisements for the show (seen above)...
I then dropped all of the photos into a vintage-esque slide show which played on a loop during the art show. Along with some 50's tunes, of course!
Both the burgers and pancakes are containers! Many students painted their plates as well, which I loved. 
Some were so realistic it was pretty crazy!
I mean...awesome, much? 
For fourth grade, I had them create pizza, pie and cake containers. These really blew me away. We looked at a ton of cake photos which inspired many. 
I mean, just looking around would give you cavities! Many of the kids took their projects home today and they were so excited.
Another class made pies. I am loving the detailed crust of this one. 
Key lime pie is actually my fave...how did she know?!
Displaying them in pie pans from the Dollar Store really set these off. 
Sbarro at the Cool Springs Galleria donated pizza boxes for this display! Big shout out to them, thank you so much. It really made our display so much more pizza-y. 
Extra food by fourth was created and added to the displays as well. 
 Before the art show, I created a video lesson on what a diner is (you can view that here) and we looked at images of clothing worn during that time. All students and faculty were encouraged to dress for the big day. I brought in a ton of clothing, scarves, sweaters and brooches to "dress" the staff. On the left you see my awesome specials teammates and on the right you might recognize my Christmas Tree Skirt friends!
We have close to 400 students in our school...we had over 600 folks show up to the art show! My room was so insanely crowded (as were the halls) that my husband who took these photos could hardly move! 
I saw later on Facebook, so many families sharing photos of their children dressed and happily smiling with their art...it really made me so happy. Makes the exhaustion worth it!
Check out these sweet kindergarten artists! Y'all can see the skirt I'm wearing that the kids helped to splatter paint here
I can't wait to share their two dimensional hall displays with you as they are incredible! Until then, I'm just gonna sit here with my feets up. 
 photo signature_zpsd10b3273.png