
"Good heavens, no!", you say, "I don't know nor would I ever associate with any of those types of art teachers."
Oh, but you do. Hello, my name is Cassie and I am Queen of the Flakey Art Teachers. Seriously. And I've got a glitter-encrusted crayon-crown to prove it (if I could only find the blasted thing).

Old Mutha Stephens
Opened her cupboard to be retrievin's
Some paint, colored pencils and glue.
But when she came there
Her cupboard was bare!
And so her students used foil and plates and didn't have a clue
That their art teacher was a Big Crazy Unorganized Flake.
(Okay, so that last bit is a work in profess, you'll have to forgive me).

* Super cheapo styrofoam plates. You want the cheap ones because they cut much easier. Each kid will need two so go for the largest supply.
* Spray Glue. I like 3M because it doesn't suck.
* Cheapo aluminum foil. The thin stuff works great.
* Sharpies in a lotta colors.
* Glue. You know, like, Elmers or something.

* Spray Glue. I like 3M because it doesn't suck.
* Cheapo aluminum foil. The thin stuff works great.
* Sharpies in a lotta colors.
* Glue. You know, like, Elmers or something.
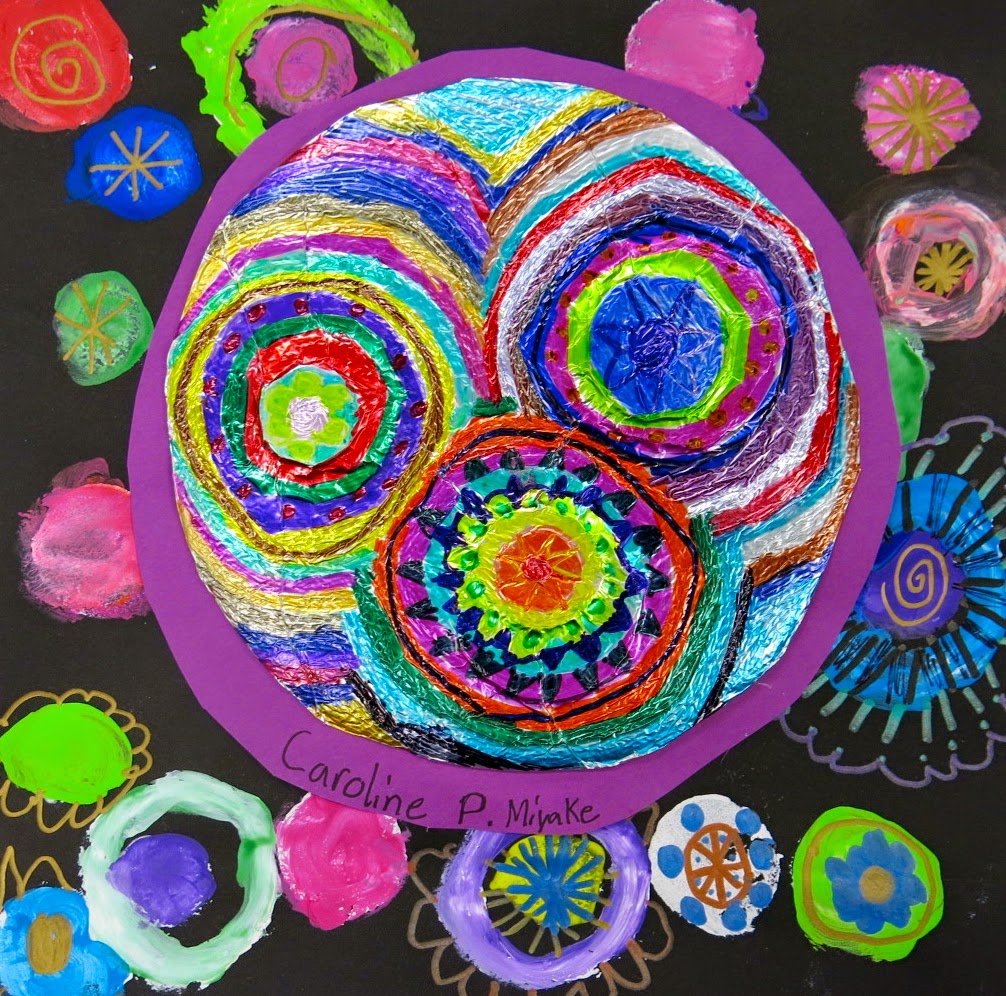
After reading The Dot, the kids traced a circle that was the size of the center of their styro plates. After cutting out two circles, they used one as the base for their relief sculpture. The other circle was used to trace bottle caps and cut out smaller circles. These were glued to the larger circle. After they had a minimum of three smaller circles with a maximum of two stacked on top, they visited me at a separate table where I hit their work with a shot of spray glue and slapped a piece of foil on top. They returned to their seats to "massage" the foil and reveal the circles underneath. The extra foil was cut away from the circle and tucked underneath. Then the fun of coloring designs in sharpies began...


I gave the kids a zen-tangle-meets-circles idea sheet to get the ball, er dot, rolling. I'm a big believer in what we call "idea sheets" as I'm one of those artists that always needs ideas and never just has 'em pop into my lil head. For my wee artists that are the same, I provide idea sheets. The kids know that they are just ideas and they don't have to use them if they don't need 'em.
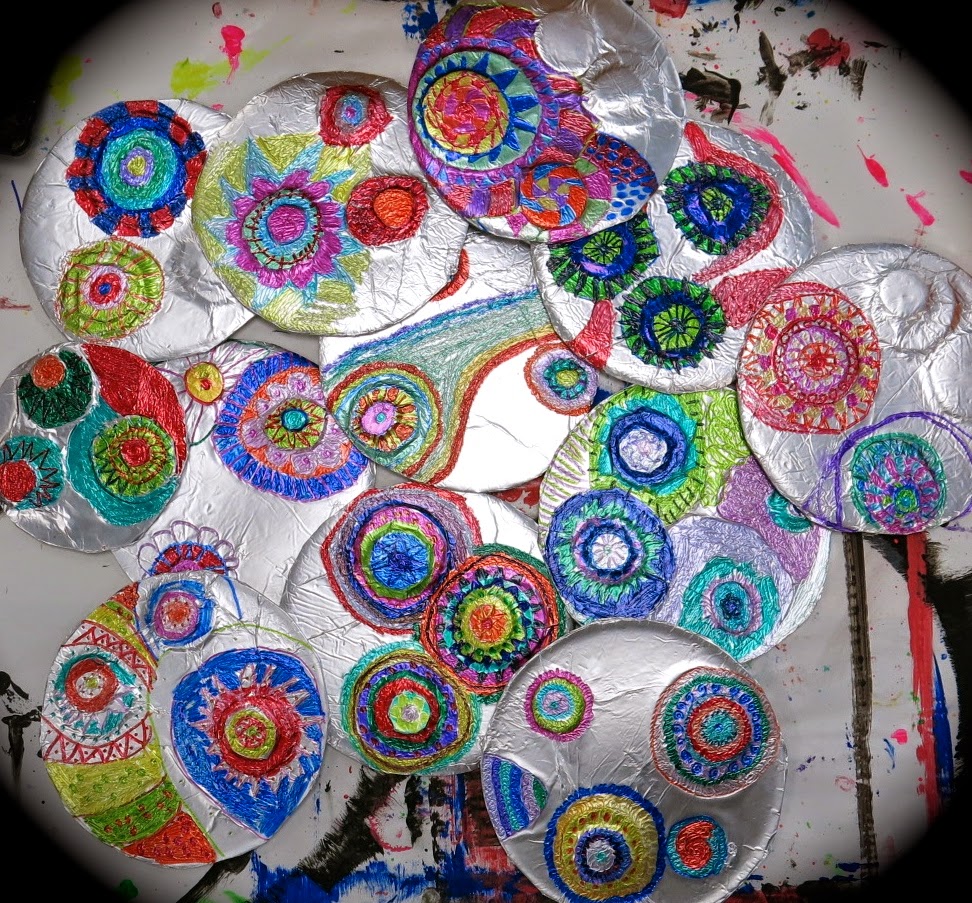


Looks like Mutha Stephens just hit the art teacherin' mutha load. Empty cupboards no more, yippie!


I love this flakey we don't have any supplies project, looks are deceiving because these are quite beautiful! I especially love how the tin foil looks with the stamped background! I don't get to order my supplies till November (EKK!) so I have resorted to saying lines from Ferngully when students waste paper. "Can't you feel it's pain?" The students then remind me that the tree is already dead, so it doesn't know it is being wasted and used as a paper towel neck tie.... Oh middle school.
ReplyDeleteGlad to be in the club!
ReplyDeleteThe smell of the spray adhesive is so strong, I don't feel I can use it without causing the kids (and myself) harm from breathing the fumes. I have 5 classes in a row. Any thoughts on this?
ReplyDeleteIt is a little odor-ific, I'll give you that. And with 5 glasses in a row, that would definitely be a problem. Could you possibly do it outside? The kids could finish massaging their foil could then start adding their designs. I have a class set of clipboards for when we work outside or draw on the floor...could you take a clipboard for each kid to use outside (if you don't have a class set, I bet there are some classroom teachers that would be willing to lend you theirs). Just a thought.
DeleteSome good ideas, thanks for sharing
ReplyDeleteGrr. I wrote a nice little comment, complete with some snarky dot humor, and I guess it disappeared into the darn cloud that I have no idea what the heck it is. Anyhow I'll try to get a-'round' to it again tomorrow...
ReplyDeleteI tried this myself and the tinfoil ripped when I rubbed my fingers on it to get the design. Any tips? Want to do this with my 4th grade! Thank you!!!!
ReplyDeleteMy name is Amanda by the way....I do not have a google account so I had to pick anonymous :)
DeleteThis dotted relief sculpture is very pretty. I like the way you used tin foil to make such a unique Aboriginal Art sculpture. I’ll definitely try making it. Thanks for the idea dear!
ReplyDeleteThis is an awesome lesson plan. I'm diggin it. However, the colored sharpies are really hard to come by, and I'm going to have to go shopping...
ReplyDelete