 |
| Painterly Frog: This here is a froggy artist that really gets into her work. Notice the sweet details like the paint brush, palette, blue beret and, of course, the paint splatters. |
I can't tell you how much fun it has been to go to school, open the kiln and be greeted by these guys each morning. While learning about all things Claude Monet, my third grade students contributed to our school's
Mammoth Monet Mural with their frog-tastic drawings. When brainstorming their upcoming clay projects, I thought it would be good to continue our Monet theme. So my second graders created
ceramic waterlilies and my third, these frogs!
 |
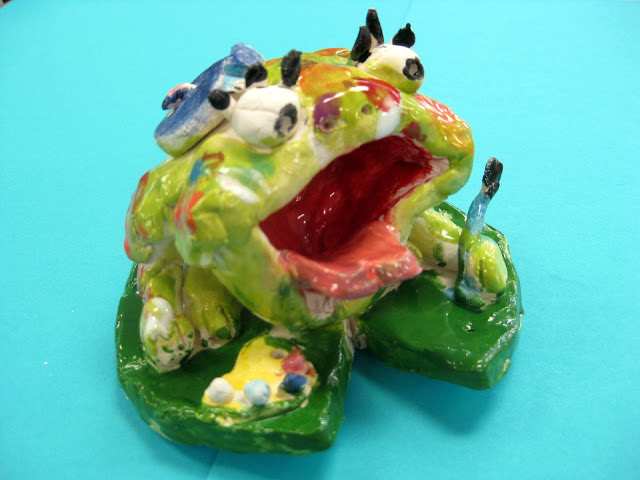
| Redneck Frog: Oh my, can you believe those teeth?! I am so in love with this backwards-baseball-cap-wearing, orange-eyebrows-on-the-outside-of-the-baseball-cap wigglin', mysterious-black-bug-eating Hillbilly Frog! |
Obviously, the kids really enjoyed creating these unique frogs. They have been so pleased with them, as they should be. I loved this lesson because, once the kids followed the steps of sculpting their frog, they were free create any sort of frog imaginable. And they did.
 |
| Fashionista Frog: That was actually the name given to the frog by the artist. Apparently, Fashionista's hobbies include"being pretty, being sassy, hopping and teasing the poor fish." Hmmm, sounds a lot like the artist herself! |
|
For this Fabulous Frog creation, we used the following:
 |
| Artistically-Inclined Frog: I was really concerned about the stability of this frogs easel that is precariously straddling the lily pad but it made it out of the kiln unscathed. Notice the little beret, the palette and the paintbrush. |
Because I have half hour classes, I taught this lesson in several classes. On Day #1, we:
- Twisted our grapefruit sized piece of clay into two equal pieces.
- With one piece, we pounded the clay flat into Oreo-cookie thickness and traced a template that was in the shape of a lily pad. We wrote our names on the bottom of this clay, wrapped it in a wet paper towel and placed it in a zip lock bag with our names written on it.
- With the other half of the grapefruit, we created a pinch pot for the frog's mouth and body.
- With the leftover clay from cutting out the lily pad, we rolled coils for the legs and attached them to the pinch pot with the toothbrush and water.
- The pinch pot with legs was then wrapped in a wet paper towel and placed inside the ziplock bag on top of the lily pad until next time.
 |
| As the kids were working, they were constantly coming up with names and quirky stories about their frog. So, once the frogs were out of the kiln, I had them do a little froggy biography. |
Day #2:
- I demonstrated to the kids how to add eyes and a tongue.
- I explained to the kids that all things can be created out of clay with the use of a sphere, a coil or a slab.
- We brainstormed different ideas for frogs and froggy accessories and discussed how they could be created.
- Students completed their frogs (just barely in a half an hour!) and attached them to their lily pads.
 |
| Standardized Test Taking Frog: Yep, it's the time of year. Notice the #2 pencil. What you can't see is that this frog is also wearing a fabulous red and blue backpack. |
Day #3 and 4: Once the clay projects have been fired, we begin glazing. I tell the kids I only have two rules for glazing: don't glaze the bottom (it will adhere to the shelf in the kiln) and no glazing your clay projects five thousand colors. We spend one day just blocking in the colors with at least two coats of glaze.
 |
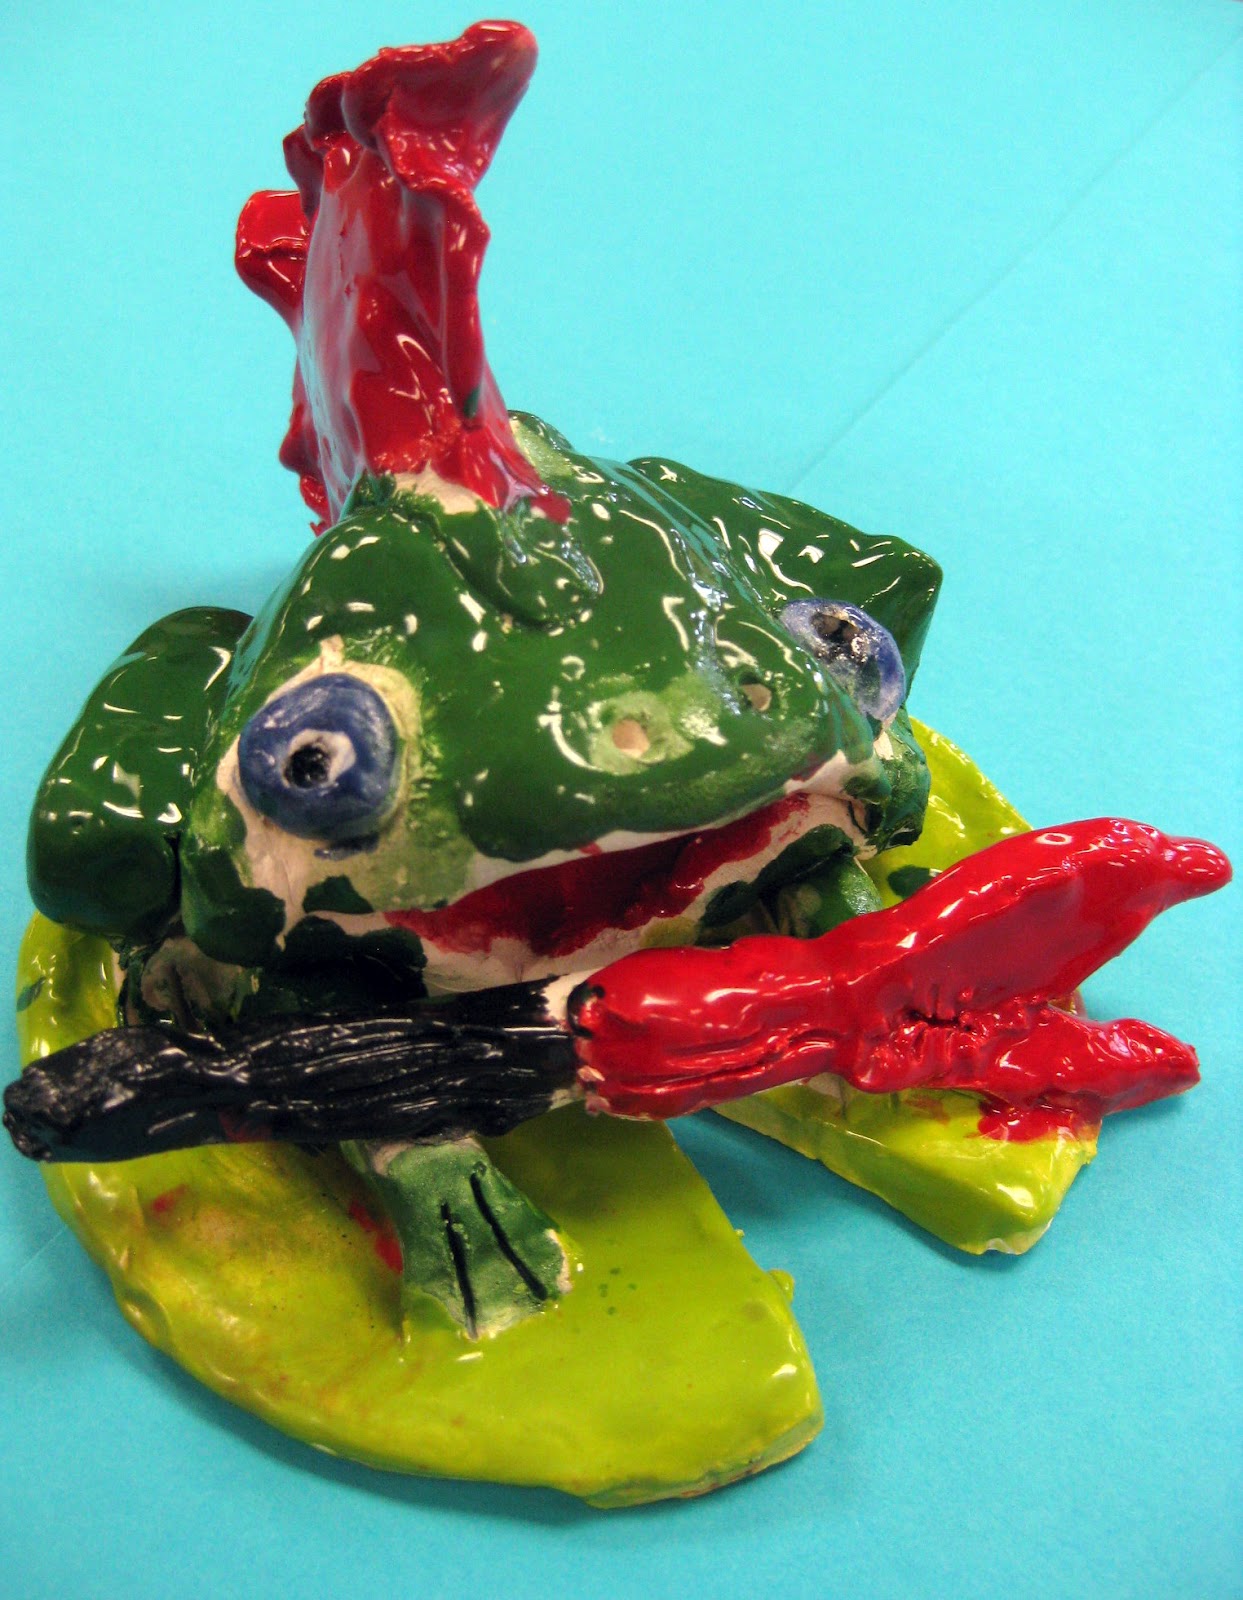
| Rock Star Frog: Gotta love a frog that dyes his mohawk to match is guitar. |
On the second day of glazing, we use smaller brushes and begin to add details like dots, stripes or just delicate lines.
 |
| Special Agent Frog: Ma'am, I believe I found the dragonfly you were looking for... |
And here was our final task: writing about our fabulous frogs. The kids don't get to take their frogs home for a couple of weeks due to our school-wide art show. But they were dying to see them and chat about them. So, we filled out this sheet in pencil and traced over our pencil lines in skinny sharpie. This paper is actually a folded card. When we display the frogs at the art show, this little placard will sit next to the artist's frog.
 |
| Paint-Brush-in-my-Mouth Frog |
This project really brought out the kids artsy side...which is why I think they created so many Artist Frogs! It also brought out more of their crazy humor...I learned that during this exchange:
Me: Hmmm...it says on your sheet that your frog loves to eat "pizza, sushi and ... frog legs?"
Kid #1: Yep!
Me: You do realize that you made a frog. And he likes to eat other frog's legs?
Kid #1: Yep, he's got cannibalistic tendencies.
Ya gotta love 'em!


these are AMAZING. Thank you for sharing them. :)
ReplyDeleteJust wonderful. I see Brooklyn's (proud grandma) and love all the others. Great artistry shown by all your students. It's obvious that you love your job as you inspire young 'talent'. Thank you.
ReplyDeleteOh, you lucky grandma, Brooklyn is the best! Such a hilarious and imaginative girl, I adore her. Thank you so much for your kind words. Teaching kids like Brooklyn make my job so much fun! ... Cassie
DeleteSuch great work! clays for kids definitely brings creativity in them.
ReplyDelete