Showing posts with label art class. Show all posts

Tuesday, July 29, 2014

In the Art Room: That Dreaded Art Supply Order

For those of you interested in the Artsy Apron Sew-Along, I'll have a post up shortly. In the meantime, this fab fabric can be found here
I'd like to take you on a trip back in my Art Teacher-in' History, if I might. It all began some 15 plus years ago when I'd just returned from attempting to teach art to some seriously cheeky Irish kids ("Miss, have you ever been in a drive-by?"; "Miss, do you think your president really messed around with that Monica lady?"; "Miss, Americans think we are all leprechauns, don't they?!"). Upon my return from student teaching in Ireland, I found that my pops, in great fear that I'd never actually land an art teacherin' gig, had sent out some 50 odd job applications to all over the country (Alaska, dad? Really? {not that there's anything wrong with that, Alaskan friends, it's just that temps below 30 are my kryptonite}). One of those places just so happened to be Nashville, Tennessee. On a whim, my Grandma Rosie (who passed this spring) and I decided to drive the 6 hours from Indiana, go on a coupla interviews (sans grannie, of course) and take in the sites. Little did I know, I'd end up loving the town, meeting my husband and callin' this lil place home. 

OH! Funny side story about that road trip with Grandma Rosie: the night before one job interview we treated ourselves to the delectable delight that is Cracker Barrel. If you aren't familiar with these restaurants (which are based outta Tennessee, yahoo!), they pride themselves on some seriously high- fat/heart-attack all-American fare. At the entrance of these restaurants, they sell a ton of Americana chachkies (all made in China, of course) in hopes that you'll spend even more dough whilst paying your dinner bill. After exploring the shop a bit, G-ma was ready to roll. And just as we were pulling onto the highway, G-ma gave a frightened gasp, held up the dinner tab that she'd had in her hand and said:

"Cassandra Lane [you know it's bad when your first and middle name are used]! We forgot to pay the bill!"
This is fabric too! I know, right?! Go here. 
Despite my dining-n-dashing ways, I managed to land my first art teaching gig. With only a coupla days before school began, I found myself living in an unfurnished apartment just a mile from my school. I didn't know a soul, the other teachers weren't especially friendly and my art room was a portable beside the school that had been left in shambles by the previous occupant. In the tiny closet of the room I found a bucket of crayons, some paper and lots of trash. I started to Freak The Funk Out. Where are my art supplies? What am I going to teach with?!

I approached my principal with my bucket of broken crayons. He was chatting with one of those not-especially-friendly teachers. They turned to look at me and, in my school-starts-tomorrow panic, all I could manage was:

"The only thing I have to teach art with is this bucket of crayons!"

To which the N.E.F. teacher said: 

"Well, some teachers have nothing."

Which is true. And I mightah actually taken her more seriously had her arms not been loaded down with brand new boxes of Crayola makers and bottles of Elmer's Glue. All of which I gawked at shamelessly. My principal took pity on me and gave me a meager budget to get me through that first year.

Several years later, I got a gig at a new school with an improved budget (it's not glamorous at 3-ish bucks a kid but I'm never without). At first I was thrilled to spend the money as this is a girl that loves to shop. However, with the high cost of supplies and the endless choices, it's actually one of my least fave things to do. I'm guessing it might be yours as well. For that reason, I thought I'd share a little of what my annual supply order entails. 

In this post, I'll be sharing with you what my 2-D order looks like. I'd LOVE it if you'd share what you order instead or perhaps some things that I've left off my list. If I get enough feedback, I'll create a follow-up post about 2-D supplies. AND I'll also be sharing some of my fave 3-D supplies in an upcoming post. In the meantime, let's go shopping!
FABRIC! If you didn't wanna join the Sew-Along before, I betcha do now! I'll keep you posted, promise.
Let's first chat about art supply catalogs, shall we? I mean, if you're an art teacher, you prolly have a million. I've ordered from just about all of them and I've yet to have a bad experience with any. Please check your catalog for rates and sales (oftentimes, shipping is free if you enter a code!). Here are some that I've shopped in the past:

Blick Art Supplies (Gah, so glad they dropped the "Dick")
United Art & Education (outta Indiana!)
Paint: I teach elementary aged kids but that doesn't mean I want that crap watery paint that doesn't mix. I've tried my share of the budget-friendly stuff and, lemme tell you, it's not so friendly when it won't mix or the paint dries and flakes off the kids' artwork. After trying many, I've settled on Crayola's Washable Paint. They are close to $20 a gallon so I don't buy every color. Here's what I usually order for a year of art with about 400 plus kids:

* 2 Gallons of Black, White and Yellow (not in love with the yellow as it's not the most opaque of paints...still looking for an alternative brand of yellow)

* 1 Gallon of Blue, Red, Brown, Magenta and Turquoise (not pictured but they do sell them)


Watercolor Paint: Okay, I used to HATE teaching watercolor until I was introduced to these Crayola Color Mixing Sets (I promise that Crayola is not endorsing this post, their stuff is just pretty stinking good). Now, IF YOU ALREADY HAVE WATERCOLOR SETS, don't buy these, buy the refills. The earth doesn't need more plastic waste and you don't need the white watercolor paint that comes in this set. So! When I am ordering paint pan refills, I order the following colors (the "mixing colors" have an * next to them): Red, Red-Orange*, Orange, Yellow, Green, Turquoise*, Blue, Blue-Violet*, Red-Violet*
Tempera Cakes: I don't think tempera cakes are necessary and I went years without them. However, now that I've got 'em I do love using them with my kindergarten friends. I like the Alpha color Biggie Cakes but the plastic holder the cakes come in pretty much blows. It's the cheapest plastic around and the bottom of the holder will break and leak water paint everywhere within a year. Despite that, I'll keep ordering the individual cakes and you can see my solution to leaky paint pans here

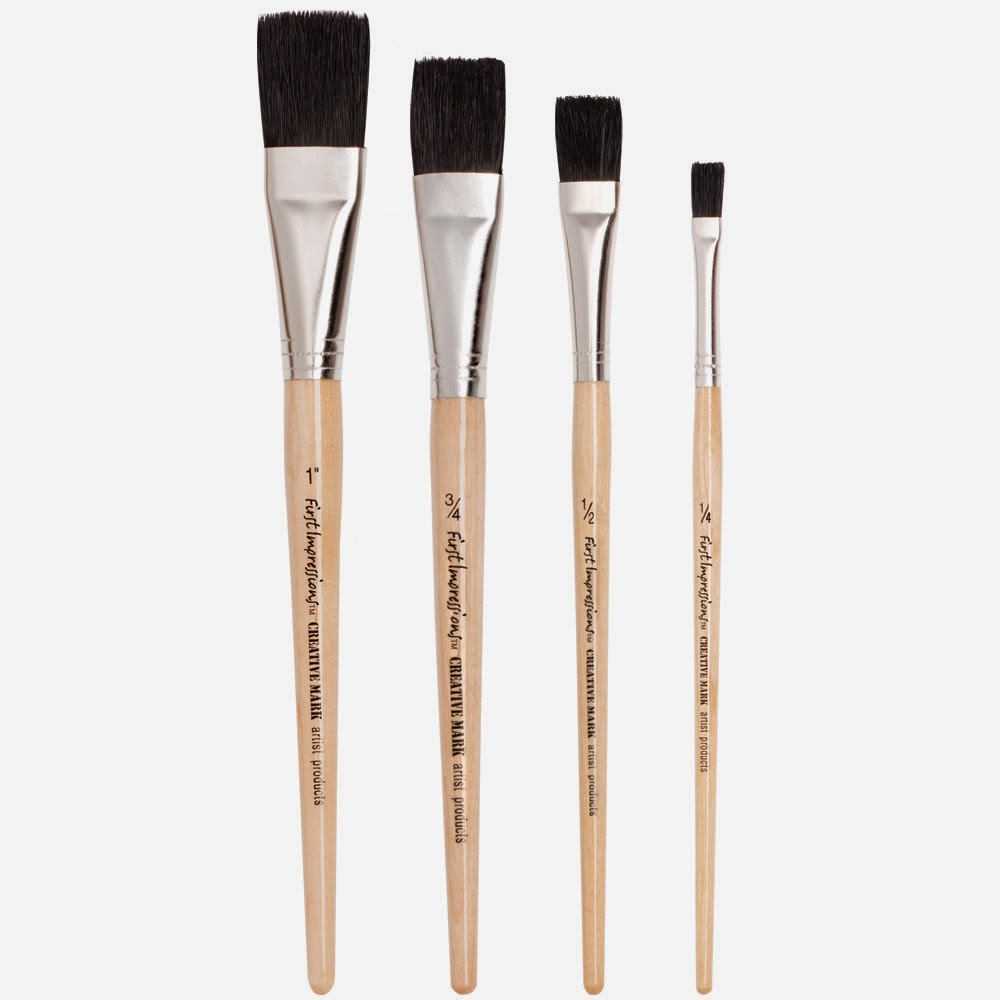
Paint Brushes: Royal Langnickel, y'all. This is the set I buy every couple of years and I love them. They work great for glaze, watercolor, those tempera cakes, you name it. 
Bristle Brushes: For these, I admit, I'm not too picky. We don't use them as often as the Royal Langnickel rounds so they last longer. I usually order the generic version of these...however, if you go too cheap, you'll get the ones where the bristles are constantly falling out. And if it's one thing the kids don't like, it's hairy artwork. 
Construction Paper: For construction paper, the only way to go is Tru-Ray, I think. I hate that fade-y thin stuff. I usually order the 12" X 18" and cut it down to whatever size I need. I usually order about 5 packs of black (they come in packs of 50 sheets) for framing and for the rest, I usually get a rainbow of variety.

Paper: For multi-purpose paper, I order about 4 reams of 80 lbs drawing paper, 12" X 18". I like the heavier paper because I can then use it for drawing, painting, collage, etc. I don't order watercolor paper or thin drawing paper. 
Tissue Paper: Fun but not necessary. I do like to order the kind that bleeds so we can do projects like this.
Pencils: When I first started teaching, I thought they were all alike. Not so, these are the best as they don't break so easily. I like to use the Biggie ones but I try to have both sizes for the kids.


Erasers: Gah, what a headache. Why do we have to stab them? I mean, what's that poor eraser ever done to you? I usually invest in the white erasers as they work the very best. I try to encourage the kids to leave the clothes on the eraser (eraser condom?) to help keep it clean. For my 4th graders, I like to let them use kneaded erasers and charcoal sticks. They think these are the very best things ever but you have to be careful, they might walk outta your room. Oh, this reminds me! In Ireland, the kids called 'em rubbers which always threw me, having a kid shout, "Hey, Miss, pass me a rubber!"
Colored Pencils: Ticondergoa used to make colored pencils and they were the jam, y'all! Since they've stopped I've been on the hunt for the very best. I needed some new ones this year so I decided to give these a go. I'll have to share a review with you when I get them. My biggest issue with colored pencils is that they 1. Are Crap and 2. Break So Easily! I'm hoping this at least solve #2.

Art Sticks: Now I've ordered these guys in the past and while the color is great the kids' biggest complaint is that they never have a sharp edge. Meaning that if a kid wants to color in a detailed area, these aren't the best tool. That's why I'm hoping those woodless colored pencils fill the gap.

 Oil Pastels: An art room staple, y'all. I usually order that box of Cray-pas on the left. This year I was really only in need of yellow, white and black so I simply ordered refills. If you wanna get fancy, I love those Crayola Portfolio oil pastels. They're so great because they are water soluble and fun to work with. I also love the variety of colors that the Cray-pas seem to lack.
Sharpies: Okay, I've never ordered these "Brush" Sharpies and I don't plan to with my little ones. However, I've used them and they are fantastic! If you have older kids, I'd recommend them. I do order a ton of the standard Sharpies in a wide variety of colors as they are great. 

Sharpie Ultra Fine: There are two kind of fine tipped Sharpie makers and the one above is my fave. The other fine tip seems to run out ink faster. While the tip of these sometimes splits, I do find that they last a bit longer. I also invest in the larger tipped black Sharpies. 

Oh, Markers: I really don't have a strong love for using markers in the art room. For me, they are like crayons: the kids can use them any time. I get it, I should teach "proper crayon/marker use" but whatever, they're boring. I do like to use them for other things like coloring on coffee filters and painting them with water or for printmaking. For that reason, I invest in one of these every other year. Crayola is okay when it comes to makers (they do seem to run out fast, if you ask me) but they are better than Mr. Sketch. Don't get me wrong, I love the vibrancy of Mr. Sketch but the constant marker huffing wears me out. Not to mention when the principal walks in and the kids say, "You should SMELL these!" it never sounds good.

By the way, if I were to order crayons (which I don't, I get those donated from classroom teachers constantly), I'd go with Crayola. 
Scissors and Glue: I used to be a Fiskars Girl, all the way. But, sadly, their quality has gone downhill fast. My last couple of orders the scissor handle would overlap causing me to pinch my hand. This year I'm going to give Westcott a go. I'll let you know how that goes. With glue, I use Elmer's School Glue. I hate glue bottles so I don't use them at all. Instead I keep the glue in small lidded cups and the kids apply it with an old paint brush. This has worked for me for years and has prevented that new-scissors-jammed-into-the-glue-tip phenomenon that we all know so well.

And there you have it! Okay, what'd I forget?! And what would YOU recommend?

Read more »

Friday, July 11, 2014

Comin' Attcha Live: Opening the AOE Swag Box and an Artsy Book Order!

Hey, y'all! I was so excited to see these two boxes on my doorstep this afternoon (one from The Art of Education and the other my Artsy Book Club order, I made a wee film of myself opening them up! First up, the swag box from the Art of Education's online summer 2014 conference. If you aren't signed up for the conference yet, there's still time. I did make a BIG mistake in this clip when I said the conference is on Wednesday. It's actually Thursday, July 17th. I'll be there (with some art teacherin' rock stars) presenting at noonish. I hope to chat with you live at the conference! Now, let's talk swag, shall we?

Y'all, this box was amazing! You'll have to watch the clip to see what's inside...however if you can't stand the sound of my annoying voice (I promise within the first 30 seconds you will be so.over.it.) I did snap a pic of the loot. It's so good, you guys! Check it: 
 While I was oohing and ahhing over the contents, someone was makin' herself at home in the box.
"WHAT?! If it fits, I sits. DUH."
(that face. I don't even know.)
Anyone else gotten their books yet? I'm excited to start creating and pirating with y'all!

And, there you have it! I do hope you enjoy these completely unedited and obnoxious clips. I'd love to do more...but I'd also love to keep the handful of readers that I have. Thanks for dropping by, y'all.

I'll see you at the AOE Conference on Thursday. In the meantime, let's read some good books and watch kittens crawl in boxes, emkay? Chat with ya soon!
Read more »

Wednesday, July 9, 2014

In the Art Room: Ceramic Chinese Dragons with Third Grade

 Well, kids, it happened. I got That Note in the mail. You know, the one with the return address from your school.  In the middle of summer that could only mean one of two thangs: it's yer walkin' papers or, worse, a note containing a  listing of "Back to Cruel, er, School" meetings. That's right. Tuesday, July 9th marks the beginning of the end of my summer. Cue loud and obnoxious horror film-esque scream...
Make no mistake, this has left me in a rather fire-breathingly fowl mood. So what better time to share with ya these here Ceramic Chinese Dragons by my Amazingly Awesome Third Grade Artists!
 Since I've been spending my blogging time sharing travel pics and rando Pee-Wee packed posts, I've fallen a pinch behind on my In the Art Room adventures. My apologies. So whatcha see here is a project that I think my third graders would agree was one of their faves. Now, for those of you out there that are kilnless, hang with me as Ima gonna show you how you can create a Chinese dragon with a ceramic clay-ternative. But before we get into all that, lemme tell you how this all came about.
 Because we were learning about all-things-Asian last school year, I settled on the idea of having the kids create Chinese dragons. After a quick search on the interwebs, I found this post by my art teachin' buddy Rina over at K-6 Art. I loved her lesson as she broke it down into baby steps that were just perfect. Now she did her dragons with the younger set (first grade, people and they rocked it!). Since I was doing this with third grade, I knew I'd have to get 'em to step up their dragon makin' game. But first, a lil dragon-y background, emrkay?
Not all dragons are alike, y'all (Y'ALL!! This is off-topic but what else is new: I was recently BUSTED as a Mid-Westerner wearing Southern's clothing {which would be overalls and Crocs, in case you were wondering}. It turns out I've been conjugating "y'all" all wrong! Thank you, kind commenter, for pointing out my Big Fat Hairy Southern Poser mistake. Hopefully my Southern license won't be revoked {penalties include grits restriction and consumption of unsweetened tea}).

WAAAAAAAIT, what were we talking about? Oh, yeah. Dragons. Let's address the Chinese ones first, shall we? They're kinda like Mid-Westerners, after all. They've got a snake-like body with feet like that of an eagle. Which doesn't really make them Mid-Western-esque at all but their affinity for Pabst Blue Ribbon and corn hole does (can somebody please explain that fascination to me?!). Also, they can fly but don't have wings. And they like their possessions deep-fried as is evidenced by the fried pearl (the Chinese dragons are often seen with a pearl which is believed to be their source of power).
 My students were pretty unfamiliar with the characteristics of the Chinese dragon because they're usta seeing this European/Fairy Tale number. The Euro-dragon is much lie a Southerner in that when it says "Bless your heart" it really means "I hate you and wanna breathe fire down your neck". Also, when it's not flying with it's wings, this dragon can be seen wearing copious amounts of seersucker. And loafers without socks. And shirts with GIANT Polo logos. Ahem.
 After that brief chat with the kids, we spent three / thirty-minute art classes crafting these bad boys. On our first day, we began by creating a base for our dragon. For that we pounded our clay onto a texture and into a slab as thick as a cookie. Check out this post to see what I'm talking about. After our texture was in the clay, we cut the clay out with our wood skewers into a choice of base shapes: round, square or flower-like (which was later folded up to create water-y like waves).

With the excess clay cut off from the creation of the base, the kids rolled a thick coil that was about 5" in length. Once that was complete, we draped the base and coil in a damp paper towel, gently placed it into a zip lock bag and wrapped it up until our next 30 minute class.

The following class I gave the kids a rough and rapid idea on how to create their head (see below in just a momento). I don't like to get too detailed because I want them to come up with ideas of their own. I also had loads of Chinese dragon pics available for them to draw ideas from if needed. At the end of that 30, we didn't attach the heads (I had visions of them falling off whilst sealed in the damp bag) but placed them on the base with the coil.

On their third and final day, heads were attached and an environment for the dragon was created. If details like spikes, limbs, horns, fire, you-name-it's were desired, the kids added 'em then. After drying out and being fired (kinda sounds like I'm talking about Lindsay Lohan, donnit?!), the kids spent a coupla days glazing with Mayco's Stroke and Coat. And, viola-ness! Ceramic Chinese Dragons, y'all!


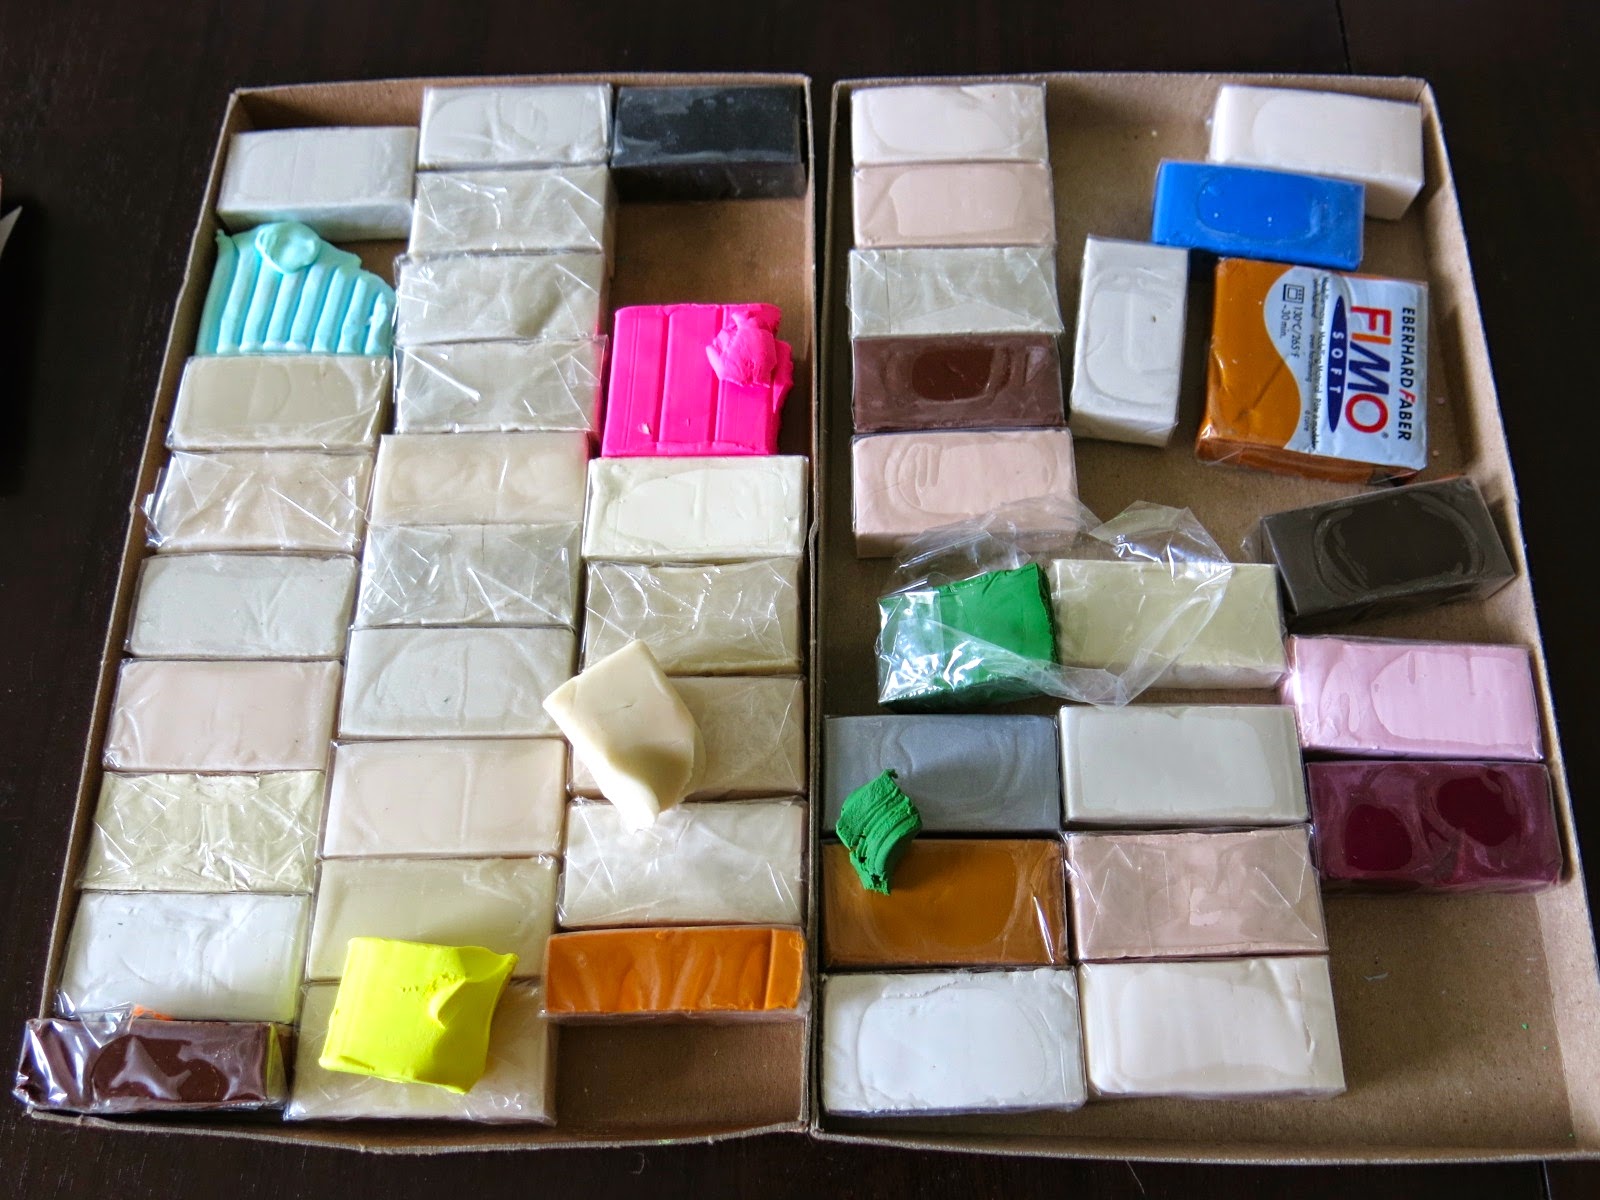
 Now, let's address the kiln less folks in the group, shall we? A similar dragon can be created with one of my fave kiln-free clays: Scupley. Almost every year, my students engage in a Sculpey bead-making project and almost every year, this is all that's left. Lots and lots of white.
 No worries! You can create any color of clay using that white stuff as your base. Case in point, a dragon's head. Just roll the desired shape in white, flatten your color to a paper-thickness, wrap it around your shape and roll smooth.

 Which might look a lil like the left. If you have white spots, fill 'em with some Scupley Band-Aids and roll again.

Now, these are the same rough and rapid directions I have the kids when they were creating their dragon's face. Use that skewer to skewer a mouth. It kinda mashes the shape a bit so you'll have to resculpt that face. But you can do it. 
 I like to use my fingers to create the indentions of eye sockets. Now roll some small spheres (because we don't say "balls" in the art room, ahem) and place them in the sockets. Remember if you are working with ceramic clay, you gotta slip and score. She slips! She scores!
 It's all about the details, y'all. Add some teeth, fire coming outta the mouth, a tongue (although preferably not all three as that's a mouthful. Literally.)
 I created a coil body in the same white-covered-in-green way as the head. Although this time I used two kinds of green and left some of the white areas alone. I was kinda digging the camo look.
 I know, right?
 Attach that head to the coil and shape. Bake in your oven at 275 (I think, check directions. I burn everything on a regular basis so my clay-cooking advice might not be the best) for abouts 15 minutes. And your finished!
 Suriously, yous guise, the kids were so thrilled with their dragons.
 I love watching the kids work with clay. It's a medium that kids who aren't fascinated with 2-dimensional art can really bloom. I mean, this artist was so into his dragon-making, he even created a baby dragon!
 You'll notice that most of the kids included a pearl...and many of them had a story to go along with their dragon. I love the detail in the face on this orange guy.
 And there you have it, y'all! Chinese dragons by the third grade set! Have y'all ever done a project like this before? If so, I'd love to hear what your students created. Special thanks to Rina for the inspirational-lesson!

Chat at Y'ALL soonish!

Read more »

Monday, June 23, 2014

DIY: A Felted Foxy Wallhanging

This past Sunday I co-hosted a Pee-Wee's Big Adventure-themed Baby Shower (so much more on that to come ya'll. It was, like, the cutest thing everrrr, if I do say so myself. AND I do) for one of my most favorite friends in the universe, Mallory. Mama Mal's going with a fox-theme for her nursery (she's a big Wes Anderson fan with Fantastic Mr. Fox being the inspiration) so I created this here Felted Foxy Wallhanging for her and baby Lydia Dot!
Now ya'll might recall that I've been down this felted-foxy road before with that What Does the Fox Say? sweater from a wee bit ago. This piece was more involved because I wasn't working on a sweater but creating a background from scratch (ya'll, what does that mean, "from scratch"? People be scratchin' stuff up to work with? Are they developing a scratchy rash? They make cream for that ya know. Just sayin'.) 
But before we get to that, lemme show you what I was workin' with. I found this frame on a thrifting adventure with this sad artwork inside. Okay, I get it, they're praying...or are they?! Let's look closely at this illustration and do a lil rewrite shall we? Here's the scenario, the police have busted in and shouted, "Alright, kid and all your toys, put those hands up and keep 'em where I can see 'em! TEDDY BEAR! No peaking! Dolly-on-the-chair, DID I STUTTER?! Get those hands up! We're not leaving until we find My Little Pony. Horse! We know you've had it out for her since she got to town. Cuff 'em!"

Okay, I admit, that story line is a little weak. Since I couldn't make it work, I ripped it out and eventually used it as the backing for the piece.
For the background, I decided to play around with this assortment of fabrics. As I went, I threw the fabric I didn't intend to use on the floor (because that's where things go when you are a slob, ya'll). When I saw that pile of fabric on the floor MOVE, I nearly had an unfortunate accident that woulda required an outfit change. Gingerly, I picked up the fabric...
To find this sweet baby underneath. Since my buddy Mallory is allergic to cats, I was glad Asha had decided to settle on the fabric I wasn't intending to use! By the way, you can see a sweater I felted dedicated to this lil girl here
Once I had my pieces picked, I either stitched or appliquéd them together. This went together pretty quickly. Which was good because I was making this present the day before the shower. You know. Cuz Procrastination is my Middle Name (actually, that's not true. It's actually B*tch Face but I only tell my closest of friends that secret. Keep it on the down low, would ya?).
From that point, I drew out my design, traced it in Sharpie, cut it out and pinned it in place. 
When felting, I often begin by creating an outline. For this you have to use 100% wool yarn. As I needle punched, I did puncture the paper quite a bit but that didn't harm the needles or the design. As far as supplies goes, I use a Clover Needle and felting mat
Once my outline is complete, I filled it with wool roving. I did post some short clips on the you tubes a while back of a simple felting tutorial. You can check it out here if you can handle my aforementioned B&tch Face.
I didn't want to outline the muzzle so for that I simply traced the pattern in chalk. I like to use chalk because you can erase it pretty easily. I filled that space with white roving. By the way, amazon also sells a whole lotta roving...but I think buying from an independent supplier might be a better. I kinda feel like amazon is becoming the internet version of Walmart, it's taking over the world. But I digress.
 A little cheek and a wool yarn mouth.
For the eye, I decided to try stenciling. I know you can buy felting stencils so I thought I'd give it a try. It worked great! Def gonna be doin' that again.
See? Cake.
For the hankie, I used the same process I had for the white fur muzzle: trace with chalk and fill in. I did attempt some shading with a couple different values of that sea foam green. I thought that complimented the flatness of the fox.
Speakin' of fox, it was about that time that hubs popped in my sewing room to ask if I was planning on changing outta my pajamas. Ever. Answer: NO. It's called Summer Vacay. Pajama-Changing is optional.
Once the fox was finished, the rest went off without a hitch. Or should I say b#tch? Regardless, 'twas easy cakes. 

My fave part was probably the lettering. I simply laid the yarn out and commenced punching it in place. 
Complete, yippie! NOW, I'll change outta my pajamas and slip into something less Goin'-to-the-Walmarts-esque.

I was super nervous when Mallory opened her gift...gift-making folks, you know what that's like. What if she hates it? What if she throws in on the floor and projectile vomits on it? These are the thoughts that run through my head. Like, all the time.
Yay! She likey!

Now, this wallhanging puts me in the mind of what I'll be up to this weekend: I'm teaching a Felted Pet Portrait class in Nashville! There are still a coupla spots left if you are interested. Deets here, ya'll. Hope to see some of ya'll there!

Read more »