Showing posts with label easy clay ideas. Show all posts

Tuesday, July 15, 2014

In the Art Room: Pandas with Personality by Fourth Grade Artists!

Howdy, friends! I trust that most of y'all have been spending your summery days chillaxin' like these two. Sunny day, cold bevvy, fancy umbrelly and a polka dot bikini? Why, don't mind if I do! My genius fourth grade kids created these Pan-duhz with Personality at the end of the year and I'm still chucklin' at their silliness. 
As y'all might recall, I did share with ya's our annual art show where every masterpiece each and every kiddo created throughout the year was hung all over the place. Like, we're talking around 2000 pieces of art. Y'all, we covered every inch of that school...so much so that I was a breath away from hanging some artwork in the bathroom stalls (which reminds me: does anyone else love those stall-ads as much as I do?! Although, I gotta tell ya, I do find the restaurant ads a wee bit disturbing when I'm, well, you know. Droppin and ploppin). When I was out for a coupla days for the amazing NAEA convention in San Diego, my awesome sub had the kids create those Party Panda paintings. This proved to be the perfect jumping-off point for our ceramic endeavors. 
Lemme break down for just how the kids created these cuties: 

Day 1: We created the base. To do this, pounded our Cone 06 clay to a cookie thickness. Then we traced a template for our base shapes with wooden skewers. I provided circles, organic shapes or rounded-edge squares. After those were created, the kids created the basic forms of of the panda's body. After our 30 minutes, the kids wrapped their work in a damp paper towel and stowed it in a labeled ziplock bag.

Day 2: I demoed some ideas on how to make a panda head. We looked at a boat load of examples and thought about our fun drawings. The word of the day was personality. The more your panda had, the better. Once the heads were created, the kids started attaching them to the bodies and kind of playing with just how their panda's body would look. Would he be sunbathing? Chillin with the kids? Strummin' a gee-tar...
whilst wearing shades and sportin a big pink bow?
Or glazing their clay pinch pot, as pandas like to do.
Days 3 and 4: On these days the kids really started thinking about details and an environment for their panda...one that would really reflect their panda-nality.
A coupla of my kids recalled that our local zoo had just hosted a red panda exhibit. With that in mind, this cutie was created.
I love the sweet gaze of the baby panda to it's mama.
Once our friends were fired, we glazed them with 3 coats of Mayco Stroke and Coat. My fourth grade friends have created a masterpiece outta clay every year since kindergarten so they are pretty much like experts at this whole process. Hence this panda-monium. 

Speaking of pandaemonium...
Y'all, this week, I'm currently at the amazing Tennessee Arts Academy and gearing up for this Thursday's online conference with The Art of Education which means my life this week is crazy-happy-fun-busy. So don't ask me why I thought it would be a good idea to start the Artsy Book Club this week. Thereforeness, I've decided to officially begin posting next week...but y'all can start reading Teach like a Pirate by Dave Burgess and/or Printmaking Unleashed by Traci Bautista any ole time, ermkay?! I'll be back soon with a full report on the Arts Academy...and I hope to chat with ya at the AOE conference. Til then, strap on that bikini, slap on that sunscreen and enjoy these summer days while you can!
Read more »

Wednesday, July 9, 2014

In the Art Room: Ceramic Chinese Dragons with Third Grade

 Well, kids, it happened. I got That Note in the mail. You know, the one with the return address from your school.  In the middle of summer that could only mean one of two thangs: it's yer walkin' papers or, worse, a note containing a  listing of "Back to Cruel, er, School" meetings. That's right. Tuesday, July 9th marks the beginning of the end of my summer. Cue loud and obnoxious horror film-esque scream...
Make no mistake, this has left me in a rather fire-breathingly fowl mood. So what better time to share with ya these here Ceramic Chinese Dragons by my Amazingly Awesome Third Grade Artists!
 Since I've been spending my blogging time sharing travel pics and rando Pee-Wee packed posts, I've fallen a pinch behind on my In the Art Room adventures. My apologies. So whatcha see here is a project that I think my third graders would agree was one of their faves. Now, for those of you out there that are kilnless, hang with me as Ima gonna show you how you can create a Chinese dragon with a ceramic clay-ternative. But before we get into all that, lemme tell you how this all came about.
 Because we were learning about all-things-Asian last school year, I settled on the idea of having the kids create Chinese dragons. After a quick search on the interwebs, I found this post by my art teachin' buddy Rina over at K-6 Art. I loved her lesson as she broke it down into baby steps that were just perfect. Now she did her dragons with the younger set (first grade, people and they rocked it!). Since I was doing this with third grade, I knew I'd have to get 'em to step up their dragon makin' game. But first, a lil dragon-y background, emrkay?
Not all dragons are alike, y'all (Y'ALL!! This is off-topic but what else is new: I was recently BUSTED as a Mid-Westerner wearing Southern's clothing {which would be overalls and Crocs, in case you were wondering}. It turns out I've been conjugating "y'all" all wrong! Thank you, kind commenter, for pointing out my Big Fat Hairy Southern Poser mistake. Hopefully my Southern license won't be revoked {penalties include grits restriction and consumption of unsweetened tea}).

WAAAAAAAIT, what were we talking about? Oh, yeah. Dragons. Let's address the Chinese ones first, shall we? They're kinda like Mid-Westerners, after all. They've got a snake-like body with feet like that of an eagle. Which doesn't really make them Mid-Western-esque at all but their affinity for Pabst Blue Ribbon and corn hole does (can somebody please explain that fascination to me?!). Also, they can fly but don't have wings. And they like their possessions deep-fried as is evidenced by the fried pearl (the Chinese dragons are often seen with a pearl which is believed to be their source of power).
 My students were pretty unfamiliar with the characteristics of the Chinese dragon because they're usta seeing this European/Fairy Tale number. The Euro-dragon is much lie a Southerner in that when it says "Bless your heart" it really means "I hate you and wanna breathe fire down your neck". Also, when it's not flying with it's wings, this dragon can be seen wearing copious amounts of seersucker. And loafers without socks. And shirts with GIANT Polo logos. Ahem.
 After that brief chat with the kids, we spent three / thirty-minute art classes crafting these bad boys. On our first day, we began by creating a base for our dragon. For that we pounded our clay onto a texture and into a slab as thick as a cookie. Check out this post to see what I'm talking about. After our texture was in the clay, we cut the clay out with our wood skewers into a choice of base shapes: round, square or flower-like (which was later folded up to create water-y like waves).

With the excess clay cut off from the creation of the base, the kids rolled a thick coil that was about 5" in length. Once that was complete, we draped the base and coil in a damp paper towel, gently placed it into a zip lock bag and wrapped it up until our next 30 minute class.

The following class I gave the kids a rough and rapid idea on how to create their head (see below in just a momento). I don't like to get too detailed because I want them to come up with ideas of their own. I also had loads of Chinese dragon pics available for them to draw ideas from if needed. At the end of that 30, we didn't attach the heads (I had visions of them falling off whilst sealed in the damp bag) but placed them on the base with the coil.

On their third and final day, heads were attached and an environment for the dragon was created. If details like spikes, limbs, horns, fire, you-name-it's were desired, the kids added 'em then. After drying out and being fired (kinda sounds like I'm talking about Lindsay Lohan, donnit?!), the kids spent a coupla days glazing with Mayco's Stroke and Coat. And, viola-ness! Ceramic Chinese Dragons, y'all!


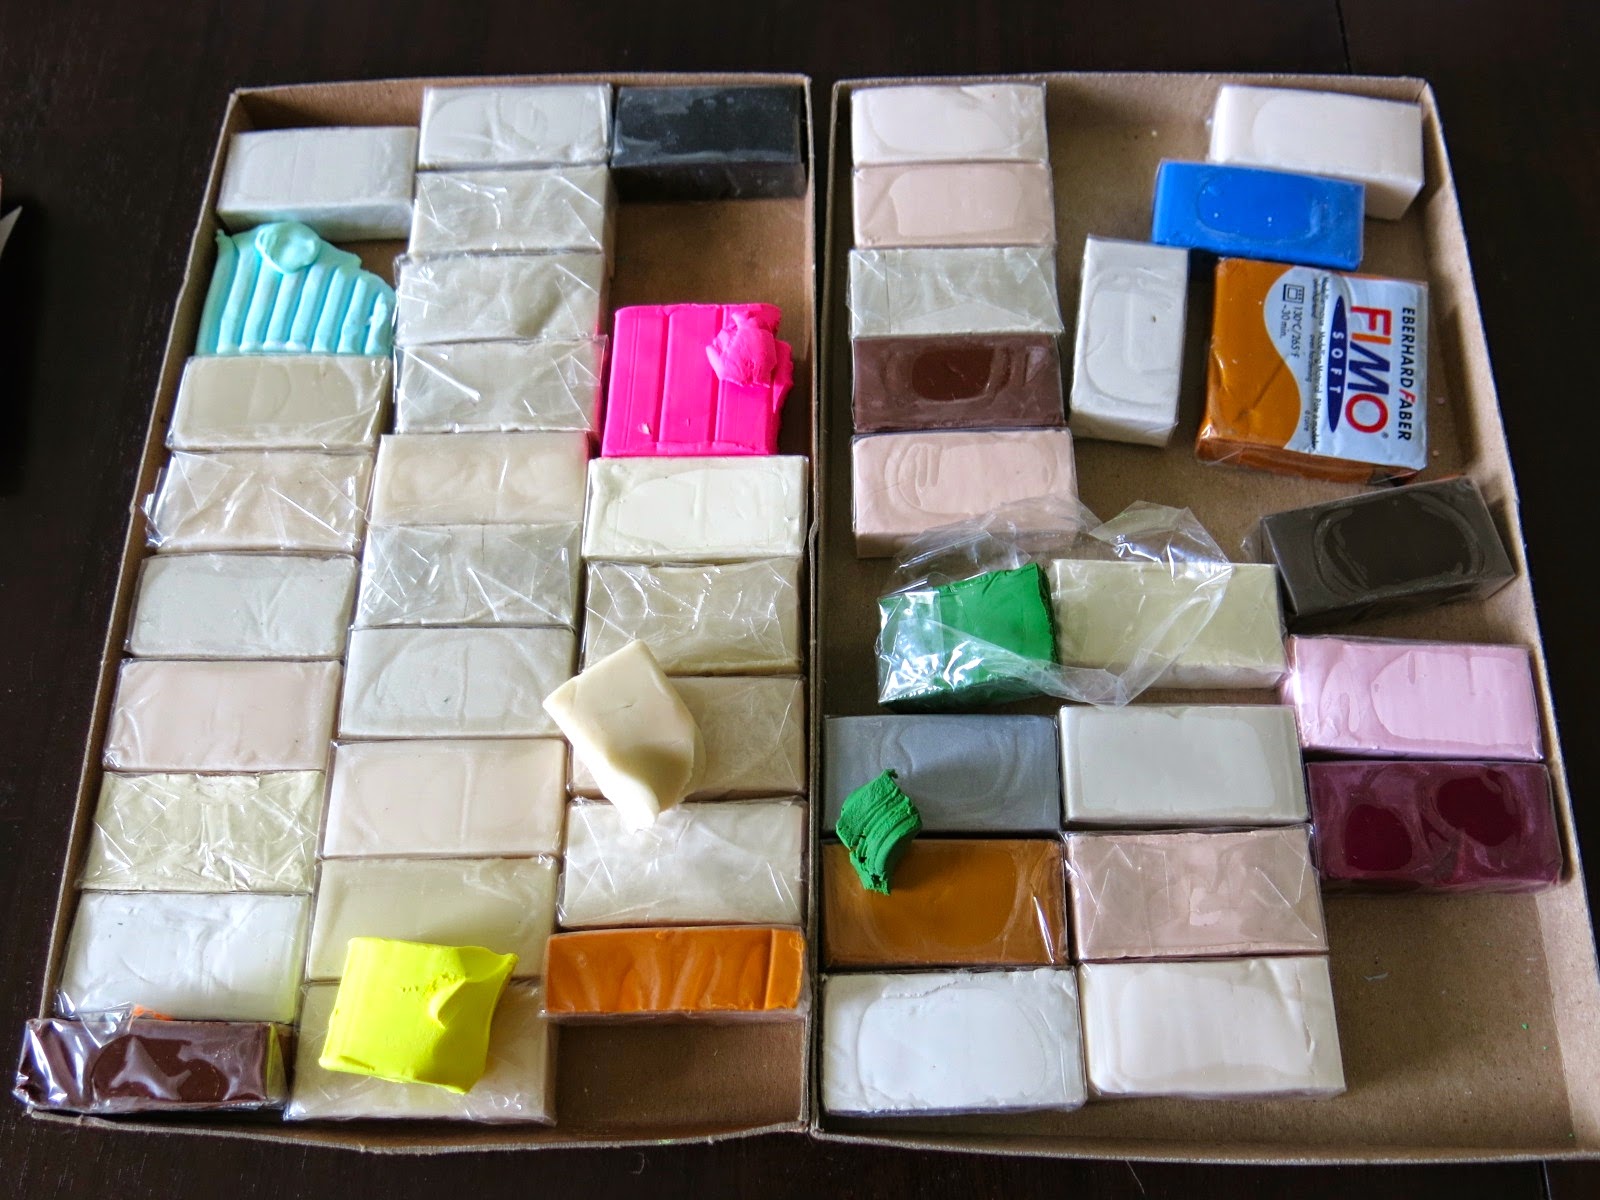
 Now, let's address the kiln less folks in the group, shall we? A similar dragon can be created with one of my fave kiln-free clays: Scupley. Almost every year, my students engage in a Sculpey bead-making project and almost every year, this is all that's left. Lots and lots of white.
 No worries! You can create any color of clay using that white stuff as your base. Case in point, a dragon's head. Just roll the desired shape in white, flatten your color to a paper-thickness, wrap it around your shape and roll smooth.

 Which might look a lil like the left. If you have white spots, fill 'em with some Scupley Band-Aids and roll again.

Now, these are the same rough and rapid directions I have the kids when they were creating their dragon's face. Use that skewer to skewer a mouth. It kinda mashes the shape a bit so you'll have to resculpt that face. But you can do it. 
 I like to use my fingers to create the indentions of eye sockets. Now roll some small spheres (because we don't say "balls" in the art room, ahem) and place them in the sockets. Remember if you are working with ceramic clay, you gotta slip and score. She slips! She scores!
 It's all about the details, y'all. Add some teeth, fire coming outta the mouth, a tongue (although preferably not all three as that's a mouthful. Literally.)
 I created a coil body in the same white-covered-in-green way as the head. Although this time I used two kinds of green and left some of the white areas alone. I was kinda digging the camo look.
 I know, right?
 Attach that head to the coil and shape. Bake in your oven at 275 (I think, check directions. I burn everything on a regular basis so my clay-cooking advice might not be the best) for abouts 15 minutes. And your finished!
 Suriously, yous guise, the kids were so thrilled with their dragons.
 I love watching the kids work with clay. It's a medium that kids who aren't fascinated with 2-dimensional art can really bloom. I mean, this artist was so into his dragon-making, he even created a baby dragon!
 You'll notice that most of the kids included a pearl...and many of them had a story to go along with their dragon. I love the detail in the face on this orange guy.
 And there you have it, y'all! Chinese dragons by the third grade set! Have y'all ever done a project like this before? If so, I'd love to hear what your students created. Special thanks to Rina for the inspirational-lesson!

Chat at Y'ALL soonish!

Read more »

Monday, February 25, 2013

DIY: Ceramic Gnome Homes

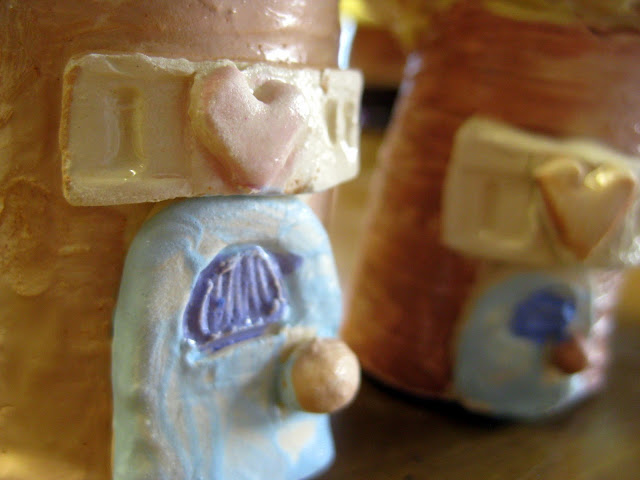
A neighborhood of gnome homes.
 My hubs and I've been married for something like a dozen years. Not sure exactly because I lost our marriage certificate long ago. It wasn't a day that stands out in my mind because it was simply a fifteen minute session with the judge at the courthouse. I don't remember much except that I wore this horrible cornflower blue two-piece suit dress from Talbots thus making me look like Barbara Bush. Hawt.

Details of adorableness. You sure you can handle this much cute?

Wait. Where was I going with this? Ah, yes, married life. In the beginning, hubs and I were never apart. And it was lovely cause we didn't wanna be. This changed over time (like six months in) and I began to kinda-sorta freakin' love my alone time. You see, hubs has to go on these occasional work trips and when he does, I likes to party. And by party I mean invite a buncha buddies over for grown-up drinks, laughs and gnome-home making. Exactly what the Beastie Boys were talkin' about during their fight for the right to party.
Textures for clay: lace, crochet bits, burlap and plastic doilies. Although texture possibilities are endless. My personal fave: the bottom of my shoe.
 Let's say you wanna indulge in your own gnome home making merriment. Well, this here clay project is so easy you can still be successful after a grown-up drink or three. Here's what you'll need:
  •  clay (I use a low-fire clay like cone 04-06)
  • rolling pins
  • textures
  • cornstarch (clay can often be too damp and stick to your rolling pin and textures. Cornstarch makes it less sticky without removing too much moisture)
  • old toothbrushes and cups of water
  • wooden skewers (for cutting the clay)
I swear to you my hands are not this skin-removed pink. Although maybe they are. The kids can hardly focus when I demonstrate on the elmo (not the doll, you silly, the piece of electronic equipment). My favorite kid comment of late: (whispering) ewww, did you see her hands?!
 To begin, I create the bottom of my home. Pick a texture and place it on a non-sticky surface. Place your clay on top of that. If your clay is sticky, sprinkle it with cornstarch and set to rollin' wit your pin. Not your homies. Keep you clay at a 1/4" thickness. Any thicker can cause explosions in your kiln while any thinner can be too weak. You gots to get this just right, Goldie Locks.
 Peel your clay off and viola! You've got texture. Now let's roll it up and make it into the base of your home.

 Now you could just roll it up as-is as shown on the left. Or you could cut one end of your rolled slab with an interesting line to jazz of the piece. It's up to you. Whatever you decide, use your old toothbrush to scrub one side thus gluing the connected pieces together.
 For some variety, I opted for a different texture for the roof. Crocheted bits like this can be purchased at your local craft store or pinched from your grannies house. You know, that lady who dresses like Barbara Bush.
 Roll this up waffle cone style. Again, toothbrush before you attach one side of the cone to the other. It might stick while you work but there's a chance that without using the toothbrush and water to attach it might not remain stuck for long.

 Set the roof on your house and pray you made it the right size. And if you didn't then you just messed the whole thing up. Aw, just kidding. But you did kinda mess up. Sorry. Make your waffle smaller/bigger and try to get it right this time, would ya?

My other favorite textures? Stamps! The larger stamps could also be used for the base or the roof.
I decided to use the stamps for details like this little faux wooden door. Clay loves to adhere to stamps so go all cornstarch on it and you'll be fine.
 My fave finishing touches are doors, windows, flowers and hearts. There are endless possibilities. I mean, just take a look at this cuteness:

 Aww! Add a couple hearts to the top for you and that special guy you hope goes out of town. These were done with stamps but you could also use alphabet pasta. Just leave the pasta in and let it fire off in the kiln.
 Sweet little ladder. It's always good to have a fire escape.
 It's so adorable it's burning my eyes. Seriously.
Because I knew I'd have a hard time getting all these ladies back at the same time, I opted to have them make and glaze their houses in one sitting. For that I used The Clay Lady's Clay Paint. Her "paint" is an engobe (which is dried clay with pigment added). This can be painted directly on to wet clay. Once dry, these pieces were dunked in The Clay Lady Glaze. Because I love vibrant colors, I use Mayco's Stroke and Coat with the children.
I'm thinking that the creation of these homes just might have gotten the gnome bug outta my system (as evidenced by this gnome dress, my students gnomies and my own gnome homes). In fact, I think I'll turn to my longtime fashion consultant and ask her opinion. What say you, Barb?
Hey! That's my wedding dress!
Geez, so many caption options with this photo:

"Shhh! You'll wake the gnomes!"

"Smell my finger. Does it smell like Cheetos to you?"

"I know where your marriage certificate is but I'll never tell!"

Wow, Barb. Just, wow.

Merry gnome-home making to you! Until next time, enjoy your week.


Read more »