You know, every now and then I make a super feeble attempt to shake my hoarder-habit ways. I start going through stuff, making piles upon piles of junk to either recycle, donate or "gift" to some unfortunate soul. In the middle of one said attempt some weeks ago, I went downstairs to grab a drink (of water, people. Although liquor definitely woulda been prefered) when hubs presented me with a broken bowl and a half broken cup.
Hubs: Here. I thought you might want these.
Me: Um. They're broken. Trash 'em.
Hubs: But you could make something out of them. They are broken clean in half.
(me, taking dishes and walking over to the trash can.)
Hubs: I know you aren't going to throw those away.
Me (with dishes poised above trash can): I KNOW! I can't seem to let them go (frantically shaking hands holding dishes over can). Argh! I can't throw away anything. What am I going to do with these?
Hubs: Eh, just glue them to a board or something and hang it up.
And, weeks later, that's exactly what I did.
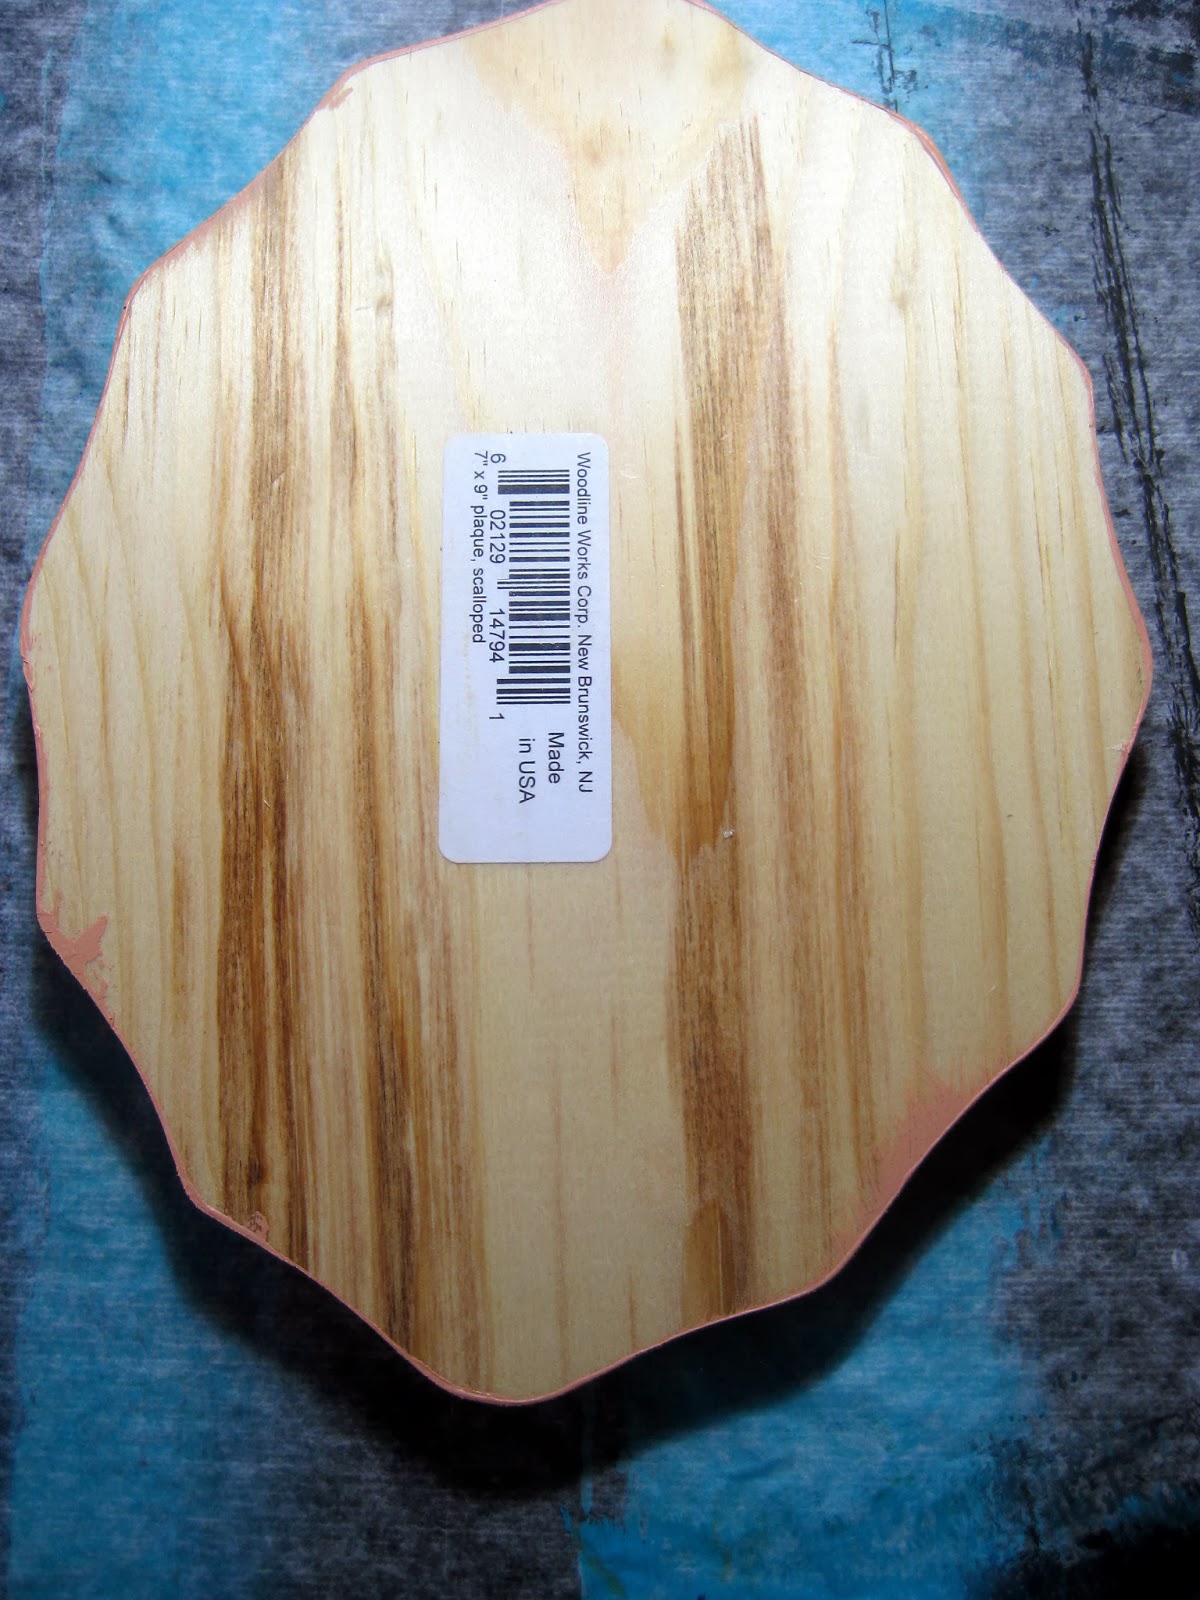
I found these wooden boards in my spare-bedroom/craft-storage/extra-clothing-space/ hoarder room. What, one of these rooms didn't come with your house? I originally picked 'em up at Hobby Lobby but I've since forgotten what I intended to do with 'em. Turns out, they were just waiting to become wall pockets.
(Big Hairy) BUT...before we get to all that, let's chat about these papers I used to cover my wall pocket boards. Without sounding too much like a bragasaurus, aren't they just the purtiest thing ev-er? Gee, thanks, I made them. I learned a technique where you can make oodles of collage paper with a super cheap supply: Deli Paper.
Back in November, I attended my state's art educator's conference. I took a two day collage workshop with just the coolest lady*. She showed us how to make that mountain of paper and use it for collage projects. However, I got so involved in the painted/printed paper process that I never did use mine to collage which left them available for this here wall pocket project.
So just how did we create these amazing papers? I'll tell ya. We began with the supplies you see above. The white container is gesso. We mixed dullish/neutral colors with a touch of gesso. This allowed the paint to better adhere to the deli wax paper (which you can find at those Mega-Giant-Buy-the-World's-Largest-Jar-of-Peanut-Butter Stores that you have to be a member of. Which I'm not. I mean, why do I need a jar of peanut butter that big?! Oh yeah. Because peanut butter is the butter of the gods. Delish. Off to make a pb'n'j. Back in a minute).
Okay, I'm back. A dull color was used in the background so that you could build up layers of color and patterns with brighter and lighter colors.
The instructor used a foam roller to quickly cover sheet after sheet of the papers.
The paper had this cool iridescent look to it.
Once those papers were painted, we immediately started playing with the instructor's huge assortment of carved stamps. The deli papers dried so fast that you could print and over print right away.
Or stencil! The entire process was so relaxing and fun. Because we created tons of papers, you never worried about messing any of them up. It was all about experimenting which I loved. I'm looking forward to giving this a go in my art room.
After laying out my mountain of papers, I chose three that I thought would work for my wall pockets. I painted the edge of the boards to match a color on the paper, flipped the board over, traced and cut it out.
I then slathered Mod Podge all over the back of the paper, placed it on the board, smoothed out all the tiny air bubbles and then gave the paper a top coat of the Podge.
Then I proceeded to adhere the cup and bowls to the wooden base with E600, aka The World's Smelliest Glue. Seriously, ya'll. That stuff smells like someone downed a Rubber Cement/Spray Paint cocktail and then farted up a storm. I huffed it for an hour. I should know (jk, I totally don't condone the act of huffing. Especially this stuff.)
And, done!
Yay-ness!
The prettiest, albeit the stinkiest, wall pockets ev-errr, ya'll.
And now...where do I hang 'em?! I'm dying to put them in the kitchen...but I can't seem to justify hanging them there. Which I kinda have to do in my house because there's this dude who lives here that is constantly wincing when I hang stuff up. He's got Cracker-Barrel-Phobia. He just knows that I'm only a random-rake-hanging-on-the-wall breath away from over-decorating the crap outta our house. So...kitchen? Bathroom for holding the necklaces I currently have strewn all over the vanity? Use 'em for mini-flower pots and hang 'em anywhere?
By the way, they are currently in the garage as that aforementioned Rubber Cement/Spray Paint Fart Smell has yet to go away. I'll keep ya posted on where they land up. Until then, whatcha suggest?
ALSO! If you enjoyed reading this ridiculous post (and honestly, how could you not?) please consider voting for this here blog for Art Ed Blog of the Year. Go here, por favor, and cast your vote!
* Sorry, her name escapes me and the link I had to the conference is now broken. Does anyone who attended happen to know the instructor's name? I'd love to give her credit.


