Who's ready to kick off this new year with a whole lotta love, color and bright, fun lessons? BUT who's also not done any real thinkin' about said lessons?! If you said ME to both of those questions than I gotta tell ya, YOU AND ME BOTH. Luckily, I've done a whole lotta love lessons over the years and put all 21 of 'em right here in this blog post. If you follow the links to these, you'll find videos for most and lesson details for ll of them. Have fun creating!
Learn how to draw each of these cuties in these how to draw videos, found here!
Kindergarten tried their hand at printing with this project and had such a blast!
Of course, you can't celebrate all things love and Valentines-y without sharing the work of Chris Uphues with your students! We've done a couple lessons inspired by him. This one is a collage and printing project.
This lesson has always been a hit on my blog with other art teachers and my students. In fact, I created this lesson as a sub plan so it's been a hit with my subs too! You can find all the details and video here.
My students created this HUGE collaborative mural inspired buy Britto. Lesson video here!
First grade created these huge Britto-inspired hearts with bingo daubers, bleeding tissue paper and paint sticks. Lesson details here.
Ready to tackle printmaking with your students? Here's a lesson I've done a couple of years now with my second graders: Robert Indiana-inspired LOVE prints!
I created these hearts with wings with foil, Celluclay and plaster strips! They are super simple to make. More here.
Inspired by those hearts, I created a lesson for my second graders to make these!
A couple of years ago, I did a professional development with the faculty and staff at my school. We created these My Heart Has Wings sculptures. Details here.
James Rizzi is always a fun artist to share with your students. We loved creating these love birds!
Here's another lesson we do just about every year in first grade: these woven and stitched hearts! All the lesson details can be found here. I created a variation of this lesson recently where students weave together strips of paper in their skin tones. You can find it here.
These candy hearts were created by my fourth graders and we used plaster strips to create them. It was so fun to see these all come together and display them in a large candy heart box! Lesson details here.
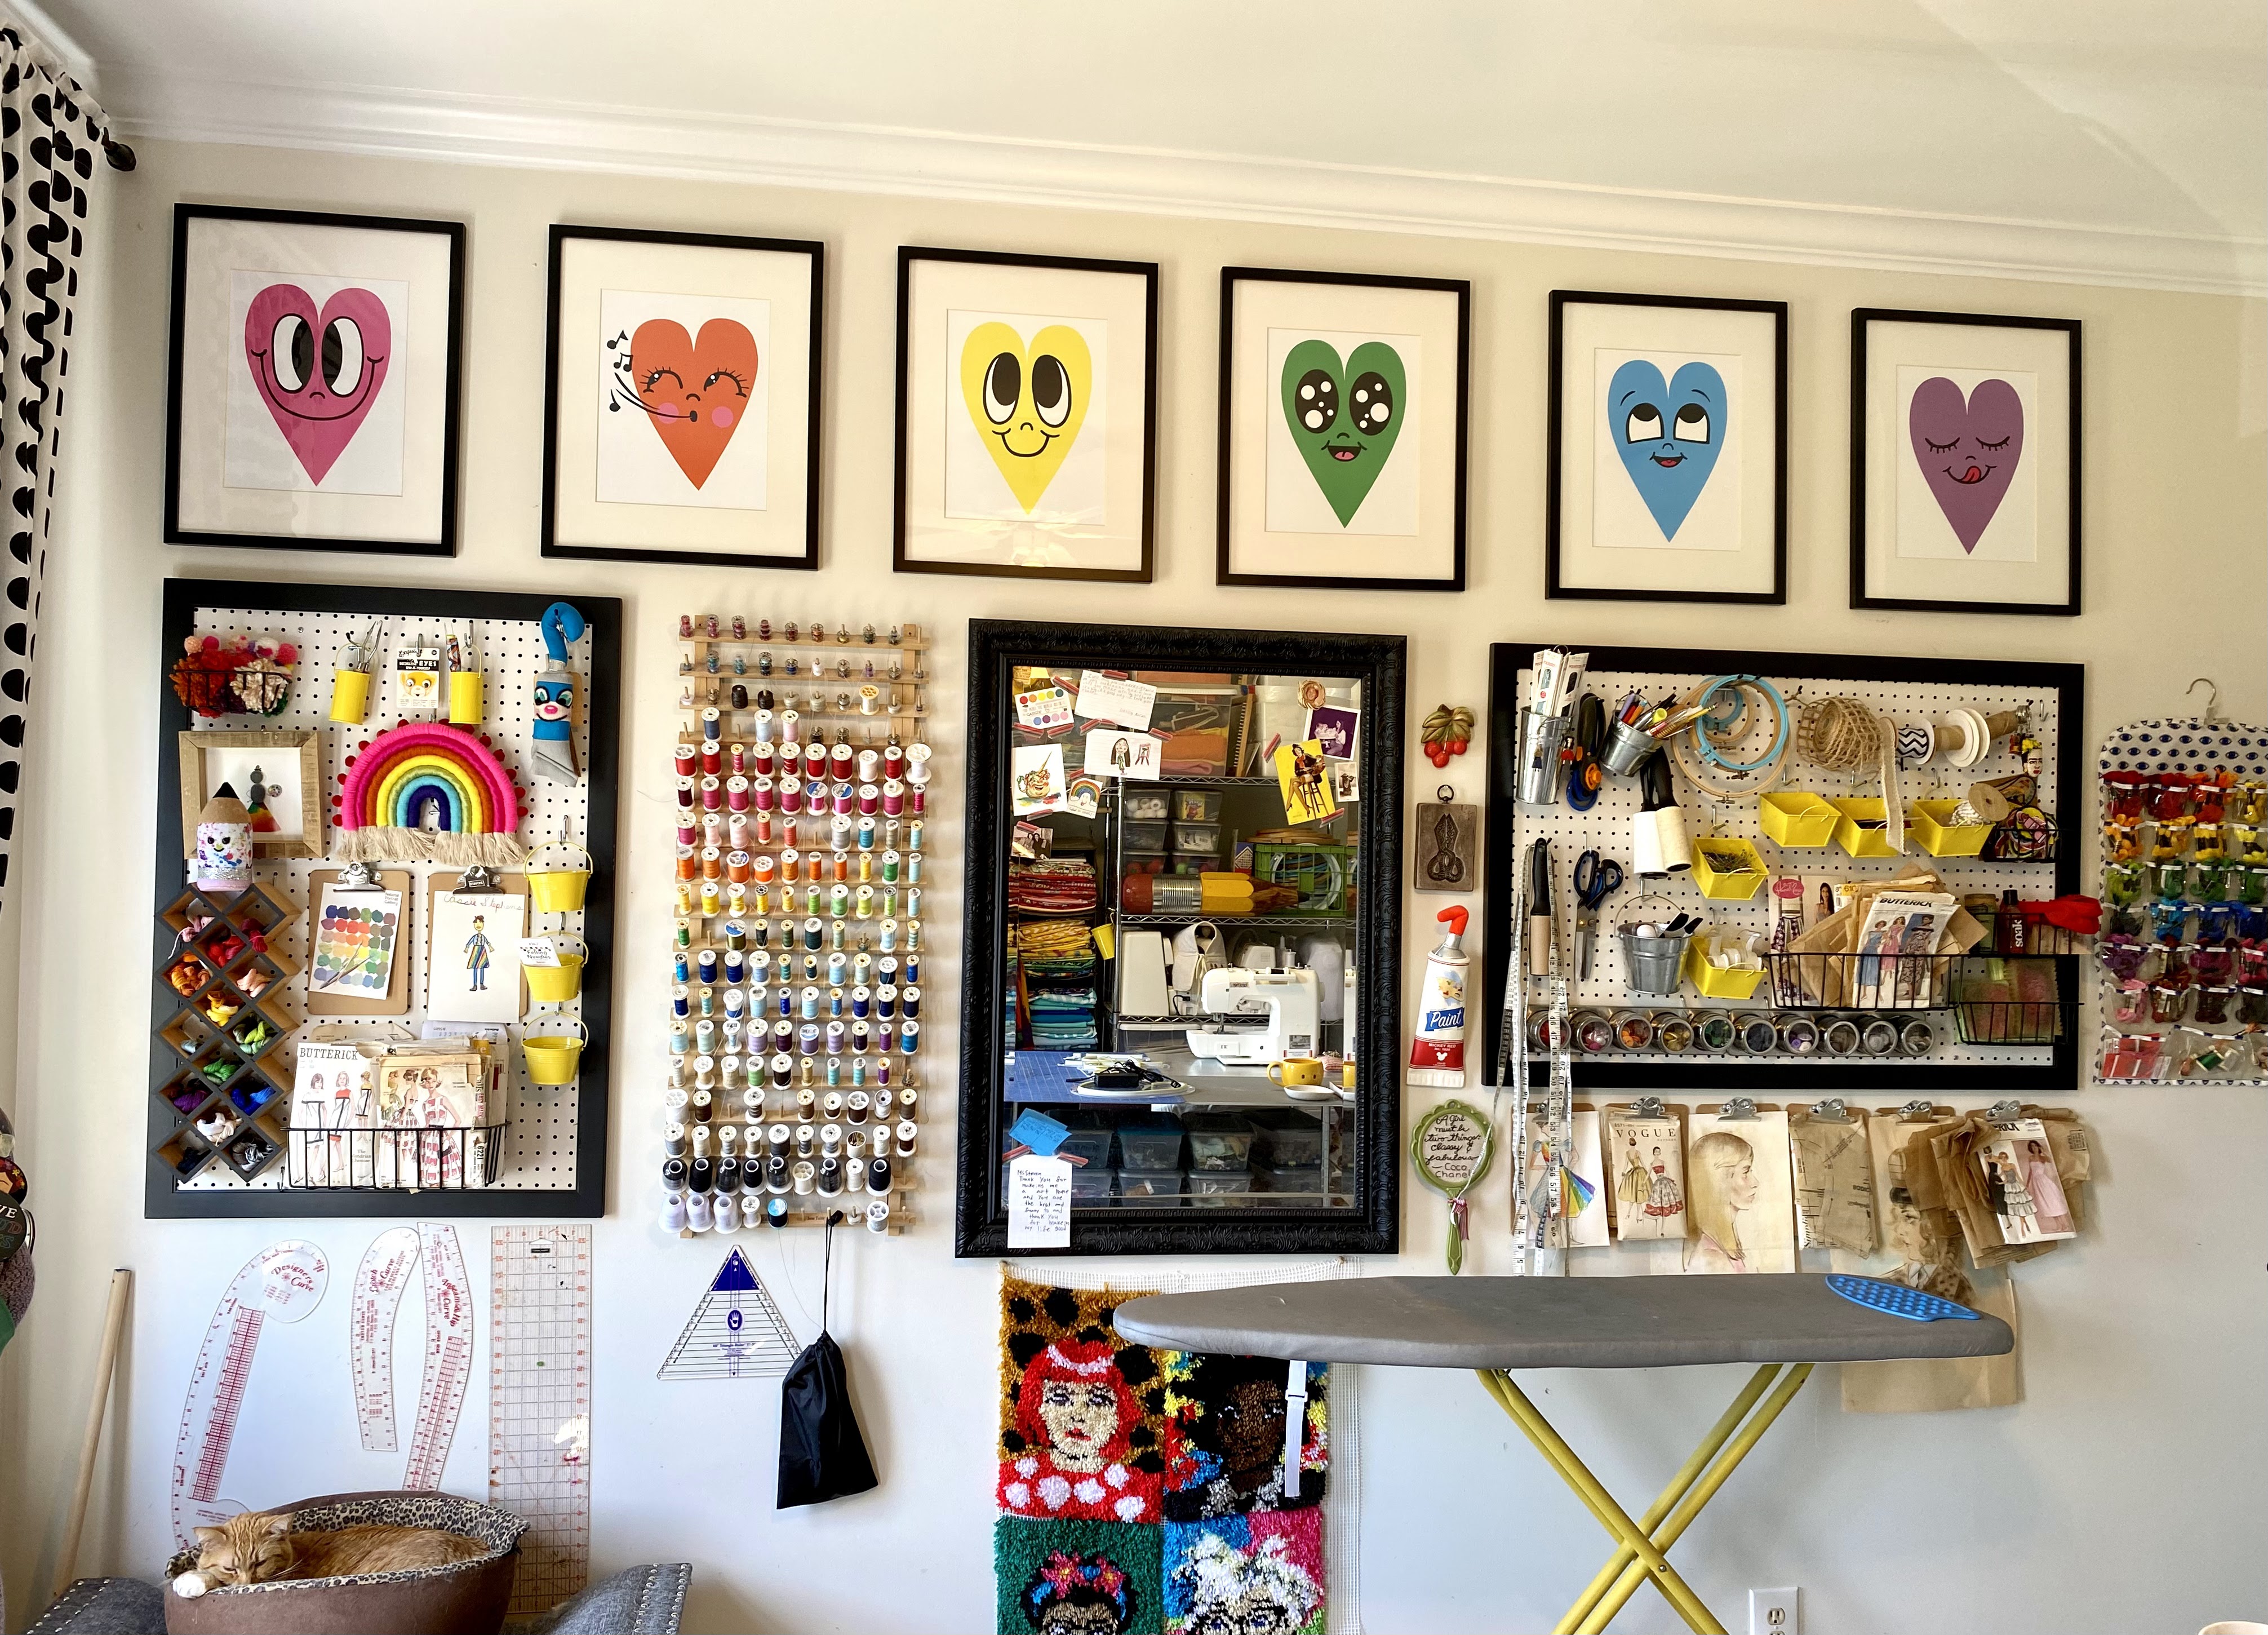
I finally cleaned my sewing room (after, you know, 10 years or whatever) and I thought I'd offer a little tour! Before we begin, I wanted to share with you all of the links to my favorite things you'll see in my sewing room. If there is anything you spot that I forget to link, please just ask. BUT...you'll have to ask on my YouTube video as leaving comments here on my blog is darn near impossible. A couple of years ago, my blog was flooded with spam comments and I had to make it more difficult to leave a comment. My apologies for that. But the comment section of this video is open:Here are some of my recommended sewing must-haves!
In my video, I failed to mention that I have a roommate in my sewing room: Max. He's our toothless wonder. Though he's not very old, we had to have all of his teeth extracted a year ago. This means he has to eat soft food separately from our other cats (Johnny and Tika) who are wild wolves and would surely devour Max's soft food. Since he eats in my sewing room, he pretty much spends his days in there. With me. And his liter box, ahem.
I have had many versions of this wall in my sewing room. But what has worked for me the best is to have all of my tools up and visible for me to see and grab. Hence the multiple pegboards and the supplies on the wall. Artwork by my fave, Chris Uphues!
And I just finished that painted jumpsuit! If you wanna learn how I made it, just get thee here.
There's probably a ton that I failed to mention so just ask!
What would I do without wire shelves?! Since leaving teaching in February, I've ordered a ton more for all of my art teacherin' books and supplies. I plan to share a tour of that space, where I 'work' very soon. It's just currently a hot stinky mess.
AND if you weren't aware that I stepped away from the art room, YEP! I did! After 25 years. I do plan to chat about that in an upcoming podcast next week, so...stay tuned!
Fabric on hangers is seriously THE ONLY way to go!
I do hope you enjoyed the tour! Stay tuned for more.
Hey, y'all! Today I'm sharing my very favorite marker hacks! In this post, I'll be sharing my favorite lessons involving these hacks but be sure and listen to the podcast episode where I share even more details. Be sure to click on the link and visit the posts I'm sharing...these are free lessons and many of them include a video as well as free handouts for you and your students! Here's the podcast episode:
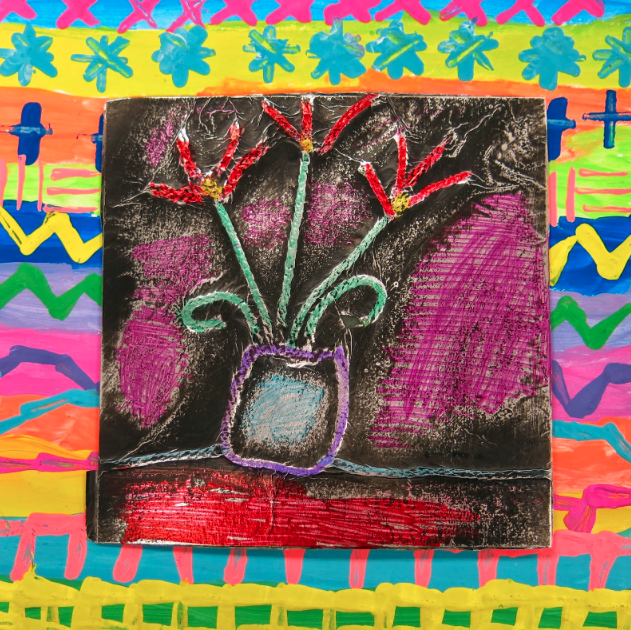
James Rizzi meets Van Gogh Cities! This project was a huge hit with my third and fourth grade students. What I loved is that my students had a chance to explore painting but without the mess! I did this project near the end of the year when we were completely out of watercolor paint. Did you know that you can use markers as watercolor paint?! All you do is color and add water! I loved the technique so much I did it for the next lesson too.
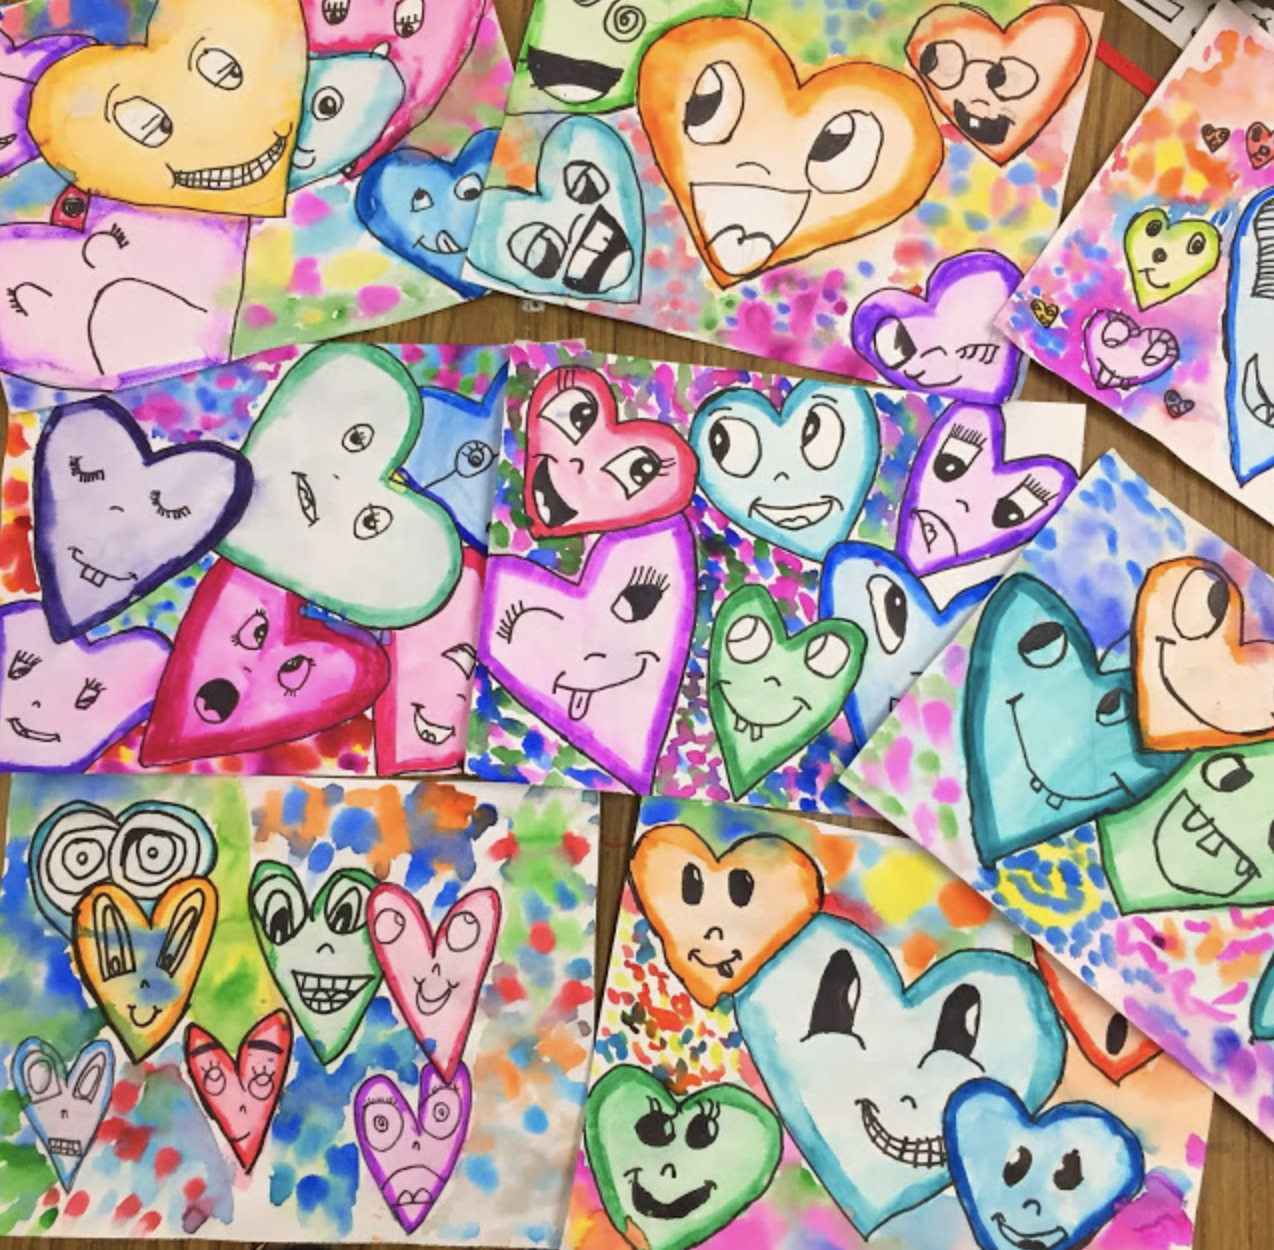
Chris Uphues Hearts! This lesson began as a sub plan and quickly became a kid and teacher favorite! I know many of you have done this one in your art rooms and it makes me so happy. Again, we outlined the hearts in marker and then used paint to "wake up" the marker and turn it into paint.
Marker Prints! In the podcast episode I mention printing with markers and it being a little tricky when you dampen the paper. I had totally forgotten about the photo I shared above...last year we used baby wipes instead of a sponge and water and it proved to be great at getting the paper just damp enough to pull a print. You can hear more about this in the episode and definitely check out more in the link!
I mean, how fun is that?!
Color Diffusing Coffee Filters! I think many of us know about this hack BUT...did you know...that after your students are done coloring their filter they should LEAVE THEM ON A STYROFOAM PLATE when you spray with water and allow to dry. Why? So that the marvelous marker color stays on the filter and doesn't drain out and get on the surface below. Hear more about that in the podcast episode.
We attached these using paperclips and hung them in the windows of our school for Dot Day!
Self Portraits in Kimonos! Here is another use for those coffee filters! This lesson was a kid favorite and look how precious they are! More details in the link.
Children's Day! These color diffusing fish came from our sponsor, Roylco. I love using color diffusing papers with markers and these were a huge hit!
We used permanent markers for details we wished to remain and waterbased markers for ones we wanted to spread. We also used watercolor paint for more pops of color. Notice how the fish is on a plastic bag...this is how the fish dried as well so that the color would remain on the fish!
Again, we hung these in our large bank of windows and they looked so beautiful.
To attach one to the other, I used paperclips. I also used paper clips to attach the fish to the ceiling tiles.
Making Marker Juice!What to do with all of those dried out markers?! Make Marker Juice! Now in the podcast, I share an easy way (as seen above) and the hard, better results, way. We used these paints to create a background for our "Ain't Gonna Paint No More" self portraits.
My kindergarteners had a big time making these!
Foil-Covered Printing Plates!What to do with printing plates once printmaking is complete? Cover them with foil and make a new work of art! I don't talk about permanent markers in the podcast but I did want to share the projects we've done with them here. Permanent markers are great for many reasons but one is when coloring over foil. They make the most beautiful shimmery effect.
Dot Day Sparkle!Check out this beauty! These were made with Styrofoam plates, foil and permanent marker.
Foil Relief! When weaving one year, my students were stressed about the amount of waste yarn we were throwing away. We decided to keep it and then create with it! Check out the blog post for details.
Speaking of not wasting a thing, we also do something similar with our printing plates! Follow this link for more.
I hope you learned a fun and new marker hack today!


.jpg)