Like, wait. What?
OMG. I do start back to school next week! It's not even next week, y'all. It's down to just mere days and hours. Minutes even. How in the world did I slip into such daze of delightful denial that I had forgotten?
Okay. I'll be honest. I have not forgotten. It's been on my mind since July.
As a teacher, I think of July as a month-long version of Sunday night. You teachers know what I'm talking about: Sunday night is the one time of the week that you dread because you literally spend the evening running through all the work that lies ahead. What's first-grade learning? Is second grade finished painting or will I need to prep paint trays in the morning? Fourth grade was on a field trip so half of them are behind while the other half is ahead...so who's doing what tomorrow? Third grade, did I plan a lesson for third grade? And, kindergarten. Lord have mercy on my soul, what will I do with kindergarten tomorrow?!
If that's our average Sunday night then y'all know what our month of July feels like. Especially in the midst of this wild world we are living in.
Needless to say...I have been having just a tiny bit of trouble relaxing (ahem). But I have found some ways that have been working for me and I thought I'd share them here. Let's start with something I've recently mentioned on Season 2, Episodes 1 and 2 of my podcast: BLISS.

The B is for Breathe. It helps when breathing to have a gatha or a phrase that you say mentally as you inhale and exhale. What this will do is help you to focus on your breathe. Just taking a deep breathe and exhaling is great but, if you are like me, your mind will rapidly move to what it is you are currently fixated on. So if I have myself mentally say, 'Breathing in, I am calm; Breathing out, I can relax,' it really helps. Try looking up gathas or writing some for yourself. If, after a couple of breaths you aren't feeling better, keep trying. Breathe deeper. Relax your shoulders. Focus on the present. You'll get there.
The L is for List Your Gratitudes. By that I just mean, while you are breathing, stop and take a look around the space you are in. Mentally list off what you are thankful for. Currently, I'm thankful for a comfy chair, a cup of coffee and the sewing room I am sitting in. You don't have to write it down. Just take in the present,
The I is for Indulge in Your Feelings. Look, things are not easy right now. It's okay to have all the feelings. I've mostly felt confused (by the tons of emails) and overwhelmed (by knowing that the load on my teacherin' plate is about to get bigger) and upset (because I know I won't be able to do it all). And I think it's okay to get all up in your feelings now and then. As long as we don't live in that space, I think it's fine.
The S is for Stop Reading Social Media. When have you EVER hopped off social media and felt like that was time well spent? I mean...I am an epic social media time waster! I spent a couple of days this summer completely off social and not only did I not miss it but I felt so much lighter. I recommend a little social media vacay if you can.
And the last S is for Surround Yourself with Joy...whatever that may mean for you. For me...it's creating, sewing and painting. If I don't take my creative vitamins, I swear I go through a withdrawal.

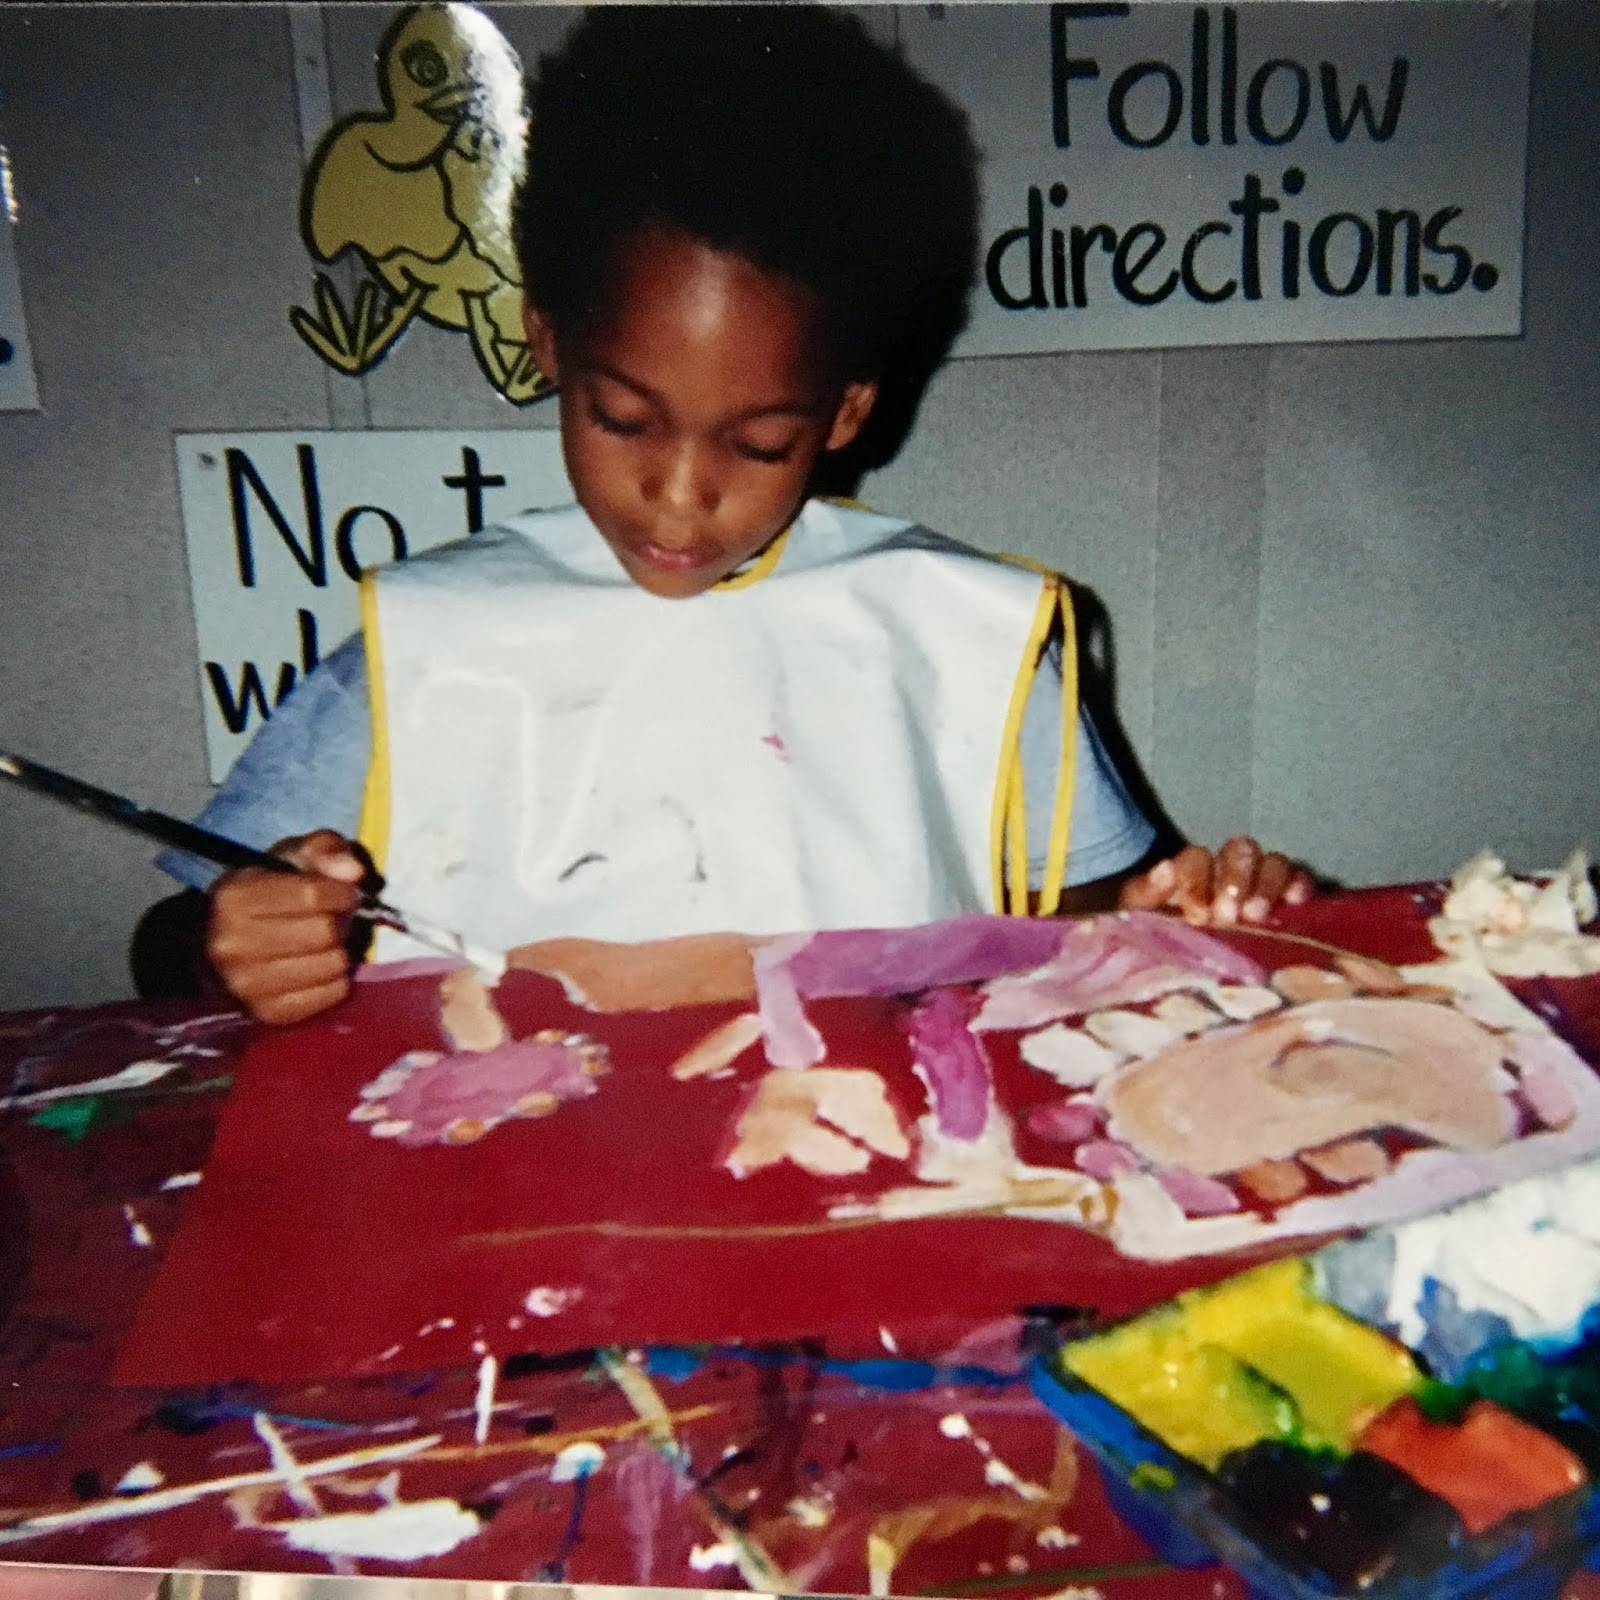
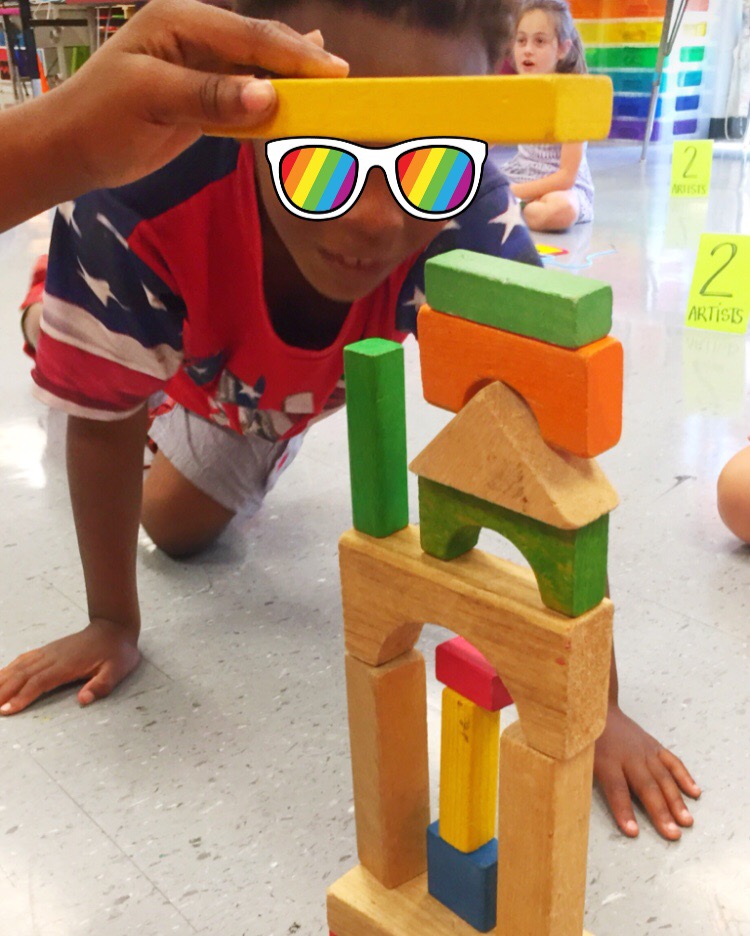
Your only limitation is your imagination..
I was chatting with an art teacher the other day who has been teaching for 31 years. I've been at it for 22. Neither of us have EVER seen anything like this current teaching state. Which means...we are all in this together! It doesn't matter how long you've been teaching, this is a challenge for us all. Her mindset was, "a challenge can be fun." And she's right! Not the kind of 'fun' any of us signed up for...but if we think of it as a challenge and accept it as such, maybe it will push some of us out of our teaching comfort zone. This challenge has the potential of making better teachers of us all.
All that to say...I'm still not ready! I'm still not sleeping well! I've been having my BTSN (Back to School Nightmares) like crazy and they seem to be even worse this time around. Y'all, I had a dream that there were WOLVES in the school the other night. My mind is on overdrive! I shared this with my friend Virginia who recommended I start at the beginning of the alphabet and think of all the foods I could. I got to the letter H before I had to get out of bed and hit the kitchen for a snack. All that did was make me hungry!
A couple times this month, when sleep has completely illuded me, I've tried Melatonin by Natrol. I had no clue what Melatonin was until recently. It's a natural hormone that your body creates to let you know when to hit the hay and get outta bed. Twice this month, when my mind wouldn't allow me to rest at all, I found this to help. I even woke up without my standard morning headache (do y'all get those?!) which was a nice surprise.


In all seriousness, y'all, we got this. We handled it like champs in March when it came out of nowhere and we suddenly found ourselves as YouTubers, videographers, Zoom-Call champs and more. We can do this new thing and we'll be doin' it together. Love y'all! Mean it!