Tuesday, December 19, 2023

Christmas Tree Skirt to Lady Skirt!

So, incase you didn't know: I have a little bit of a thing for taking Christmas tree skirts and transforming them into lady skirts. I've been doing it For-Eve-Ah. In fact, you can check them out here...
And here...
Here too...
Oh, look, another one...
And just when you thought we were through...

And, I'm sure you can believe this, there's even one more that I didn't document here on my blog! I taught a group of teacher friends years ago in an after-school sewing class how to make one! But...it's been a while. And, since then, I've started creating more video. So I thought it was time for me to update this DIY and create a video how-to! Here ya go:

It's a video that's kinda all over the place so my apologies for that. But it truly is SO EASY. Just remember the following:

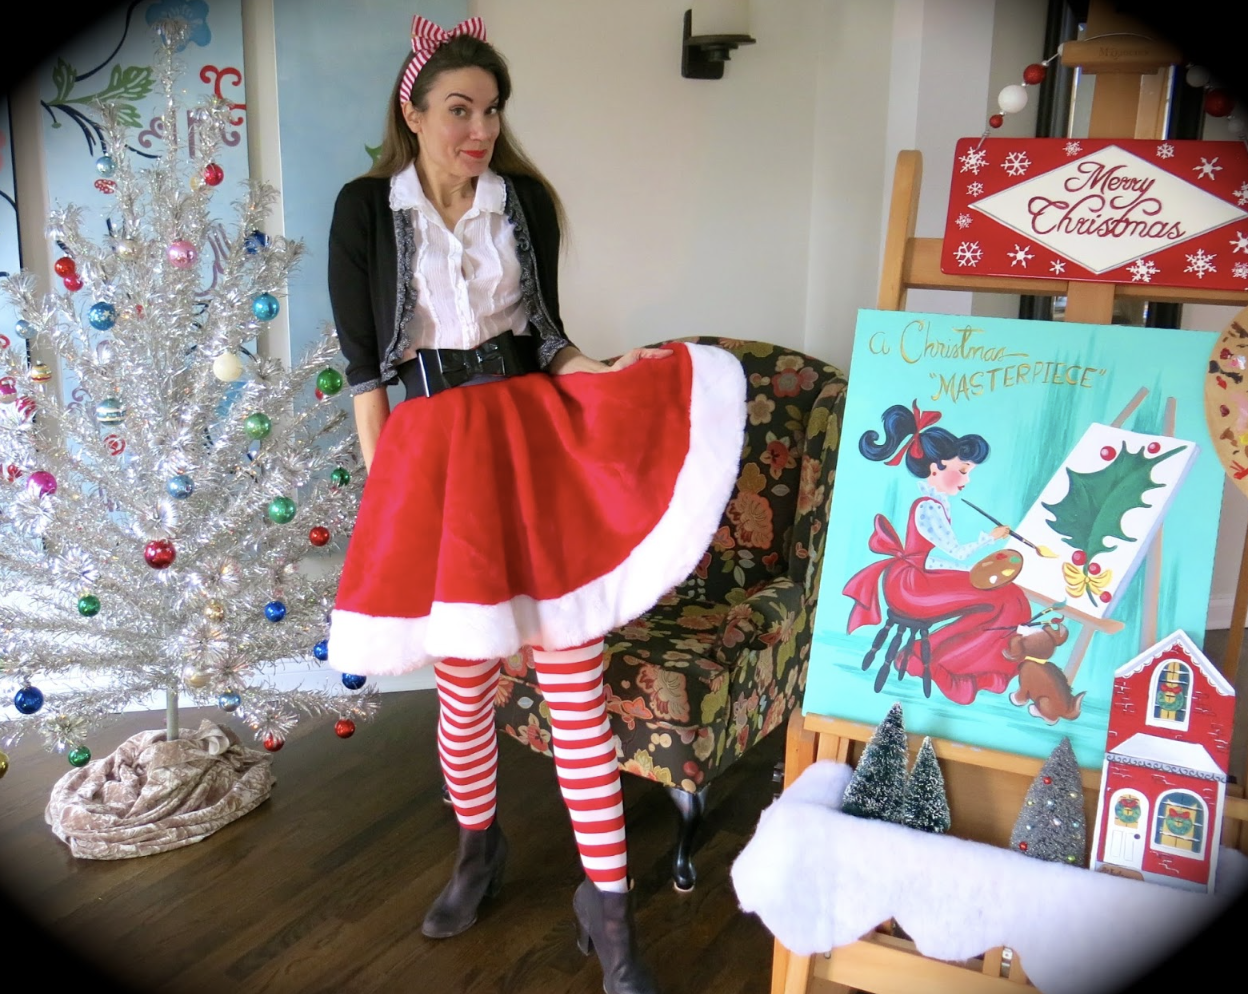
* Get a skirt that's 48" and it should be long enough. There are tons on Amazon but...since Christmas is quickly approaching, check those After Christmas sales for tree skirts when they are super marked down!

* Measure your waist and add 2 for the seam allowance. 

* Fold the skirt 4 times so you have 8 pieces of fabric folded over.

* Take your waist measurement and divide by 8.

* Using a tape measure, start at the top of the folded skirt and make your way down until you hit that measurement across the top of the triangle (the video shows this best). 

* Use a small round plate and chalk to draw the curve onto the fabric and cut.

That's the most important steps to remember as you begin. In the rest of the video, I share how to make a waistband and add a 10" zipper. Although, to be honest, if you need a zipper how-to, I recommend watching another video as I failed to film a portion of that! I swear it hit record! So sorry. 
Just remember: no one is gonna get that close and see small stitches that might drive you bonkers. I mean, shoot, even if you skip the zip and use VERY STRONG velcro (we don't want any wardrobe malfunctions!), you'll be fine. 

Merry Christmas, friends!

BY THE WAY...I've not officially shared here even though I've been meaning to...did y'all know I wrote another book?! I finally turned my poem Larry the Line into a children's book! I made it longer, illustrated it and...here it is! It's gotten over 80 5-star reviews from teachers and I'm just so thrilled. You can get a copy here, if ya like!

photo signature_zpsd10b3273.png


Monday, October 30, 2023

Let's Draw! Candy Corn...that's also a Vampire!

Let's Draw! A...Vampire Candy Corn because...why not? 

Let me show you how in less than two minutes:


See? Wasn't that super easy and fun?! 

Want to draw more Kooky Candy Corns? Well, just tap the link for a download to this drawing sheet and enjoy!

Friday, October 13, 2023

DIY: Pumpkin Planter!

Hey, y'all! Last week I shared that I created this Skull Planter. While at the same time I was makin' that mess, I also created this cutie! I finally got around to painting it and thought I'd share the process with you.

If you are looking for the supplies I used, mainly, Celluclay, you can find it here

Okay, now for the process!


Now I don't plan on keeping him out all year like my skull planter so...I did just drop a plant inside that was already in a smaller planter. That way, when the season is sadly over, I can just take it out. However...I love his happy face so much that I may keep him out past Halloween!
In case you would like to see more things I've crafted from Celluclay (and maybe a little inspo for spooky crafts), check out this blog post! 
Everything about this season makes me so happy. Including this guy!
Thanks for letting me share!
photo signature_zpsd10b3273.png

Wednesday, October 4, 2023

DIY: Skull Planter!

I spotted the coolest planter ever the other night at Cracker Barrel: it was a large plastic skull planter and I just had to have it!

Until I saw the $40 price tag.

Then I remembered how a while back I made TONS of Halloween decor with one of my long forgotten favorite art supplies: CELLUCLAY. You can check out all of those creations (well, most of them anyway), here. 

Here's the how-to video!

The process is super easy! All you need is Celluclay and a plastic planter...and acrylic paint. That's it! Oh...and maybe a cute little plant. This is one I scored at Walmart years ago on sale. It was so sad and almost dead that I named it Peanut. Peanut is now living it's best life in my brand new skull planter!
Part of the magic is in the painting when it comes to this kind of thing. I used a base coat of gray and then added a darker gray to the eye sockets and the nostrils to really deepen the look. Then I used diluted off white paint to go over that in the light areas. Finally I used a dry brush and white paint to add the highlights. 
I won't be leaving this outside. Celluclay, since it's waterbased, would probably not fair well outdoors. 

So in my over-crowded plant window, she will go!
Thanks for letting me share! I actually think I need to make more of these. Why, I have no idea! But it was just so fun and Halloween season is my absolute favorite!

photo signature_zpsd10b3273.png

Tuesday, October 3, 2023

How to Draw a Simple Skull and Paint it!

I was scrolling through the interwebs as one is inclined to do and stumbled upon this amazing work of art by Damien Hirst:

I loved it so much I was immediately inspired to create a lesson based on it! So I created a How-to-Draw-a-Skull video for you and your students. I've been seeing so many art teacher do the paint-squeegee method that, when I saw this work of art, I thought it would be the perfect inspiration. So! If you are interested, here's the kid-friendly video I created for you and your students!


I hope you find the video helpful and fun!

I tried several paint pull methods. I used my craft store acrylics and, while they worked fine, I do think the colors could have been more opaque. I did find that folding the paper in half and just adding dollops of paint to the crease worked really well. Not only that but then the paint left on the scrapper can be used on the other side!
The funnier the faces, the better, I think! I do love how the fold breaks up the pattern of paint smear too.
But what I was really interested in was keeping the skull white (or silver in the case of the video) and the background colorful. That was a fun experiment!
No matter how they experiment with this one, I know the kids will have fun. Even my little pumpkin looks pleased ;)
By the way, I'm adding new videos all the time to my YouTube channel...so if you're interested, you can subscribe here and thank you!


photo signature_zpsd10b3273.png