Showing posts with label art class. Show all posts

Friday, March 7, 2014

DIY: Sushi on my Head, Sushi on my Feet, Sushi EVERYWHERE

So, I managed to score Snow Day this week, ya'll! Which, in Tennessee, means a coupla things:

1. It probably won't snow but it might snow so get yourself to the Winn-Dixie, buy all the beer and bananas that'll fit in your buggie* and drive like a crazy fool on the slightly slick roads, ya'll! 

2. Your TN friends will be blowin' up your Facebook with photos of their kids creating the World's Smallest Snowmen (complete with copious amounts of dirt and gravel), making snow angels in 1" snow (dirt -n- gravel angels to match the snowmen) and sledding. Again, in dirt and gravel. Cuz in the South we like to say, "You get whatcha get and you don't pitch a fit." This apparently applies to snow-dirt-gravel.

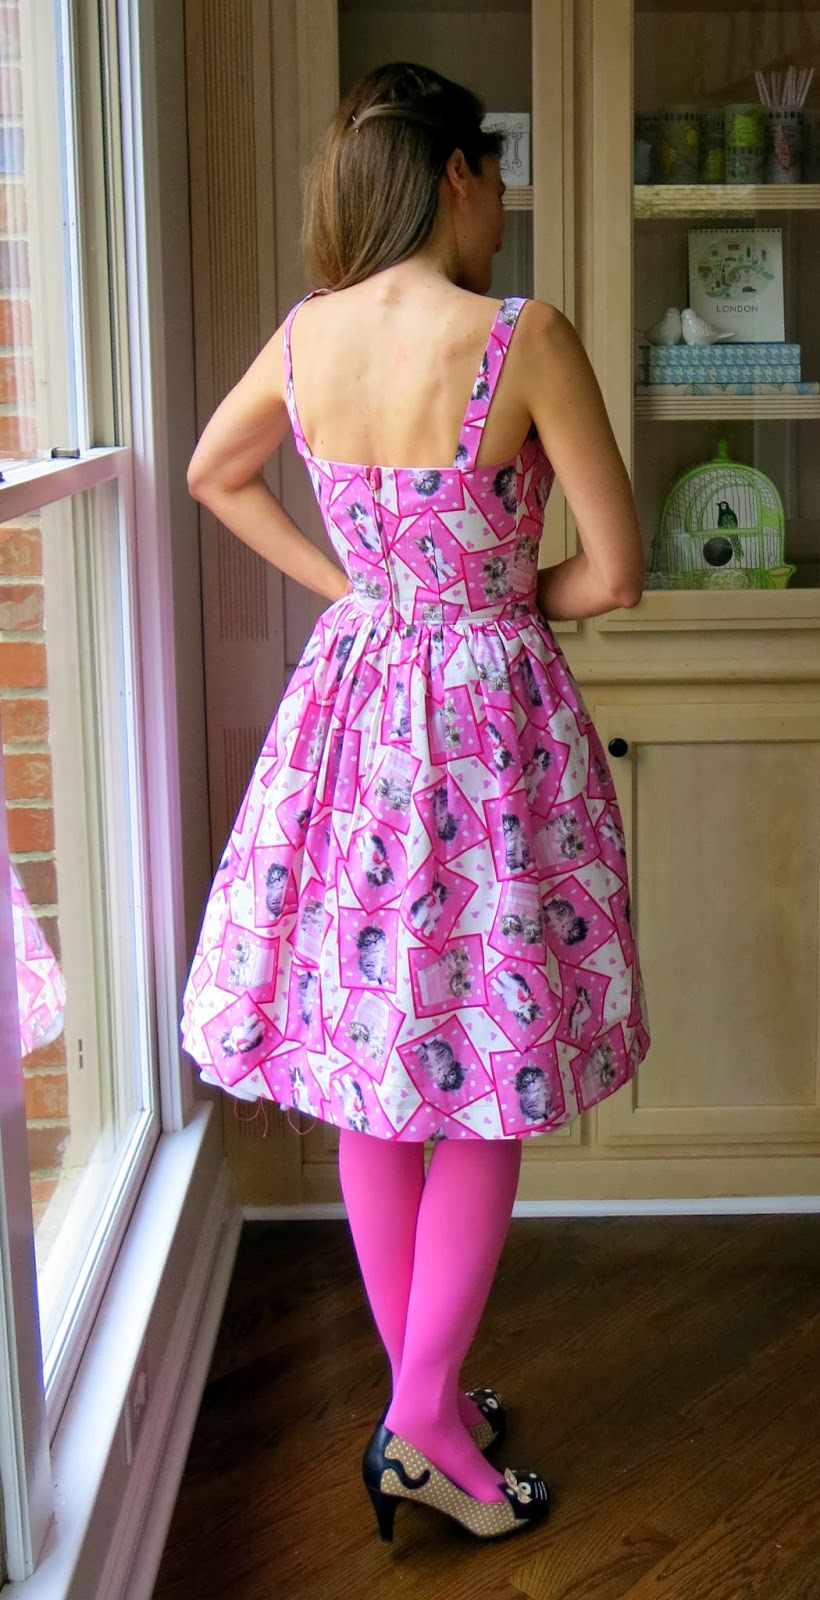
3.  It will more than likely be a lovely 70 degrees in just a matter of days (because TN weather is moodier than me after sobering up from a Beer/Banana Cocktail {see first footnote to understand my only slightly humorous humor}). So, for that reason, a Tennessee Snow Day is Sew-a-Sundress Day!
Since we are currently learning about Japan in art class, complete with my 1st grade friends creating a sushi collage, I thought it was about time I stitched up a Japanese-themed dress. I actually have a couple Asian-themed dresses in the works but they were placed on the back burner for my Artist of the Month dresses...which got put on the backety-back burner for my Valentines' Day number and my Dress Like a Book Character frock. Whew! Too many burners goin', ya'll! Story of my life.

For this here dress, I used the same vintage Vogue (or "Vague" as I like to call 'em) dress pattern as I did for my Crayon Dress. It's a pattern that honestly has hardly a whisper of directions, just arrows, diagrams and comments like "sew this to that and make sure it fits."
Even with those lame-o directions, this snowed-in seamstress was able to stitch it together (my apologies for the creepy speaking-in-third-person-ness). Speaking of snowed-in, that dusting of white stuff on the ground which kinda looks like I dropped a super small sack of flour? That's what we in Tennessee call SNOW. Yessur, that thar got me a day off from school and a two-hour delay the following day. Don't hate.
In my latest What I Wore post, I shared with ya this Sushi Hat that I wore for Wacky Hat Day. I had seen several images of "sushi hats" online and they looked simple enough to make. Turns out they were so easy-peasy that I even made some Sushi Shoes. Because what's better than Stinky Feet? Stinky Fishy Feet, that's what!
So just how did I make this, you ask (well, more than likely you are probably asking, "WHY did you make this" or maybe "WHY do you think I wanna know, I ain't makin' this!" to which I would respond, if you don't  have a handcrafted sushi hat and matching shoes, you just ain't livin', my friend). 

For this magical feast for the feet, you'll need some stiff sparkly felt (yes there is such a thing. My life is now complete), pompoms, tooth picks and white felt. Oh and a pair of thrift shop shoes you don't mind permanently adhering felt sushi to.
Cut a 2" strip of felt about an 1" tall. Hot glue your pompoms of choice to the end, roll it up and glue it closed.

Cut some white felt about 6" long, 1" tall. If you snip the ends, the white felt looks more like rice once it's rolled up. Wrap that a coupla times around and hot glue into place.
Like so. By the way, in each photo I had to cleverly hide my pitifully peeling thumb. This weather has my fingers cracking and nails peeling. Which means my dreams of becoming a hand/foot model are pretty much ruined. Sigh.

Oh! To finish, wrap the "sushi" in a final layer of black felt for the seaweed and glue into place.
For the sashimi, I did do a wee bit of felting so show the little lines of fat in the salmon. That was then glued to a bit of rolled up white felt and wrapped in a strip of black. I had to add a felt bit for ginger and a green lump for wasbi. Toothpicks worked best for the chopsticks on my shoes. For my hat, I used small skewer sticks.
And now a word from my boss, The Cat...
"Don't you believe for one second that this crazy lady sewed this dress herself! While she was making sushi, which, by the way, she wouldn't even let me sample!, she locked me in her sewing room and demanded I finish the hem of her dress. As you can see by the look of focus on my seriously cute kitten face, I take my job very seriously. Despite my lack of recognition by said crazy lady. Humph!"


Ahem, whatever. Don't you believe a word outta that cat's mouth! She's convinced me on more than one occasion that I've forgotten to feed her and tricked me into doubling her breakfast! She's basically a con-artist in a cute kitten suit. 

And that's all, ya'll! I hope you have a super fab weekend and I'll chat with you again at week's end!

* So I was at the grocery just a day or two before the weather hit and I noticed that there were no bananas like anywhere. And then I saw buggie (yep, that's what we call 'em down here) after buggie filled to the brim with beer and 'nanas. Is there some sort of Banana/Beer Cocktail I'm not aware of? 

Read more »

Wednesday, February 26, 2014

In the Artroom: A Starry Night Collage and Thoughts on Teaching Art

Friends, Ima be honest with you. I've been in a funk. It started with a sinus-y head cold that morphed into no-energy-itis which developed into a bad case of nobody-likes-me, everybody-hates-me, I'm-just-gonna-sit-over-here-and-pout. I have blamed my cold and lack of energy for my bad attitude but, if I'm being truly honest, there have actually been a couple things eating away at my thoughts. And one of them has been teaching art.
So here's the deal: I recently joined a group on Facebook called "Art Teachers". And it's pretty rad, interacting with art educators, seeing the work of their students, hearing their struggles and successes. But there have also been some, um, debates. It seems that there are two camps of art teachers out there: those that teach choice-based art and, well, those that don't.

Now before I go tip-toeing into a land mine (because those aforementioned debates have gotten very feisty), lemme first say that I am not a choice-based art teacher. Nor do I know very much about the concept although I am intrigued. From my understanding, in a choice-based art room, children are allowed to work with their chosen art media to express their ideas. In a nutshell.

Here's what I love about the idea: children creating art based on their own individual interests and inspirations. In a choice-based art room, the kids are routinely introduced to new media and allowed to explore their ideas with that new material. Or they can use whatever other supplies that have been introduced throughout the year. It sounds so happy and harmonious and free. In my imagination, it looks like a college art studio filled with little people sculpting, painting and weaving their little hearts out.

But here's the thing that bothers me: a music teacher wouldn't simply show a child a room full of musical instruments, teach them a couple of the basics and tell them to then make music. Not without first teaching them all that there is to know about playing, writing and composing a piece, not to mention introducing them to both classical and contemporary composers. Because without those fundamentals, I imagine children would simply bang on the instruments, grow bored and lose interest. Is it possible the same might happen in an art room? I don't know.

I've heard the argument that if you, as an art teacher, know what the end product of a lesson is going to look like, then the work of art is your own and not your students. This really really made me question how I teach. Am I doing a disservice to my students? Am I robbing them of their creativity and exploration? Is this Starry Night/collage/painting/weaving project recently created by 1st grade actually harming the creative exploration of my students?
 Again, I don't know.

What I do know is that, like a classroom teacher giving a test to check for hitting benchmarks and understanding, I can see that my students learned the following (side note: each "Day" is a 30 minute art class. Yes, 30-super-short/very-precious minutes):

Day #1: How to mix a shade of blue with black and blue. How to use a variety of brush strokes and lines to show movement in their sky like our inspirational artist, Vincent van Gogh. How to paint the secondary color green and create a texture onto that paper.

Day #2: How to create a landscape collage by tearing the green paper and creating a foreground, middle ground and back ground. How to create a paper loom for weaving.
Day #3: How to weave. How to use collage to create a house by cutting out geometric shapes from recycled pieces of paper. 
Day #4: How to add a star to my piece (see this post on how we marbled these stars) and have it tell a story in your work of art. Is it a shooting star? A falling star? An explosion of color? What can you think of?
Day #5: How to add that house to the landscape and add other elements of their choosing to that landscape. How to brainstorm ideas for their work of art (what can go in the background? a dog house? a neighborhood? trees?).

(Houses about half finished...still working out ideas for the background and the shooting star.)

Knowing that they have learned all of this, is this lesson a bad one? I like to think not. My students surpassed my notion of what their completed piece would look like by adding animals, trees, dog houses, houses in the distance, moons, curtains in the window, you name it.
But I did have a notion what their finished work of art would look like.
Which again, brings me back to where I started. Sigh. 

Look, I've been teaching art for a very long time (this is my 16th year, time seriously does fly!) and I'm not even going to pretend I've got the answers or even a flipping clue. And I think those folks that do think they have all the answers are just fools. Or maybe cowards that are too afraid to question what they've always done. I mean, shouldn't we always be looking to do what is best for our students?

So, I ask you, honestly, what are your thoughts?

And, if I've offended anyone, choice-based or not, that was not my intention. Thanks, ya'll.
Read more »

Wednesday, February 12, 2014

DIY: A Purrr-fect Valentine's Day Dress (and Sweater!)

If you happen to be a teacher, and/or the proud owner of school-aged children, then you know come winter: EVERYONE loves a Snow Day.

Especially the teachers. 

And if they tell you otherwise then they are Big Fat Hairy Liars who only speak such untruths to convince you that they simply adore having your child in their room day after day after OMG-is-it-STILL-ONLY-WEDNESDAY day. Don't get me wrong, Ima teacher and I love what I do...but I also love a little surprise break once or four times a winter season. 

Now those of you that happen to live everywhere but Tennessee have gotten more snow dumped on you than Antarctica. Here we've had na-freakin-da. It's been goin' just north and south of us like we're covered in some sort of invisible force field. And for that reason, things have gotten real desperate in elementary-school-land...
But more on that in a sec.*

For now, let's keep this DIY train on track, shall we? 

I found this totes amazing kitten-n-hearts fabric last spring at JoAnn's. I scooped up the only three yards just knowing that it'd be the The Purrr-fect (sorry, I had to) Valentine's Day Dress, second only to last year's Poodletastic Valentine's Day Number. I decided to go with this vintage McCall's 6221 because it's pretty simple and super cute. Says me. If you've been reading this nonsensical blog for a while and you have a good memory, you might recall the barbequed version of this here dress (blog post complete with Barbequed Banana Bread. Check it.)
I did forget that this dress needed to be lined and I thought a coupla seconds of just forgetting about that step. But, in an effort to be a Big Girl Sewer, I sighed, stomped my foot and made the lining. Which took me all of 45 minutes with one bathroom break and three separate EMERGENCY chocolate breaks.
Now, I don't know exactly what went wrong with my measuring and cutting but this dress is very well fitted in the waist. Like, no-more-emergency-chocolate-breaks well fitted. I don't recall the other dress I created from this pattern being so tight...so I'm guessing that the pattern shrunk. I've heard that can happen. When you eat a lot of chocolate. Ahem.
Now since it has been a chilly, albeit snowless, winter, I can't go around wearing no sleeveless dress. I scooped up this sparkly sweater at the thrift store recently with intent to felt it. But then the kittens spoke to me and said, "screw felting, stitch me on that tacky sweater!" (they are very mouthy cats, fyi) and I was like, "um, okay."
Dude, this applique bit took less than 45 minutes with a possible chocolate break or five thrown in the mix. I simply cut out the rectangles and adhered 'em in place with some Stitch Witchery.

Set my sewing machine to zigzag and adjusted the width and length between stitches. Now I do have a computerized machine but I could do this very same applique stitch on my ole manual Kenmore.
Penny for your thoughts, kitty? 

"Ima gonna eat your face when you are sleeping."

Wow. Just. Wow.
Outfit details: sweater and belt: thrifted; tights: Target; shoes: Modcloth, old; crinoline: Amazon (it's one of those cheapo costume ones); heart hair clip: made by me
*So just how did I manage to get all this dress -n- sweater making done? Well, I tell ya, it was lookin like it wasn't gonna happen until yesterday when I had a serious talk with a 4th grader as he was getting on the bus:

4th Grader: Mrs. Stephens! For a snow day, I know what to do!

Me: Yeah, yeah, I know. White crayon on the window sill, pj's inside out, flush ice cubes down the toilet (shaking my head with a sigh)...I hate to tell ya, dude. None of that stuff works. 

{For you non-teachers out there, this is the stuff of Playground Urban Legends.}

4th Grader: (stepping onto bus) No, no, that stuff doesn't work. You gotta sleep with underwear on your head! I promise we'll get a snow day if you do!

Me: Really?! Like, REALLY? (bus begins to pull away) But wait, WAIT! DOES THE UNDERWEAR HAVE TO BE CLEAN?

Um. So. I never got my answer. Let's just say, hypothetically, I slept wearing both kinds, just to be safe. 

And...I got my Snow Day/Sew Day. Which I say was worth it.

Read more »

Wednesday, February 5, 2014

DIY: Broken Bowl Wall Pocket

You know, every now and then I make a super feeble attempt to shake my hoarder-habit ways. I start going through stuff, making piles upon piles of junk to either recycle, donate or "gift" to some unfortunate soul. In the middle of one said attempt some weeks ago, I went downstairs to grab a drink (of water, people. Although liquor definitely woulda been prefered) when hubs presented me with a broken bowl and a half broken cup.

Hubs: Here. I thought you might want these.

Me: Um. They're broken. Trash 'em.

Hubs: But you could make something out of them. They are broken clean in half. 

(me, taking dishes and walking over to the trash can.)

Hubs: I know you aren't going to throw those away. 

Me (with dishes poised above trash can): I KNOW! I can't seem to let them go (frantically shaking hands holding dishes over can). Argh! I can't throw away anything. What am I going to do with these?

Hubs: Eh, just glue them to a board or something and hang it up.

And, weeks later,  that's exactly what I did.
I found these wooden boards in my spare-bedroom/craft-storage/extra-clothing-space/ hoarder room. What, one of these rooms didn't come with your house? I originally picked 'em up at Hobby Lobby but I've since forgotten what I intended to do with 'em. Turns out, they were just waiting to become wall pockets.
(Big Hairy) BUT...before we get to all that, let's chat about these papers I used to cover my wall pocket boards. Without sounding too much like a bragasaurus, aren't they just the purtiest thing ev-er? Gee, thanks, I made them. I learned a technique where you can make oodles of collage paper with a super cheap supply: Deli Paper.
Back in November, I attended my state's art educator's conference. I took a two day collage workshop with just the coolest lady*. She showed us how to make that mountain of paper and use it for collage projects. However, I got so involved in the painted/printed paper process that I never did use mine to collage which left them available for this here wall pocket project. 

So just how did we create these amazing papers? I'll tell ya. We began with the supplies you see above. The white container is gesso. We mixed dullish/neutral colors with a touch of gesso. This allowed the paint to better adhere to the deli wax paper (which you can find at those Mega-Giant-Buy-the-World's-Largest-Jar-of-Peanut-Butter Stores that you have to be a member of. Which I'm not. I mean, why do I need a jar of peanut butter that big?! Oh yeah. Because peanut butter is the butter of the gods. Delish. Off to make a pb'n'j. Back in a minute).
Okay, I'm back. A dull color was used in the background so that you could build up layers of color and patterns with brighter and lighter colors.
The instructor used a foam roller to quickly cover sheet after sheet of the papers.
The paper had this cool iridescent look to it.
Once those papers were painted, we immediately started playing with the instructor's huge assortment of carved stamps. The deli papers dried so fast that you could print and over print right away.
Or stencil! The entire process was so relaxing and fun. Because we created tons of papers, you never worried about messing any of them up. It was all about experimenting which I loved. I'm looking forward to giving this a go in my art room.
After laying out my mountain of papers, I chose three that I thought would work for my wall pockets. I painted the edge of the boards to match a color on the paper, flipped the board over, traced and cut it out.
I then slathered Mod Podge all over the back of the paper, placed it on the board, smoothed out all the tiny air bubbles and then gave the paper a top coat of  the Podge.
Then I proceeded to adhere the cup and bowls to the wooden base with E600, aka The World's Smelliest Glue. Seriously, ya'll. That stuff smells like someone downed a Rubber Cement/Spray Paint cocktail and then farted up a storm. I huffed it for an hour. I should know (jk, I totally don't condone the act of huffing. Especially this stuff.)
And, done!

Yay-ness!
The prettiest, albeit the stinkiest, wall pockets ev-errr, ya'll.
 And now...where do I hang 'em?! I'm dying to put them in the kitchen...but I can't seem to justify hanging them there. Which I kinda have to do in my house because there's this dude who lives here that is constantly wincing when I hang stuff up. He's got Cracker-Barrel-Phobia. He just knows that I'm only a random-rake-hanging-on-the-wall breath away from over-decorating the crap outta our house. So...kitchen? Bathroom for holding the necklaces I currently have strewn all over the vanity? Use 'em for mini-flower pots and hang 'em anywhere?

By the way, they are currently in the garage as that aforementioned Rubber Cement/Spray Paint Fart Smell has yet to go away. I'll keep ya posted on where they land up. Until then, whatcha suggest?

ALSO! If you enjoyed reading this ridiculous post (and honestly, how could you not?) please consider voting for this here blog for Art Ed Blog of the Year. Go here, por favor, and cast your vote!

* Sorry, her name escapes me and the link I had to the conference is now broken. Does anyone who attended happen to know the instructor's name? I'd love to give her credit.
Read more »