Well, I'm back at it: picking up more things from the Wooden Thingies You Can Paint aisle and goin' to town. I've painted paddles into paint brushes, a picket fence into a stack of pencils and now this fun Tints and Shade sign!
The other day, I was at Hobby Lobby and spotted this fun little fence. I picked up two of them and used a coupla coupons to bring the price down a pinch. I wasn't sure what I'd do with them until the idea of creating a value scale of tints and shades came to my mind.
Over a couple of evenings, I managed to get this bad boy complete. It was very similarly to my Stay Sharp pencils. I will say, mixing up a gradient is no joke, especially when you do it over the course of a couple of days. I did struggle a couple of times getting colors to great an even value scale.
Once the pencils were complete, I added the lettering and the fine lines. I love using black and white lines to give things a cartoon-y look
I was going to go with "value scale" or "gradation" but those aren't words we use a lot in my art room. We do talk a lot about mixing up tints and shades...so this was what I went with!
Don't be throwin' no shade now, y'all.
I also had a chance to hang my Color Families display today! I used Command Velcro strips to hang these and my Tints and Shade sign.
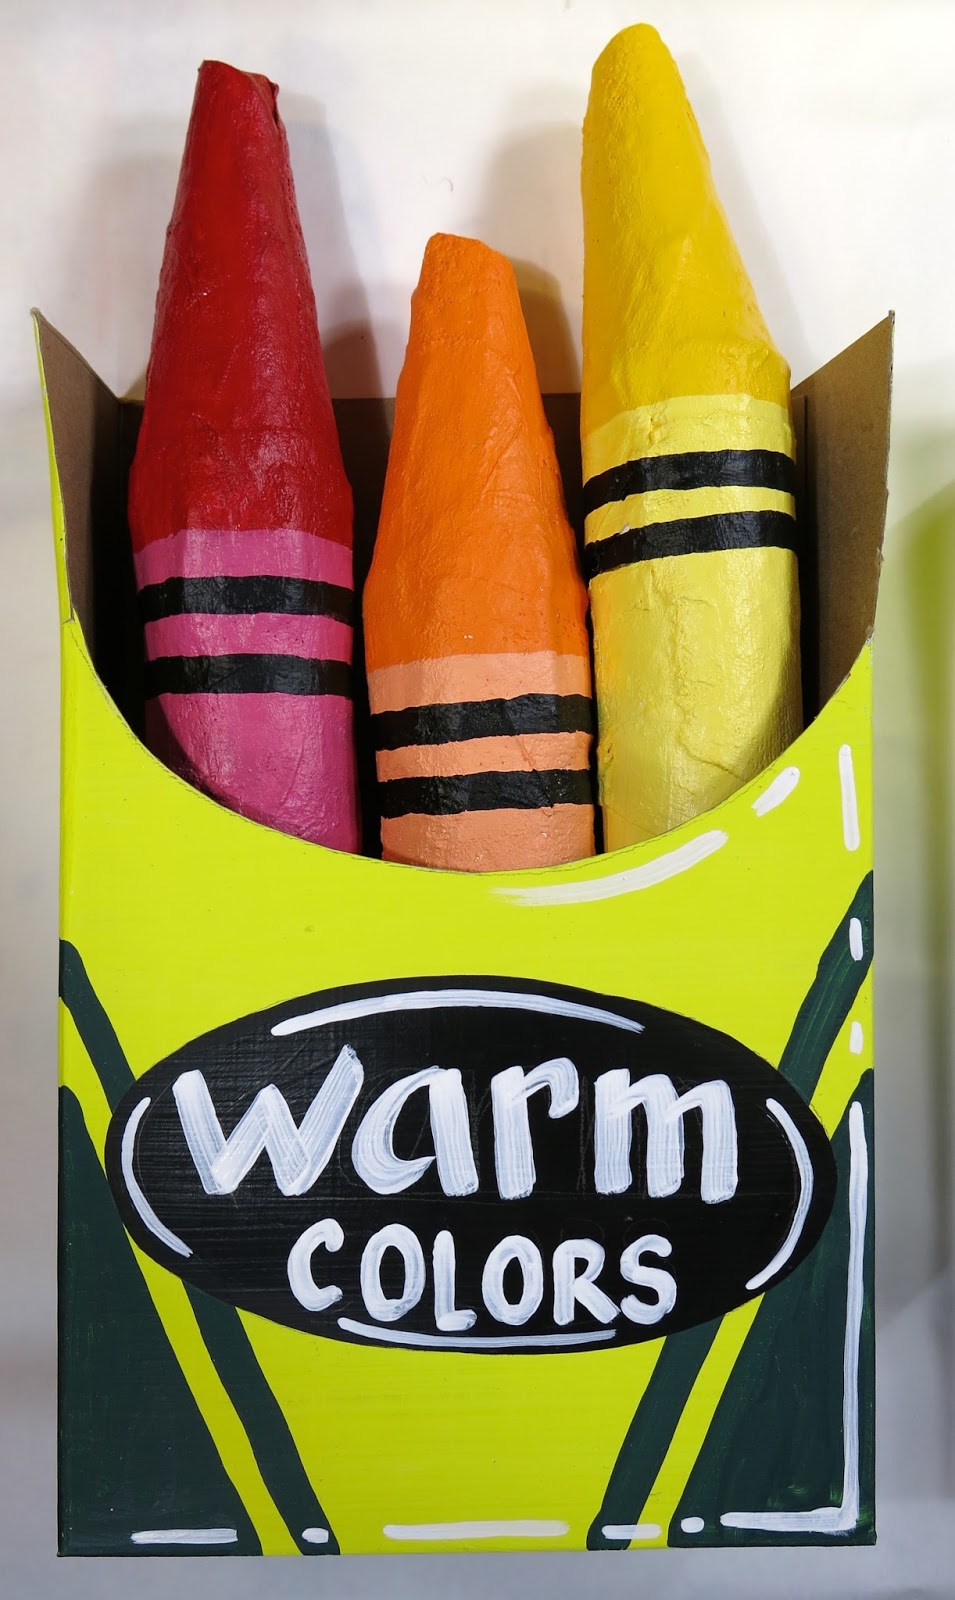
Because I want to be able to remove the crayons and use the as teaching tools, I used velcro dots to add them to the crayon boxes. You can see them in the secondary color box.
Now I did mention that I purchased two of these wooden thingies...the other will go over the door to the left of my clock. I plan to paint that in a rainbow gradation...but not sure what I'll write on it yet, if anything. I'm really excited about this area of my art room now! I am loving the new look so much...I am slowly working on giving my entire art room a make over! This is an area that the kids see a lot so it gets first priority. I even painted my easel to match some bookcases I recently redid. I'll have to give a complete tour once complete...although who knows when that will be!
So there are some things I decided shortly before school started. Let's start with the first: I had too much purposeless decor in my art room. I'm an over-decorator. Just take a peak into my sewing room or my crafting space (yes, these are two separate rooms and yes, I'm spoiled rotten) and you'll know I ain't lyin'. When it comes to my art room, I tend to overdo it there as well. I have a bad habit of getting sucked into the vortex that is the Target Dollar Spot and purchasing every cute thing under the sun. When I bring these colorful happies to my art room, I don't think: Is this going to benefit the art makin' of my students? Is this going to educate and not just decorate? Oh no. Instead I'm all: WHERE'S AN EMPTY SPACE, I MUST FILL IT MEOW. I realized the error of my ways over the summer when I came in to grab some things and I took a good look around. All I saw was clutter. Cute, colorful clutter. And in a fit of coffee-fueled redecorating rage, I tore down posters of unicorns, giant maps (why three? WHY?) and reference images that I never, er, referenced. I crumbled it all up into a big heaping wad and stepped back. Immediately I was horrified. What had I done?! My room looked so bare! And that's when I came to my second conclusion: Eh, you'll figure out what you need as you go. Your room DOES NOT have to look PERFECT on the very first day...week...shoot, man, even month! of school.
Since then, I've slowly started rethinking my decor and redecorating my art room. I made the following decisions: what I use to decorate must also educate; if I can't find what I'm looking for, I'll make it; more 3-D and less 2-D when it comes to visuals. Basically, I want my art room to be a space that really inspires my kids without cluttering their creativity.
So, what have I created so far? Why, I'm so happy you asked. Here you go:
* My ART room rules that are (hopefully) life rules and inspired by growth mindsets.
I was inspired by art teacher Katie Lynn. She shared this image of a color family on the Elementary Art Teachers page on Facebook.
I thought her idea was GENIUS...and decided to create a set of my own. Her drawings are so stinkin' cute, they are inspired by the book The Day the Crayons Quit, a kid fave. Big shout out to Katie Lynn for the inspo!
Since I had these "crayon boxes" left over from an art display, I decided to borrow her idea and create this 3-D color family. My kiddos did this very project a couple of years ago and it was a HUGE hit. I'm thinking I need to bring this project back this year...but I'll definitely be going about it a different (and much easier!) way. I'll share that below. In the meantime, here's a video I created back then for this project.
So what did I do differently this time around? I skipped the papier mache and used plaster strips instead. But let's start at the start, shall we?
My good buddy the custodian started collecting the paper towel tubes at my school. I like these better than you standard paper towel tube as they are much sturdier. Added bonus: upcycling! (can we please just go back to calling it REcycling? I dunno why, new words for old things always drives me bonkers).
My very artsy mom-in-law was visiting this weekend and I knew she'd be up for the crafting challenge. I cut rectangles of used tagboard (lookie, more recycling!) while she cut the strips of plaster. We found the plaster strips at our local craft store. After I rolled the tag board into a cone shape, I added a bit of tape, fitted the cone over the tube, cut tabs for easy folding and added a few more bits of tape just to hold.
While I did that, Diana took to plastering. I loved this so much more than papier mache because it dries faster, harder and isn't a snotty, slimy mess.
With her help, creating these 12 crayons went by in a blink!
We did find that one roll of plaster just didn't cut it. We ended up using two. We didn't cover the tube completely as the paint would take care of hiding the fact that we didn't. Also, when I hang these at school, I plan to display them hanging up with the crayons in the box...so no one will see the bottom. Altho, now that I say that, it might be fun to make them removable to make them interactive. I'll have to think on that idea.
I burned a little too much of the midnight oil (2am, ahem) getting them painted and STILL didn't quite get them complete. Diana helped me finish painting the "paper" and the crayon part.
I used a flat paint brush and watered down black paint for the stripes.
Done, son!
You better believe I contemplated making ANOTHER color wheel with these guys. But I forced myself to stick with my plan.
Initially, these boxes were created for the kids' display a couple years ago. I'm so glad I hung on to them. They were created from cereal boxes.
I just cut off the top, cut a curve, gessoed them a few times before adding the paint.
Since they needed "labels", I just painted a black oval and used white for the color fam names.
I'm excited to hang these in my art room next week! I'll use Command Velcro strips and they should do the trick. These guys are pretty light weight. The strips have done a bang up job holding up my painted oars!
I know my older kids are going to be so stoked when I tell them that they'll be creating their own versions of these as well. I foresee a TON of giant plaster art supplies in their future (eep!).
Take that, Target Dollar Spot. Get thee behind me, Satan, er, Target!
I'm so happy I decided to wait and only decorate when I feel it will educate...and it is necessary. More to come. Just know: your art room, if you are lucky enough to have one, doesn't have to be perfect on the first day of school. Go with what is pleasing and needed by your kiddos. You know best!
As y'all know, during those first days of art, it's mission impossible to cram in all of the rules, routines, procedures (and more) that we need to cover...while making sure that the kids have fun and create! With 30 minute art classes, the struggle is super real. I hate to bog down each day with too many do's and don'ts without any actual doin'. So I try to build on each day. On our first day of art, I shared with my students this routines video I created with just some of my fabulous and fun coworkers (thank you, ladies!):
But my routines video just didn't cover it all. I mean, we now know how to walk to my art room, enter, take a seat, go "shopping" for supplies, clean up and line up...and that's a lot. However, after showing the video and diving in to my first projects this week, I started taking notes of some behaviors I noticed that I was not too keen on. Here's what I wrote: * Raising hands. Okay, we all know (kids included) that our students are to raise their hands to talk. But there seems to be some missing information here. First of all, HOW do you raise your hand? Do you wave it all around like you are swatting an onslaught of flies? Um, preferably not. Second, just cuz your hand is up, that don't mean you get to talk, friend. These are things that I took note of this week...and decided to work on improving. * Interrupting. Ugh, a pet peeve. We lose so much time with this one! So I decided to address that in my video as well. * Staying in your seat. I want the kids to talk to me...I want to talk to them! But, as you know, once one kid is up THEY ARE ALL UP and in yo' face. Some of my classes have close to 40 kiddos. We cannot have that many people up and roaming the room. * Silent Signal. There are just some times when I need the kids' ears. And there are other times when I need their hands empty and their undivided attention. I decided to address that as well. With my notes, I rounded up whoever was available for 10 minutes this morning and filmed what I've dubbed Art Room Etiquette. This 3 minute video will give me a way to quickly address issues. Here it is:
After I play this video next week, I will readdress my rules. Now, like I shared before, I consider my "rules" to be more life rules...not necessarily what I'd otherwise label routines or procedures (or, in this case, Art Room Etiquette). I'll also share this etiquette video which will be followed up by our chat about consequences. More on that next week! I'll def keep y'all posted...in the meantime, I'd love to hear from you! What do you do at the start of each school year? Are there undesirable behaviors that you are already noticing? I normally just get irritated at these little things...which eventually become big things in my art room. This year, I'm keeping a list of anything I see that I want to encourage and anything I want to change. My goal is to be proactive while having fun. Here's hoping these short videos do the trick!
If you recall from this post, I recently picked up a bunch of oars (or paddles, whatever you fancy callin' 'em) from a local big box craft store. Initially I was just going to paint the primary colors...but they looked so good, I decided to do the secondary colors as well to create a large color wheel. I finished off the color wheel last week and thought I'd share it with y'all today.
In case you missed the Paddle Painting Mayhem, here it is in 60 seconds or less:
If only I could work that fast! I do consume a ton of coffee...but I've not reached Level: Lightening Fast...yet.
Because the grouping of paddles ended up being so stinkin' big, I had to completely rearrange my art room to find a wall space big enough for it. That meant a complete overhaul of this part of my art room. I was fine with that, as I was ready for a change. In fact, this summer, when I popped by my art room, I noticed some of my displays were falling. In a fit of annoyance, I tore it ALL down. You can see what this area previously looked like here. Getting rid of the previous displays forced me to rethink my space and my displays, making both more intentional. By the way, I created a video of my desired art room routines...and showed it today on our first day of art. That's what you see on the big screen. I'll do a complete blog post about that soon but in the meantime, you can check out the video here:
It was a huge hit with the kids today and...IT WORKED! Yay!
Having this big space also allowed me to hang my ART room rules. I shared them recently here. You can hear me go over them a little bit in the video above. I plan to do a more extensive chat about my rules soon...they really tie in with the growth mindsets that we are working toward in my art class this year.
After I hung up the oars, I noticed that I had enough space to allow for the tertiary colors. So I cut out some cardboard with an Exacto knife, painted them and attached them to the wall with hot glue. The oars were hung up with Command Velcro Strips and have worked like a charm!
Over the summer, I managed to pick up several folk art pieces. The Mojo Man and the Big Love signs are by my friend Bebo. The other paintings are by Okra Girl. I painted the Stay Sharp sign using a wooden picket fence I found when shopping for those wooden oars. Here's a video of how that was created in 60 seconds or less:
I'm currently addicted to painting all things found in the wooden aisle of my craft store!
A couple of art teacher buddies have really taken off with these ideas and I love seeing what they create! One buddy painted the saying, "Draw Light Until You've Got It Right"...how perfect for those pencils!
Another painted hers into crayons, hung it horizontally and it is going to display her art jobs. Y'all better believe I'm doing that very same thing! Great minds, I love it. By the way, if you have not entered to win the book giveaway, GET YOURSELF OVER HERE AND DO IT ALREADY. Please and thank you!
Hey, friends! Tomorrow is my first day back to school where I'll have kiddos in the art room and I'm super excited. One thing I love about this time of the year is coming up with fun projects that kick the school year off right. Last week, I shared some of my favorite Dot Day projects which I occasionally use as a theme for my back to school art projects. Today I thought I'd share my favorite collaborative back to school art projects. There are a lot, so get ready!
But before we get to that, I have some exciting news. Recently, on our Wednesday night Facebook LIVE chats (to join the fun, like/follow here), the one and only Barney Saltzberg joined us. We had an absolute blast chatting with him. You can still find our conversation archived here. He has a new book out, My Book of Beautiful Oops, and is GIVING ONE AWAY! Yay! To enter to win your FREE copy of My Book of Beautiful Oops simply do the following: * Leave a comment below. Tell me what your plans are or what you are doing on these first days back to school. Inquiring minds wanna know! * Leave your email address. This way I can let you know when you win, yay! It's that easy, y'all. Big thanks to our buddy Barney for this wonderful book and fabulous giveaway. Now, let's talk Best Back to School Art Projects.
I love kicking off the school year with a good book. You Be You and Only One You by Linda Krantz are two fabulous books to bring to your art room. This is a project that can be done with all of your students...and will leave you with a beautiful work of art to showcase their efforts. More on this mural here.
You can find out just how we created these fish here.
Feel free to bring this how-to video to your art room!
I am in love with this wild, wacky and colorful mural that was created by my kindergarten through fourth grade kiddos. It's Okay to be Different is a favorite book of mine by Todd Parr. This mural has been up for a while now...and it still remains outside my art room door. I think it's a great message for all. You can find out about this mural here.
Here's a short video to share the process!
You can read about our process of creating these funny faces right here.
Monochromatic selfies are a super fun way to start the school year. I've done this a couple of different times and with a couple different themes. You can find out more about how these were created here.
This video really helped my students during the creation of their selfies.
On year we even made our selfies into a world map! This one took some time to do...and wasn't easy but sure was pretty once it was complete.
Our heart mural is now a couple of years old and still hangs proudly in our school office. I love it, it's really stood the test of time. And who doesn't love the message of LOVE? You can see more about the completion of this mural here.
The details on how each heart was created and by what grade level can be found here.
Speaking of love, this mural was created by all of my students...they actually made it one year while I was out on jury duty. It was so awesome to come back to some amazing art! Here's the complete blog post.
Here's the video I created for my sub to share with my students.
And here's the second video in that series.
Probably one of the more popular posts on this blog has been this wings mural project. It's a GREAT back to school project because it's low-mess and low-stress (until you get ready to assemble that is...and then it's HOLY COW, WHAT WAS I THINKING?!). But once it's up, you won't regret it! Deets here.
Here's a video I created to share with my students...feel free to use in your art teacherin' world!
I hope y'all have gotten a couple ideas for your return to school...I'd love to know what you and your sweet kiddos are creating! Also, don't forget to enter to win Barney's new book. Just leave a comment about your first day and don't forget to include your email address. Have a great week!