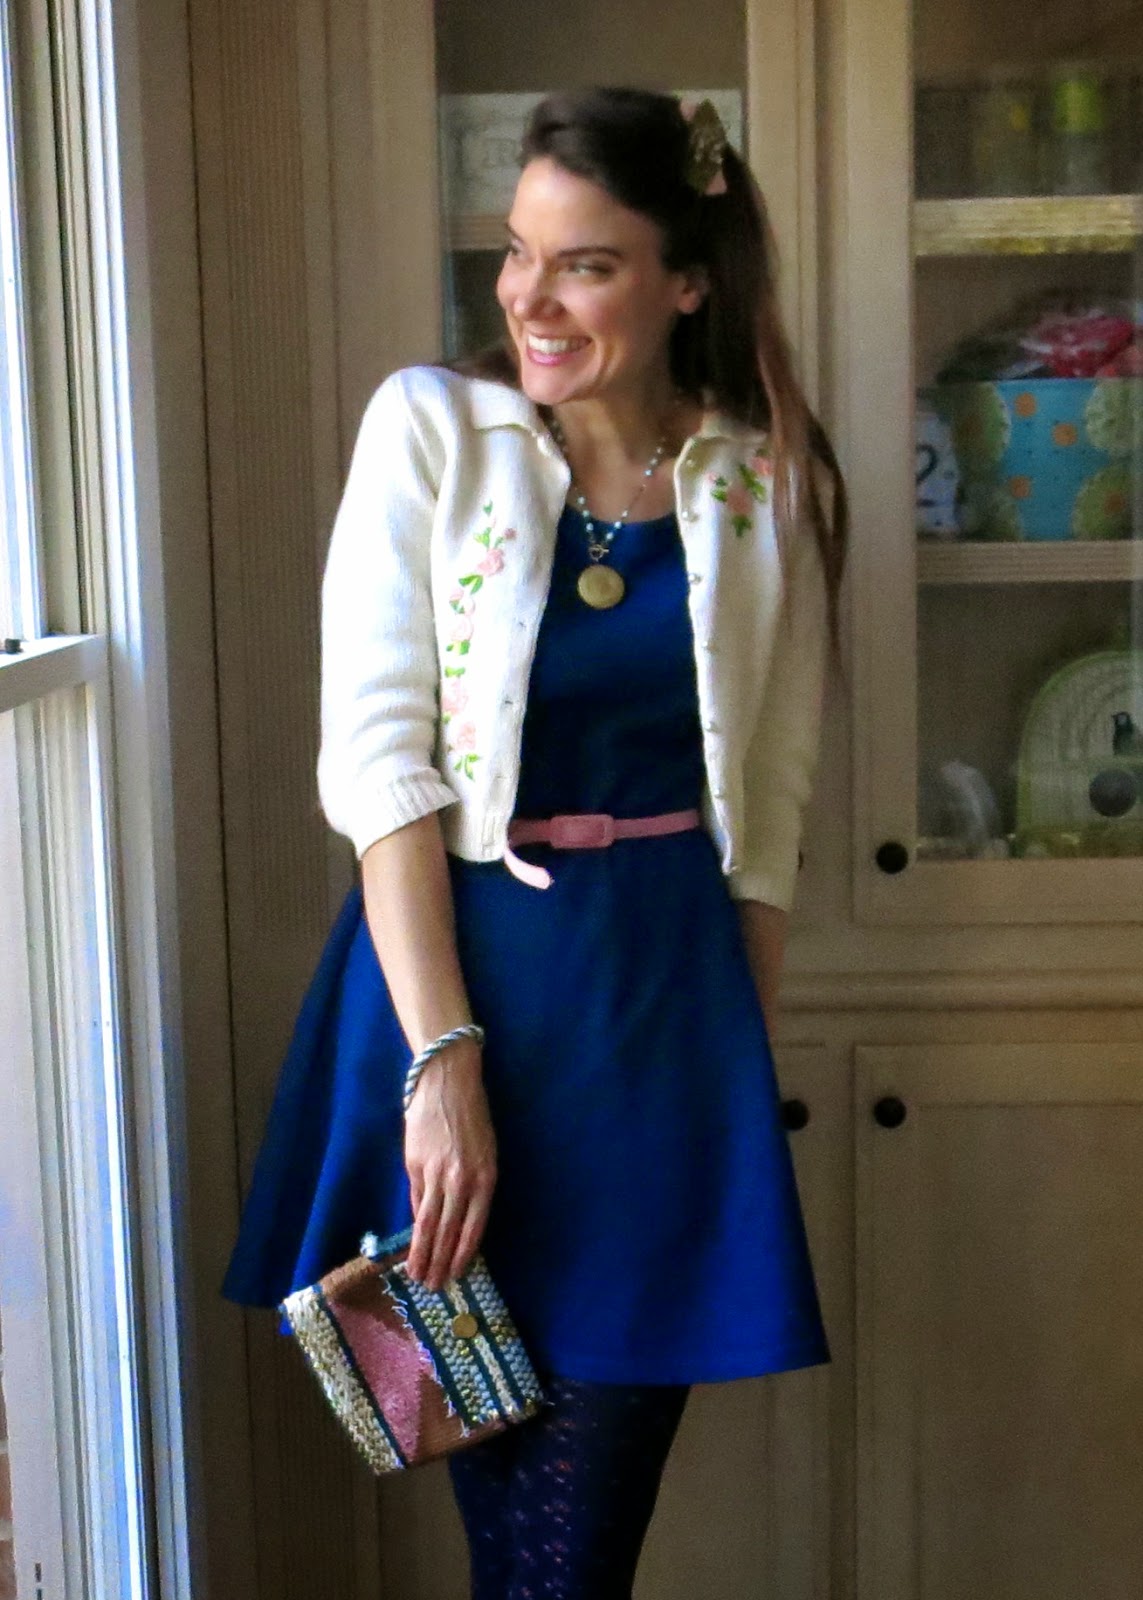
Hey, friends! I'm coming to you today with my very favorite fiber arts projects! Teaching fiber arts is one of my very favorite things to teach, along with clay. This summer and fall, I put in HOURS creating THIS BOOK which will be due out this coming summer:
You can preorder yourself a copy here if you are interested! But if you just can't wait, I thought I'd share some of my very favorite fibers projects right here today. Be sure and follow the links to the lessons as nearly all of them have how-to videos that are perfect for you and your students. Let's start with sewing!
1. These GIANT pizza pillows were such a hit last year with my students that I knew I had to do it again. Because I was wrapping my fibers book this past fall, I decided to kick off the school year with fibers. Usually, I'm all about fiber projects in the spring. This is how we displayed the pillows at last year's art show! This year, we also made both emoji and donut pillows (size: HUGE) but for details on those, you'll have to scoop up my book.
2. If you are looking for a beginner sewing project on a smaller scale, you might wanna try these stitched monsters on for size. My kids used Smart Fab fabric for the bodies but felt would work just fine. If you are curious what types of needles and thread I recommend, be sure and check out this blog post as well as the others where I break it down for you.
3. I learned embroidery from my grandma when I was in elementary school and I LOVED it. It felt so good to learn something so "adult" in my mind: creating a picture with needle and thread. I love sharing this experience with my students now too. You can read all about this Our School Has Heart fiber art's experience right here.
This year, I decided to live dangerously and introduce embroidery to my second graders at the start of the school year...when they are still first graders, really. It was a bumpy start but they got it and loved it. This lesson can be found in my book but I did create this video a while back to help you troubleshoot stitching with kids:
Actually, the above video was created for AOE during one of their online conferences! This is a couple years old but does walk you thru a lot of important details of all things fiber arts and kids.
And here is my troubleshooting embroidery with kiddos video. I hope you find them helpful!
4. For even MORE details on sewing and embroidery, along with a book I strongly recommend, visit here!
5. Needle felting with kiddos is not something I do very often...but I do enjoy doing it! If you attempt needle felting with children, I'd make certain it's with a group of kids that understand the dangers of the needle felting tool and are responsible enough to handle it. As y'all know, I LOVE needle felting and have put in countless hours stabbing stuff. If you are interested in learning more about needle felting, start here.
6. One of the most popular lessons on this blog has been my string art lesson. This is based on a project I did in 5th grade and LOVED. My students have loved it just as much. I've created videos to walk you and your kids through this lesson so be sure and check out this blog post AND this blog post!
7. Paper weaving is a must when you introduce weaving to your students. But what to do with the paper weaving when finished? Last year, we made these woven owls and the kids loved them!
Both this blog post and the one mentioned above have A TON of videos on teaching first graders (and up!) how to make a paper loom and weave.
8. Circle Loom Weaving has always been a huge hit! I normally do with my second graders in the spring but this year, I did it with third grade in the fall. I can't tell you how many videos I have on this! Be sure and check this blog post out if you have any questions about getting started.
9. Have you ever tried CD or Embroidery Hoop weaving? So fun and easy! Last year, my second graders tackled CD weaving instead of plate weaving. It was a great way to upcycle those stacks of CD's I'd been accumulating. This type of weaving takes less time than plate weaving as you don't have to spend two art classes painting the plates. They also look super pretty in the window when light hits the CD. Video and lesson details here!
10. Whenever I get stumped for a lesson, I just think back to the things I enjoyed creating as a kid. I remember the summer I spent at a vacation bible school learning straw weaving. So fun! My kids love this one too. Details and video here!
11. Want a lesson that packs a huge punch? Tree weaving teaches landscape painting, weaving and so much more! This lesson of mine has been another huge hit on my blog. I have many videos to walk you and your kids through this fun technique. You can find it here.
12. I have yet to meet a kid who didn't love making Ojos de Dios. Why not try expanding on that love by making BIG God's eyes?! We did that here!
13. Pouch Weaving used to be one of my all time favorite things to teach. Because it is complex, I created an entire series of weaving videos for you and your students, including how to create that cool cord. You can find the beginning of the series here.
15. Shibori! I love shibori dying and so do my students. I created a video that explains EVERY one of these folding techniques and you can see it here.
So, truth be told: I've been blogging for seven years and teaching for twenty. I KNOW I've left some great lesson links and videos off this list accidentally. So, you are wanting more, give my name and whatever type of fiber project you are interested in a google search...or search in the bar on the side of this blog. Because there are just so many fun fibers lessons out there. AND stay tuned for my book where there are even more!
Welcome to the season finale of the Weaving Series, y'all! I do hope that you've enjoyed this little trip down weaving lane as much as I have. I know I was always super stressed about teaching kids this craft when I didn't feel so confident myself. I'm hoping that these posts, videos and avalanche of photos have been useful for you. Here's a recap of all the posts from this series: The Weaving Series: Paper Loom Weaving (perfect for first grade) The Weaving Series: Straw Weaving (second grade and up) The Weaving Series: Circle Loom Weaving (second grade and up) The Weaving Series: CD Loom Weaving (second grade and up) The Weaving Series: Ojo de Dios (second grade and up) The Weaving Series: Tree Weaving (third grade and up) So, I'd love to hear from you! Have you given any of these projects a go? Did you find the videos useful or are step-by-step photos your preference? If I do another series, what would you be interested in? Thank you so much for the feedback, guys!
Today I'm sharing with you a woven clutch project that is just perfect for those kids in fourth grade and up. It brings together all of those skills learned from previous weaving experiences however it's simple enough for those that have never woven before to do. A while back, I shared a series of posts that detail how to weave a basic pouch. You'll definitely want to start here if you've never created a woven pouch before. In this post, I'm going to show you how to get fancy with your pouch (btw, I have a habit of calling these creations a "pouch" for fear that I'll drop the "purse" bomb in front of a class of boys. And you know what that would mean: Game.Over.) So, follow these links to begin your pouch then c'mon back for some fancy stitchin': Pouch Weaving, One: Getting Started Pouch Weaving, Two: Weaving the Flap Pouch Weaving, Three: Removing the Weaving Pouch Weaving, Four: Weaving the Cord So in today's post, Ima gonna show you how to do a little tapestry weaving along with creating a buttonhole and a checkerboard pattern.
Just to be a brag-a-saurus for a pinch, can I just tell you how much I love the back of this clutch? It took me a while (weaving with fine yarn was prolly not the smartest move) but I love the way it looks...and I'm already dreaming up my next woven clutch! Lemme show you how I created this triangular tapestry.
For this, you'll be using a dovetail tapestry stitch. For me, this entailed weaving with four needles at once (confusing? kinda. But for those middle and high school kids, def doable): two needles of brown yarn for the sides and two needles of pink for the triangles on either side of the clutch.
I found this super groovy 1970's craft book which had these super groove diagrams of all the stitches. This is a close up of what that dovetail woven stitch looks like.
I wove this guy a couple years ago with some funky yarn. While I think the end result was cool, weaving with that stuff is a headache. For your first go, I'd definitely use regular yarn.
You can see a different take on that dovetail weave here.
Now, let's talk buttonhole. That was simple. I really like simple. That checkerboard pattern? Gave me 5 new gray hairs and a migraine. Mostly cuz I wasn't doing it right for the longest time. In this clip, I'll show you how it's done (bear with me, it's confusing):
Here's a peak at what the buttonhole weave looks like. You're just creating an opening. Cake.
And here's that confounded checkerboard weave. Oui. It's not hard it's just confusing for the small minded like myself.
The cord is by far the most fun and simplest thing to create. My kids love creating these! We turn them into bracelets, belts and, of course, the strap for our clutch. I've created these cords with kids as young as second grade.
To attach the cords, I usually hand sew them to the side of the pouch. On my larger clutch, I first stitched a figure-eight around the base of the cord before hand sewing it to the clutch. I'm so happy with these little guys! And I know you and your students would be as well.
DISCLAIMER, SHAMELESS SELF-PROMO: Y'all. If you've not voted for your fave art ed blog, would you mind taking a moment to do so? There's some fantastic ones and my crazy blog is in the mix (in the "Wild Card" division). If you'd be so kind to cast your vote (you can vote for as many blogs as you like), that'd be just swell. Here's the link.
And there you have it! The season finale of The Weaving Series! I do hope you enjoyed this woven adventure.
Well, kids, whatcha see here is prolly the most tackiest of my DIY's to date. And that's really saying sumpin, having created such tacky-tastic gems as this and that and, oh, a lil bit of WTFunk-is-that?! But, when I got it in my head that I needed to create some woven mobiles for my art room (I have no earthly idea where these ideas come from but I seriously blame the high voltage of sugary cereals that I consumed as a child. Some folks have LSD flashbacks, I have Cap'n Crunch Cranium, y'all), for some reason, weaving on an embroidery hoop came to mind. Which is kinda odd seeing as how 1. Weaving is not my most favorite thing as it's repetitiveness bores the crap outta me (even though it's my fave thing to teach!) and 2. This DIY looks so 1970's and, well, I just don't dig the '70's, y'all.
But let us first talk about where this idea came from, shall we? Y'all might recall that my seriously awesome second graders created these circle loom weavings this year. Whilst decluttering this summer (which only lasted a day before I put everything back and decided I needed to keep it alllllll as we hoarders are prone to do), I stumbled upon my cache of embroidery hoops. I set aside a class set and just kinda had a staring contest with the rest.
"What am I gonna do with you, hoops?"
"DUH, make us into something totally tacky. It's what you do."
Embroidery hoops, these days, I tell ya. No respect for their hoarders.
Speaking of starring contest, if you look deep into those kitten eyes and say "Asha!" three times you'll soon find yourself under her magical cat spell and feeding her way more than her daily allowance of cat food, cheese and whipped cream. True Story: I left a container of pesto unattended for a full 30 seconds on the kitchen table and this fat cat was face deep in the stuff. Word of Advice: Don't eat the pesto at mi casa, ermkay?
If you decide that you need some totes tacky weaving wonders in your life, you'll need to scrounge up the following:
* Embroidery hoopage
* Yarn. I liked using the thicker stuff because it made the weaving process go by a lot faster.
* Um, that's it! Let's do this people!
Since warping el loom-o can be a touch confusing (and if you don't know what "warping" means, no worries! Ima getting there), I thought I'd lay this whole process out for you in a coupla formats. Just below you'll find I made a short clip of me warping the loom and starting the weaving process. However, if you're like me, you also like step-by-step visuals which I've also provided. Because I'm a giver, y'all.
Video footage-ness. I do hope I made something close to sense although my money is on nonsense.
If you didn't understand the video or just can't stand the sound of my voice (you and my husband both), then lemme lay it out for you step-by-step style, kay? Here we go:
1. Begin by tucking the end of the yarn under the hoop's screw (heehee), wrapping the yarn around the back to the bottom, wrapping it around the front again and tying the long end to the short end in a double knot. See photo, please, as that sentence made no sense.
2. Yay, double knot! Adjust the knot so that it is centered. What we're gonna do now is warp the loom. That's fancy talk for wrapping a buncha strings around the embroidery hoop for us to weave over and under. So, to get started, flip the hoop over so that the knot is on the back.
3. Like so.
4. Now, let's begin rapping, ermay, Eminem? To do this, you'll be wrapping the yarn around the hoop. I have not cut the yarn from the skein as I don't know how much I'll need. You can cut it when you are finished.
5. As I'm wrapping, I'm bringing the yarn around the loom. As I go, I'm pulling it just tight enough to hold the yarn in place. Since the wooden hoop has a little tooth to it, it holds the yarn in place as I go. However, I can adjust it and evenly space the yarn by simply scooting it around the hoop.
6. The goal is to end up with an odd number of strings wrapped around the loom. It doesn't matter what that odd number is so you can experiment to see which look you prefer. For the first timer, I'd go with a lower odd number so that there aren't so many warp stings to weave over and under. I decided to do 13 so Ima gonna keep going till I get there.
7. Still going...
8. And, viola!, I've got 13 wraps around my loom! Now take a moment to cut your warping yarn (I cut mine the length of my loom and about 3") and evenly space out your warp stings.
9. Now that our loom is warped and ready to go, let's weave, kay? That rogue piece that you cut free from the yarn is now your weaving yarn or weft yarn if we're gonna use our vocab correctly. When you begin to weave, it does not matter if you go clockwise or counter. However, whichever direction you decide to go, be sure to stick with it! In this photo, I'm weaving counter clockwise and staring by going over the first set of warp strings (both top and bottom of the warp strings) and then under.
10. Keep going over and under...
11. And then pull that weft yarn tightly so that what you've woven gathers in the middle and looks like a mess. And then resume weaving.
12. When you run outta yarn, simply tie your new piece of yarn to the last. And keep going until you have a big fat furry weaving like this one...
13. BOOM! Super Tacky Woven Delight. Your inner hippie love child will thank you. By the way, to end this, simply tie the last piece of yarn you are weaving with to one of those weft strings and you're finished! I plan to loop a piece of yarn though the top of the hoop and hang these fun furry guys in my art room. We'll see how the Fire Marshall feels about that, ahem.
OH! I just wanna mention that those step-by-step photos wouldn't have been possible without the hubs. He's on vacation this week which means a coupla things:
1. He's on blog photography duty.
2. He's honing his DIYing skills. Which, you gotta admit, could use some work. When I told him I'd broken my glasses he informed me, "I'll fix them!"...and this is how they were returned to me. When I gave him a questioning "Are you for realz?!" look, it was met with a "BOOM! Nailed it."
Yeah, much like I did these Totes Tacky Wild -n- Wacky Woven Wallhangings...BOOM! Nailed it!
For more weaving fun, you can check out these blog posts: