Showing posts with label artist. Show all posts

Monday, January 2, 2017

In the Art Room: Candy Heart Sculptures!

Hello, Cutie Pies and Love Bugs, won't you Be Mine on this Candy Heart Sculpture adventure? I'm so excited (and maybe a pinch sugar'ed up from one too many candy hearts) about this project I've got planned for my fourth graders. I've been kicking this idea around for sometime...but there were some issues I thought the kids might struggle with. After finding solutions that will make their sculpture making adventure a little easier, I put it all together in this here video.
To make your own Candy Heart Sculpture, you'll need the following: 

* Tag or poster board, one 2" X 24" and two 8" squares
* Scissors
* Stapler
* Tape
* Rigid Wrap Plaster Cloth from Activa Products 
Approximately 24" of wrap per student. The wrap comes in a width of 6" so I cut it in half for this project. My plan is to have the kids do the cutting when they finish their armature.
* Tempra paint
 I played around with a couple dimensions with the heart and decided that the 2" edge would be the best. It's the most accurate appearing ratio and it requires a lot less plaster wrap. Having the kids create those tabs of tape and fill in the gaps with excess tape will really help when they are creating their armature.
 I also played with several ideas for putting the wording on the heart. I first toyed with the idea of just letting them write on their hearts but my students do not have the best of handwriting, not even gonna candy coat it for ya (pun intended). Giving them a guide like the sheet which will ultimately become their carbon copy paper seemed like the best solution. 
I will definitely keep y'all posted on how my fourth graders do. While their projects dry, they'll be working on another sweet project that I'll be certain to share with you soon. Check ya later, Love Bugs!
 photo signature_zpsd10b3273.png
Read more »

Wednesday, December 21, 2016

Facebook LIVE! Tonight at 8 pm CST

In case you missed our chat on Classroom Management (and a preview of next week's chat!) get your goodlookin' self here

I had so much fun chatting with y'all last week that I thought we could do it again tonight. Since today was our last day before the holidays, I'm in an especially GRAND mood (I'm already in my pj's and on the couch, how's that for kickin' off my break right?) Last wee, the subject of classroom management came up...a lot. I know that I'm definitely feeling like that's something I'm going to be (re)addressing come January (along with establishing new clean up routines because...WHUUUUT IS EVEN HAPPENING?!) so let's chat about that also. Getting the new year back on the right foot is what's gonna make finishing the school year fun. So let's share ideas tonight! 

I'll be chatting right here at 8 pm CST. I hope you'll drop by, introduce yourself, tell us where you are from and share your classroom management tips, tricks and/or woes! See ya real soon.  
 photo signature_zpsd10b3273.png
Read more »

Sunday, December 11, 2016

Art Teacherin' 101: Episode 25

Y'all can tell it's the craziest time of the year when I start multi-tasking my blog posts. Allow me to introduce to you the first ever (and hopefully the last) What the Art Teacher Wore/Art Teacherin' 101/All Sorts of Other Stuff blog post! Yay! It's kinda like when your mama has too many small portion leftovers and decides that throwin' them all into a pot, heatin' 'em up and callin' it Goulash is making dinner. Welcome to my Bloggy Goulash. Grab your Tums. 

First order of business I want to share with y'all is that Other Stuff...I'll now be sharing one-minute videos on my Instagram, Monday through Friday! 

Be sure to follow me on Instagram to keep up with this new adventure. To join me during our Facebook Live chat, follow me here. And if you miss a video, all of them will be archived on my YouTube channel

I decided to do this because I remember what it was like my very first year teaching, in a portable (aka a trailer), isolated from the other teachers and definitely out of touch with other art teachers. I had so many questions! Now that I have almost 20 years under my sparkly belt, I thought I'd give back what I have learned (and am still learning!) along the way. If there are ANY questions you have for me, please feel free to leave them in the comments or shoot me an email (my address is to the right of this post). I'd love to hear any feedback about this new adventure, y'all! 

Now, on to this week's Art Teacherin' 101...LETTING GO OF NEGATIVITY.
I know I've been sharing with you recently my feelings of stress and how I'm attempting to address it. This week things really hit the proverbial fan with an art show added to the mix. Don't get me wrong, working with Artome was A DREAM (blog post to come, y'all!). However, I was on the receiving end of some not super polite comments from colleagues and, I gotta say, I really allowed that to darken my day. 
This was compounded with some other things that have happened recently. I discovered an entire conversation about me that was happening in a private art teachers group and let's just say there were some very personal and unpleasant words spoken about me. That really wore me out. Unfortunately, I have the habit of allowing negativity to play on loop in my head. Shoot, the words typed out in this email from many moons ago by a fellow art teacher still ring in my ears: It appears your priorities of late are to make a costume a day and write your blog. That is fantastic and shows what a dynamic artist you are, but it leads me to ask, "Do you have time to be a FSSD Art teacher and honor those obligations?"
So all that to say, we are ALL going through stuff. Everyone's got negativity to deal with. The best we can do is try our hardest to let it go. The black balloon visual works really well for me. Another thing we can do is NOT BE A BLACK BALLOON. Remember what your mama taught you: if you've not got anything nice to say then shut it. 
It's also good to know that you aren't alone. Keep that in mind when things start to wear you down. This time of year, everyone is tired and irritable. Just keep your head in the art teacherin' game and focus on the little artists who make you happy. Speaking of, I love these snowfolks created in one day by my firsties!
A good cry always helps. Mine have been coming in waves, sometimes out of no where. Just go with it. You'll feel so much better, I promise!
Retail therapy always helps me...which is why I hit the thrift store so often, it's guilt free!

Seriously, y'all, happy holidays. Stay positive, let go of that negativity and know that you aren't alone. Love y'all! 
 photo signature_zpsd10b3273.png
Read more »

Thursday, September 1, 2016

In the Art Room: Radial Design Printmaking

I love art teachers because they have the best ideas and are super sweet about sharing them. This idea comes courtesy of art teacher Jeanna Pena (who you can follow on Facebook and Twitter for all of her art adventures). When she shared this lesson in the Art Teachers Facebook group, I immediately decided to scrap the lesson I had planned for my fourth grader's Dot Day project and go with this one. And I'm so glad I did. It was such a smash hit of a lesson (with still one more round to go as we'll be covering these printing plates and burnishing them next week, a la this project) that I just can't thank Jeanna enough for sharing. So, with her permission, I'm sharing my version of her lesson here!

But first, a word about Jeanna. She's pretty stinkin' awesome. I noticed from a wee bit of Facebook stalking that she seemed to be quite the adventurer. Here's what she had to say: I came up with this idea after I traveled to Cuba last fall. I was attempting to translate the radial tile patterns that I saw in some amazing old buildings.

I applied for the Grosvenor Teacher Fellowship with National Geographic and Lindblad Expeditions and it has been a whirlwind! They are sending me to Antarctica in December. They brought our group together in DC and we had photography lessons at NatGeo HQ, naturalist updates, and classes with the Google Educational Engagement folks. I'm the only art teacher. They're looking for adversity in content areas! I highly recommend it!

How awesome is Jeanna?! If you have a moment to show her some love in the comments for this awesome lesson, please do so. AND if you have any questions about her travels, you can find her on those social media links above.
Now, let's talk about this project. It was our first for the new school year, right after we wrapped the Escape Game and the Monochromatic Selfies. Jeanna had mentioned she did this project with her older students...so I wasn't sure how my kids would do being brand new fourth graders and all. But they knocked it out of the park! Here is the video they viewed on the first day.
Supplies:

* Cardboard. We used cardboard rounds because of our Dot Day focus which were purchased from Amazon. However, any cardboard or mat board would work. 
* Foam Sheets and/or Shapes with Adhesive Back. I found that Michael's had the best selection where Joann's fell short. I did purchase foam sheets because I knew some kids would want to explore creating their own shapes. Some foam sheets were not adhesive backed so the kids glued them on. Those we found did not stick super well when it came to printmaking. When they came off, I just had the kids bring their board to me and I hot glued them back on.
If you follow me on Insta then you've seen our progress. I had my early finishers recreate their design on scratch paper (also purchased via Amazon) and write about what they learned. 
The following art class, we printed! And, with about 35 fourth graders in the room it was, well, busy. We'll just call it busy.
* Printing Ink. Y'all. ALWAYS buy water soluble Speedball. I have had the same jars of ink forever. I just keep adding water, stirring and it still works great. Unlike the "house" brands that the art supply vendors sell which harden in the tube. 

* Inking Trays. You can purchase these through your art supply vendor. However, with this many kids, I did run out so I simply cut my Gelli Arts plastic containers in half and used those. I'm sure something could be found at the Dollar Tree for this item.

* Paint. We used tempra paint for rolling on texture/color on the background.

* Brayers. I happened to have one per kid so there was no wait time. 

* Paper. We  used 14" squares that I had cut down from large paper. 
Day two's video: honest speaking, I didn't show the entire start of the video to my second group of fourth graders. Knowing that they are a group that likes to move, I knew I'd need to get them working right away. So I started the video just before the demo portion. 
And then they went to work! They had a BLAST.
And the prints turned out so colorful and fun just like the artists. 
A little "before" action. Don't ask me what the aftermath looked like. I've blocked it out.
I had a couple of kids double stack their shapes which I wasn't sure just how that was going to turn out...but I really dig it. Check out the triangles. 
I can really see so much potential with this printing project: a lesson on architecture, a portrait project, floral creations...the possibilities are endless!
Yeah, ya did.
For now I'm just gonna keep taking them off the drying rack and saying Ooooooh and Aaaaaah. Stay tuned for what happens next with these beauties.
 photo signature_zpsd10b3273.png
Read more »

Sunday, July 17, 2016

What the Art Teacher Wore #167

 Marvelous Monday: Ah...this week actually felt like SUMMER! I didn't have too obligations on my agenda except to visit buddies, hit estate sales and do whatever I wanna do. Isn't that what summer is supposed to be all about? dress: sweet little five dollar estate sale number from the 50's. I'm in love! belt: a market in L.A.; yellow Chucks: Amazon; bag: Goodwill Outlet

Hey there, party people! I hope this week has treated you well. It's been a fun and relaxing one here. I've stitched, worked on a couple new projects to share with y'all and in my art room, attended and presented at the Art Ed Now conference, estate sale'd and met up with buddies for coffee and lunch. The perfect summer agenda, says me! 

Next week, the fun really begins: the hubs and I are taking off for Southern California for a short vacation. Then my buddy Laura is flying in for us to join the amazing Patty Palmer at her Deep Space Sparkle Workshop! We are so excited to meet the attendees and share our passion for creating with children. I'll keep all y'all posted. Until then, have a fabulous week!
 If you follow me here, then you know I'm learning to play the uke. I've not played a musical instrument since my sad attempt to learn the violin in college (my apologies to EVERYONE who lived on the second floor in Edmonson at I.U.!). I'm a slow learner but this instrument seems like something I might be able to handle. The end goal is to learn to play We Will Rock You (odd choice, I know, but hear me out) so that I can play accompaniment when we sing Art Will Rock You in my art room! I've been working on more lyrics to share with y'all as well as how I plan to use it in my art room. Stay tuned, I'll be sure to keep you posted! 
 Terrific Tuesday: I've not had much luck shopping for vintage and other goodies at the thrift stores of late. This Anthropologie dress that I scored a while back is still one of my fave finds. I love the vintage cut of the dress! dress: Anthro, found at the thrift; belt: Pin Up Girl Clothing; shoes: Chucks found at DSW; bag: Enid Collins, antique
 This is the first time since May that I've had a chance to spend time in my sewing room. I have a small stockpile of vintage dresses that I've thrift picked over the last couple of months that are in need of minor repair before wear. I decided to knock out a couple before starting a new sewing project. The red dress (scored for a mere $8 at Buffalo Exchange) just needed to have the elastic in the shoulders tightened up!
 Wonderful Wednesday: And now look at the dress! I am in love with the print and the cut. I also dig how well it matches my Enid Collins bag. dress: vintage, Buffalo Exchange; belt: Pin Up Girl Clothing; shoes: DSW; bag: vintage Enid Collins, ebay
 If you attended the AOE Now online conference and happened to hang out with me while I chatted about fiber arts in the art room, then you got a sneak peak of my sewing room! This is also where many of my Art Teacherin' 101s have been filmed of late (y'all should subscribe. New videos about all things art teacherin' drop every Wednesday). I'm fortunate to have a space to sew. It'd be a lot  bigger of  a space if I didn't cram it full of fabric, felting supplies and patterns. But these things make me so happy. And, like a true hoarder, I like to surround myself with everything, all at once, all the time. 
 Thoroughly Thursday: I managed to pack so much into my Thursday it was bananas. Early morning estate sales, Art Ed Now conference and chat, Indian food, afternoon coffee with an art teacherin' friend and her wee baby and thrift store shopping. I love a packed day when it's filled to the brim with funness. dress: vintage. It once was a stained white before I dyed it fuchsia
 So, funny lil story: for the Art Ed Now conference, I needed to be available to chat and take questions during my session which was around noon. A storm was rolling in so I decided, five minutes before my air time, to run out and clear our deck of the furniture I didn't want damaged in the storm. And wouldn't ya know, the dern door locked right behind me. I was LOCKED OUTTA MY HOUSE. I could see my laptop on the kitchen table with Jessica about to introduce me and I literally screamed NOOO! 
Seriously. That was me. Dustin Hoffman. Thankfully, I'm married to a Boy Scout who is ALWAYS prepared and happened to have a spare key in a hidden spot. I made it inside just in time for my first question. Whew! Crisis averted. 
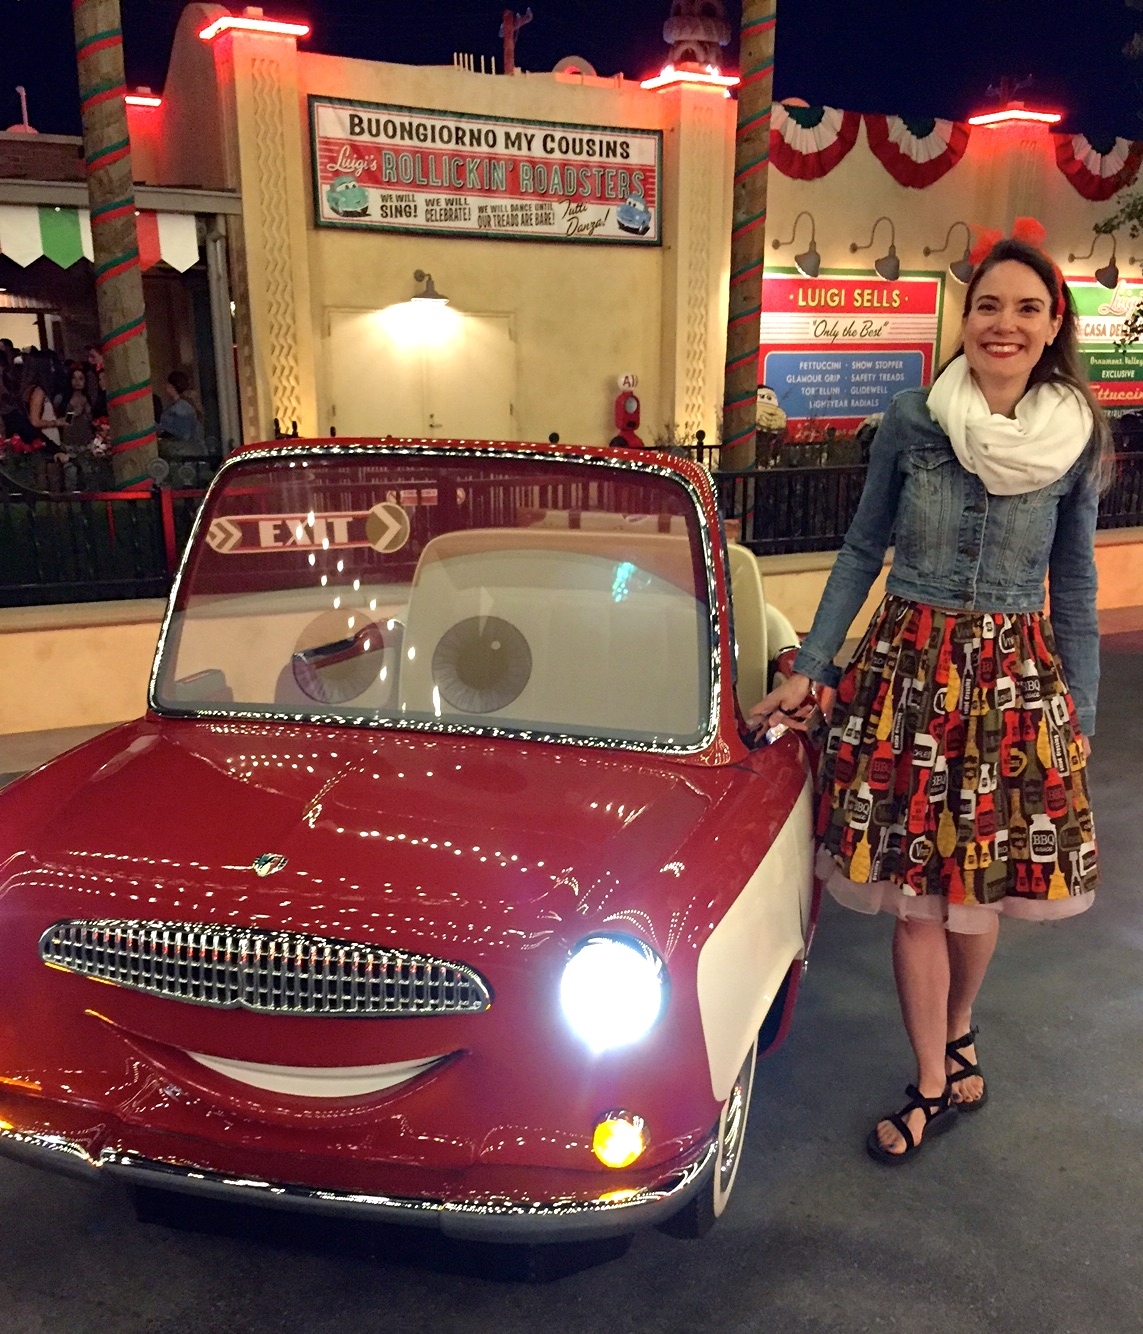
 Fabulous Friday: Lunch with a friend was the biggest item on my To Do list this day. Not to shabby after the mountains of To Do's I've been climbing of late. A girl could get used to this. top: vintage, Buffalo Exchange; circle skirt: vintage, estate sale; belt and yellow Chucks: Amazon; bag: made by me, details here
This weekend, I've decided to dive right into my first Back to Schoolin' dress with a mash up of five dress patterns (eep!) and some fab fabric found at Joann's. Stay tuned! I hope to have this complete by next week to share with y'all!
 photo signature_zpsd10b3273.png
Read more »

Saturday, May 28, 2016

What the Art Teacher Wore #163

 Field Day Monday: With only 2.25 days left of schoolin', we had a field day on Monday. What that meant for this art teacher was I spent the day in the shade transforming sweet innocent children's faces into tigers, pirates, Boba Fett, and the random requests of horses, unicorns and a rainbow cat. Yes, that happened. I didn't take face painting in college so there will be no photographic evidence of the damage that was done on that day. But me and my helpers buddies had fun! dress: made by me, here; shoes: Converse

Welp, the show is over, kids. The school year ended for me on Wednesday with another year of art teacherin' in the books. This time of year is exciting for me as I start to think about 1. All the Things that I've Done Wrong and 2. Dream Up Ways to Make 'Em Right. Plotting, planning and dreaming is in full swing. Along with resting, relaxing and vacationing, of course! We hit the ground running to sunny (albeit chilly) California on Thursday and it has been a wonderful way to kick off the break. I hope y'all are enjoying your extra long weekend as well.

In other news, my attempt at sharing with you my Me Mades for #memademay kinda flopped as I only did one other What the Art Teacher Wore blog post! My vision of MeMadeMay ended up being more MeIsCray. Pretty sure you understand. 

Until next time, have a super fab-o weekender and we'll chat soon!
 Last Full Day Tuesday: Between field trips and class parties, I only saw a couple of classes on this day. That by no means meant my day was chill. I still had to bag and tag over 100 clay projects and art show work to take down. Thankfully, the teaching assistants and some sweet fourth grade students came to my rescue! It never hurts to ask for help. I need to remember this and do it more often. sweater: thrifted; top, hair bow and skirt: made by me, here; shoes: Shoe Carnival
 Last Day, Hurray!: What better way to celebrate than a good ole fashion barbecue dress from the lady who never cooks out! It's funny, being from the Mid-West, what we think of as a barbecue is cooking on the grill and then slathering barbecue sauce on said grilled stuff. In the South, it's tooooootally different. To barbecue means to slow cook meat until it falls off the bone in shreds. Imagine my surprise when I first moved to Tennessee and ordered barbecue. I was all, "where are the grill marks and the red sauce?!" dress: made by me, here; shoes: made by me, here
Disneyland Thursday: On Thursday, we hit the road to Cali (okay, we flew because lawd knows I couldn't handle that kind of car ride). Disneyland and California Adventure are our faves. Right now, the parks are actually calm-ish (well, as calm as Disney can be. In fact, the hubs coined a new term: Bisney. When something is SUPER busy, it's as busy as Disney. Therefore, it's Bisney). We were actually able to try out a couple new attractions! dress: made by me, here; sandals: Chacos
 We got to ride Luigi's Rollickin' Roadsters which entails mini-Italian style cars that "dance" in a synchronized manner to Italian songs. It was so fun! My fave part was picking out the car. 
 I had to get one that matched my dress. Of course. By the way, it's surprisingly chilly in SoCal in the evenings! I was all sorts of bundled up. 
 This ride was a total trip. But the spinning at the end just about did me in. 
 As a teacher, I find the Disney parks so inspiring. I always come away with new ideas and inspiration from what I'll teach to why and how. For example, our Diner Themed Art Show? Guess what inspired that? Carsland is all based on Route 66 and heavily vintage in theming. It's one of my favorite areas in the park. 
Shopping Friday: My other favorite thing to do in California? Shop! I am a diehard Buffalo Exchange fan (word is that there is one coming to Nashville...what?!). My faves are in Costa Mesa and Fullerton. If you've never hit a Buffalo before, you are missing out! Oh, and get you some grub at Native Foods, our other Cali fave. dress: made by me, here; belt: old, Anthro
 photo signature_zpsd10b3273.png
Read more »

Thursday, May 12, 2016

In the Art Room: Abstract Painting with Fourth Grade

Confession: I'm not an abstract artist. By any stretch of the imagination. I just can't seem to unwind my mind enough to even think that way. So teaching abstract art kinda sorta freaks me out. However, with the help of Nashville artist Hannah Lane, I was able to happily, easily and, if I do say so myself, successfully introduce my kids to creating abstractly. 
For this three class period project (with an hour class time each), the kids learned about the artwork of Hannah Lane, met Hannah and then wrapped up their work with me. And, by the looks of how colorful and happy these pieces are, I'd venture to say that this was one of their fave projects this year. 
Because Hannah visited one fourth grade class, I only did this project with them. My other fourths were neck deep in other projects so just giving this lesson a test run with one group seemed like a good idea. I will definitely be doing this project again next year...with a bit of a twist. 
But first, let's talk supplies. We used the following:

* 8" X 8" canvas board (although gessoed cardboard would have worked)
* Warm and cool colors of tempera paint (I like Sax Versa Temp)
* ModPodge 
* Collage papers
* Stencils
* Puffy paint
The week before Hannah arrived we looked at a prezi I created about her work. We talked about her series of paintings and her style. I fielded a bunch of questions from the kids to ask her on the day of her arrival. Shortly after our chat, we painted monochromatic-ish paintings in either all warm or all cool colors with an abstract design. Here's an example:
The next art class, Hannah arrived. She brought her large crowd series painting (shown above) as well as a huge box of glorious paper scraps that the kids went gaga over. Once she shared more about herself and her work, the kids began collaging the paper in any manner they liked onto their canvas board. We used ModPodge to adhere the papers. 
I loved how each unique paper was precious! I heard lots of squeals at finding just the perfect paper. 
Hannah was so sweet with the kids, they truly loved her! I secretly thru some shiny fabric scraps into the mix just to see how that would work. I can't wait to use up my fabric scraps for this in the future!
The room smelled of ModPodge and excitement (which also smells like ModPodge, in case you are wondering). 
At the end of all that collaging, many pieces looked a little something like this...
They made me so happy! And the kids were thrilled.
After we said goodbye to Hannah, I was left with a bunch of happy artists...and collaged canvas boards. What to do with them from this point? I felt like they needed something more. Hannah had spoken about how she reworked her canvases after the collaging stage and I felt like the kids needed to do the same. Enter stencils and puffy paint.
Earlier this year, I had a huge assortment of stencils donated to the art room. For the occasion, I busted them out along with my sponge stampers. After a quick lesson on stenciling (as well as a chat about composition), the kids went to town. 
My students all have a deep love for puffy paint. As do I. It's the New Black in the art room, y'all. We had used it the previous week for our diner sign project (more to come!) and I knew they loved the stuff. I did have to remind them to show restraint and not go bananas with the stuff. It's like the salt and pepper, sugar and spice for your art work, kids. Not the main course. Don't get carried away. 
And they didn't! Seriously, these bright happies are my new fave! I see so many possibilities with future projects based on this. 

Have y'all done abstract collage/painting with your students? What have they created? I'd love to hear more!
 photo signature_zpsd10b3273.png
Read more »