Showing posts with label how to draw. Show all posts

Monday, November 2, 2015

In the Art Room: Candy Contour Drawings

So, if y'all were to ask my third and fourth graders what they totally dig in art class this year, they'd prolly say sketching time. We created sketchbooks at the start of the year and, most art classes, we have a 10 minute-ish sketching prompt before moving on to the lesson at hand. So far, I've tied the prompts into what we are preparing to embark on (self-portraits were drawn before a formal intro; jungle scenes were sketched before learning about Rousseau; haunted houses were drawn because, helllloooo, haunted houses are cool. It's been a great pre-assessment tool). Usually the sketches have been from the student's imaginations. This time, I thought I'd introduce 'em to the world of observational drawing and it was super fun. ESPECIALLY because it involved drawing candy...and then devouring it.
An artist or a work of art is usually included in our drawing prompts. This time I introduced the kids to contemporary local artist Diane Davich Craig. I was introduced to Diane through Nashville Arts Magazine and have the awesome opportunity to field questions from the kids and send them her way. One of her photorealistic pieces were focused on was this one titled Shake, Splash, Sprinkle and Squirt. The kids were in awe of her ability to paint so realistically and had some great questions for Diane. I can't wait to share her responses with the kids! 

After that, I told the kids that they too were going to try their hand at drawing a realistic still life. This freaked a few out a bit. "But I can't draw like that!" I told 'em not to worry, it's just a sketch! And I had some tips and tricks for them. You can see them in this short clip. This is the same process I demonstrated to the kids. 
At the grocery, I scooped up the biggest bags of gluten free candy I could find. The kids were allowed to get one clean sheet of paper and two pieces of candy for their still life. Because our messy mats are, erm, messy, the still life was to be arranged on the clean paper. We chatted about what would make a good composition and an interesting arrangement to both draw and view.
Once the kids spent some time arranging their still life, they set to sketching. Many of them used the finger tracing technique I shared and with great success. I was thrilled with their results and so were they!
In 10 minutes, the kids managed to compose their still life, sketch and shade if they had time. They were told that when the 10 minute timer went off, they could eat one candy and come to the floor for the start of our lesson. However, when the timer went off, most of my classes asked for a couple more minutes to keep working...can you believe that?! Sacrificing candy time?! That's some dedication, y'all!
 I can't wait for the kids to tackle a still life drawing project. I think they will have much more confidence now. I also love how sketching time gets them over the fear of the blank page. When I was a kid I had several sketchbooks that I would draw and erase constantly for fear that I'd "mess up" my book with an imperfect drawing. I like how sketching time gets the kids beyond this fear. 
Although I dunno if any still life after this one will top the Candy Contour Drawing still life!
What tips and tricks to you share with your students when teaching drawing? There are so many styles of drawing and means of teaching it. It's so important to find what works will for the kids...which is hard to do! Just like with anything, we are all different learners and come to the art room with a different skill set and ability. It's most important to make each artist feel successful and at ease. 
I just hope we have enough pages in our sketchbook for all of our awesome drawings!
What sketchbook prompts have y'all had success with? I'd love to hear! 
 photo signature_zpsd10b3273.png
Read more »

Thursday, November 20, 2014

In the Art Room: Our Gallery of Gratitude

 Do you ever get those ideas that come outta no where (usually while you are in the middle of doing something totally unrelated like cleaning the cat's liter box or brushing your teeth. Not at the same time, of course, as that'd be all kinds of nasty). You know, a thought that's like a big ole slap in the face and think to yourself: OMG, that's, like, a decent idea! I might actually be able to do this!

Well, that's pretty much how the idea of creating a Gallery of Gratitude came to me. This past weekend. Which means we busted out this bad boy in a week. Also which is totes a record for me as I currently hold the title of Slowest Art Teacher in the Universe. Not that I'm braggin' or anything, just statin' the facts, ma'am. And mans. 
 Since we are currently doing a Be Nice campaign at our school (we started last week by writing kind notes about each other's artwork. You can read more about that here.), I've decided to have the kids "give nice a try" with a new task each week. This week, I thought it would be great for the kids to show gratitude (which was also our word of the week, see how I did that?) to the folks that help them each and every day. I decided that my third and fourth grade students would draw portraits and write messages of gratitude (as they have an hour and could bust them out); my second grade would also write messages and decorate the frames (they've only got 30 minutes of art time); first grade would create oil pastel hearts and send their heart out to someone special; and kindergarten would create a handprint to give someone in the school a high five. 

With all that in my shockingly small brain, I went to the bookkeeper (one of my fave people, hi, Julie!) Monday morning and asked for a list of everyone that works in the school. I was thinking, eh, this should be easy for the kids. I mean, there's prolly only 45 folks that work in the building. WRONG, y'all! There are 71 super awesome people that teach, administer, parol, clean, cook, nurse and help my students. I realized then that this was gonna be a bigger undertaking then I'd imagined. 
 But the kids jumped right in. For my older students, we talked about gratitude and all the folks that help us at school. Then we chatted about how to draw a portrait. Each student was given a 4" X 6 1/2" piece of paper, a Sharpie and allowed to chose the name of the person they'd like to draw.
 At their tables, I had placed copies of last year's yearbooks (this was a big help, y'all) and a head tracing template. I decided to offer the template to the kids (it was optional) so that they'd feel confident with the head shape and be ready to jump right in to drawing.
 Once the pencil drawing was complete, the kids traced their lines with a thin Sharpie and added color with colored pencils. For most, this took an hour. For some, they had time to also write their message of gratitude.
 Many message of gratitude and picture frames were created by my second grade students. They had only one session of art this week due to our art museum field trip. Again, these kids were allowed to pick a name for whom they'd like to write. 
 While I was gone on my field trip to the local art museum with my second grade students, one of the assistant teachers at my school was my sub. I left her directions on having the first grade classes create these radiating hearts. 
The following art class, I had glued their hearts to a frame and had them write who their heart would go out to. This was great as it only took them 5 minutes and then we could return to our regularly scheduled art-making program.
 On Monday, I had a couple of my kindergarten classes. As they wrapped up their landscape paintings, they came to me for a hand print. As I printed their hand, we chatted about gratitude and I asked just who they'd like to give a high five to. After printing their hands, I jotted down on their paper "High five to Officer Graham for keeping our school safe". Those kindergarteners really had some sweet high fives to give.
 I'm happy to say that we were able to get the gallery (almost) complete and hung today! There are just a couple more messages of gratitude to be written but as it stands, everyone has a portrait on the Gallery of Gratitude wall. Or, walls, I should say. There's actually another wall across from the one above that is full of portraits, high fives and hearts. 
 I knew the kids would be excited to see their drawings and share their notes. What I wasn't expecting was the overwhelming response from those that I work with. Each was thrilled to see their portrait and read the children's comments. Several snapped photos of their portraits on their phones and have requested to take their portrait home. I do believe the kids accomplished our goal of showing gratitude to everyone on our school. Just in time for Thanks-Giving!


 photo signature_zpsd10b3273.png
Read more »

Friday, March 28, 2014

In the Art Room: Where the Party Pandas At?

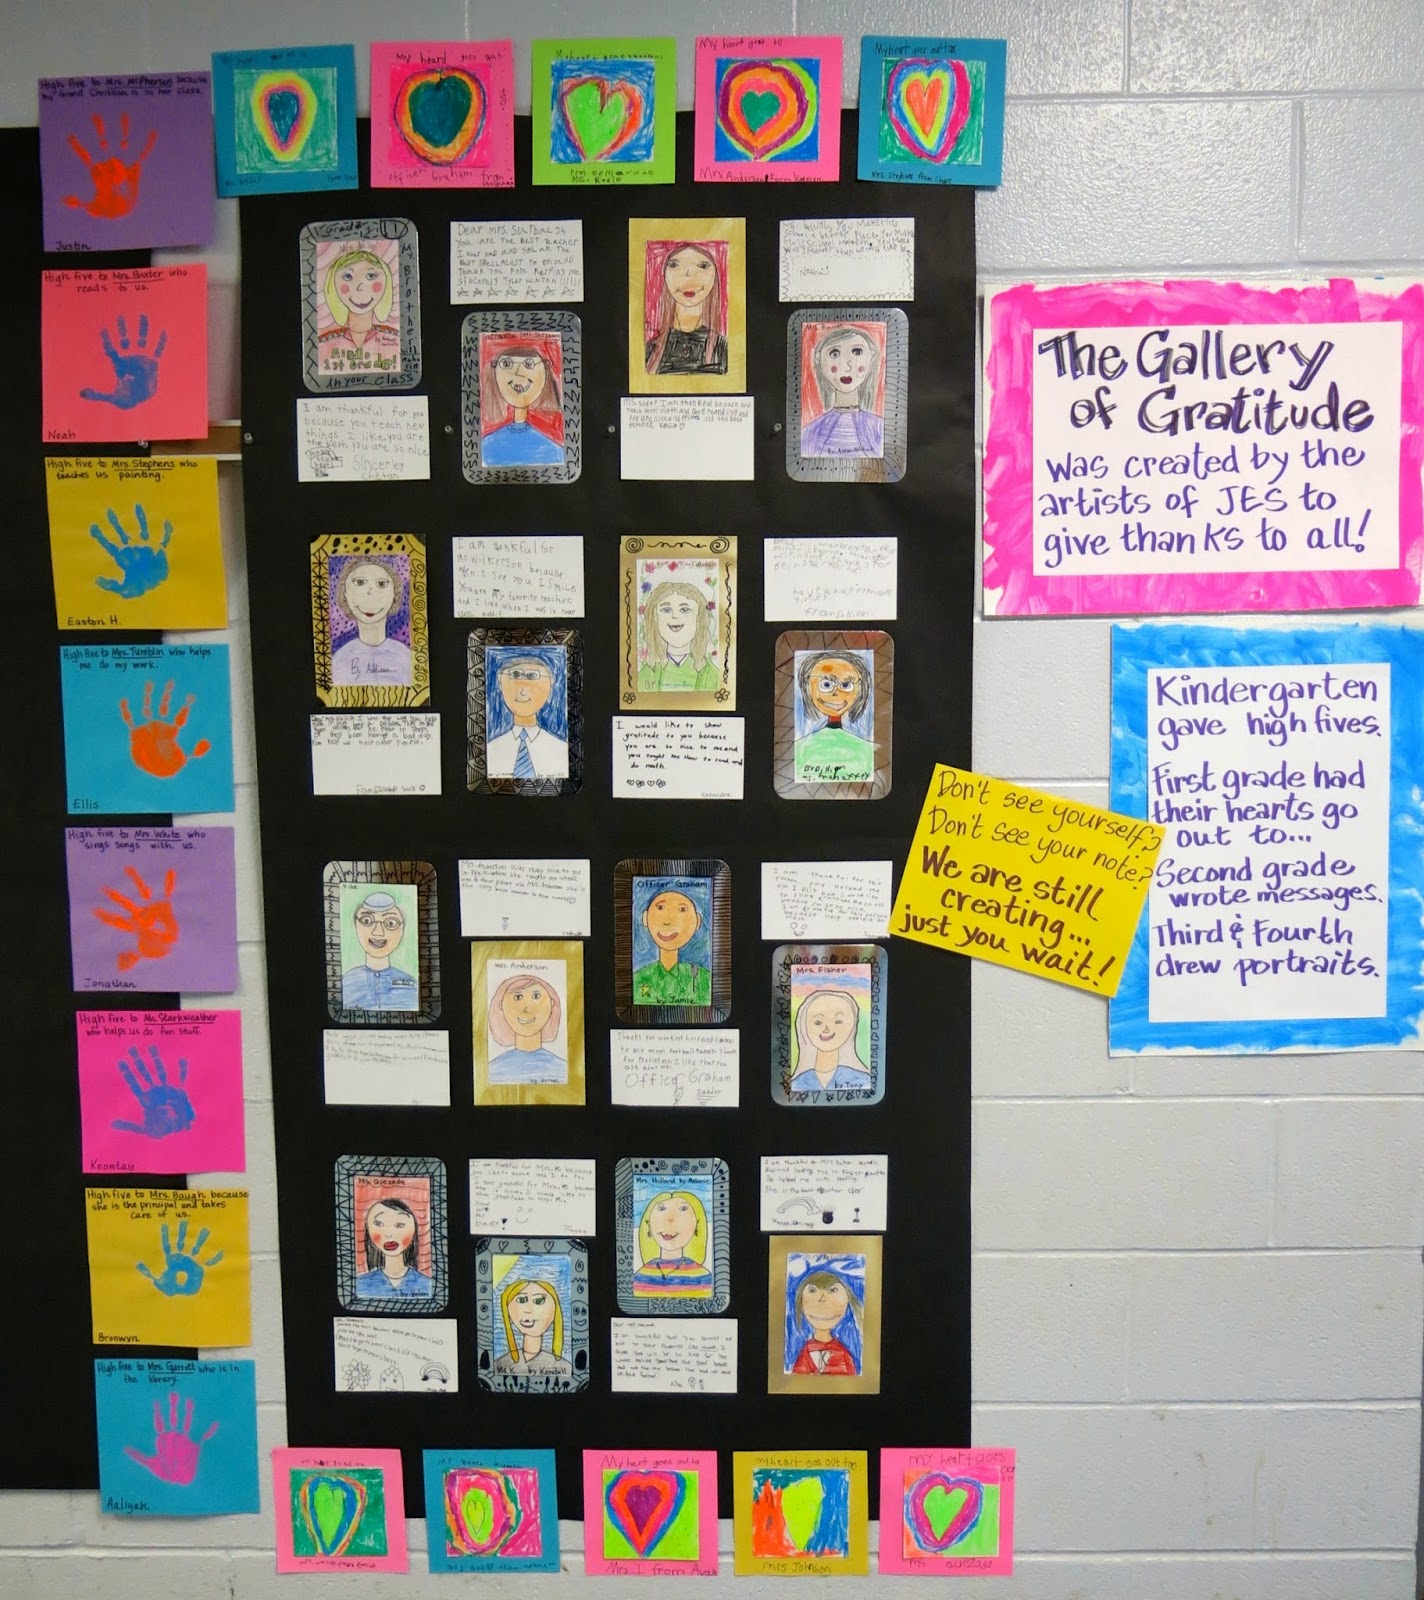
Hey, Kids! I interrupt this post to let you know I'm at the NAEA convention in San Diego! I'd love to see you and have some dates and times we can meet up. Follow this linky-loo and I'll see you there!

Wuz up, Party Pandas, er, People?

I recently had to take a coupla days off and needed some quick -n- easy sub plans. From past experience, I know not to leave out our current projects for a coupla reasons: 

1. It freaks out the "I'M NOT AN ART TEACHER!" sub who seems to think my plans are written in hieroglyphs (which they usually are because I like pictures). Upon my return, I either get the stink eye from 'em which translates to "what in the world did you put me through?! It was like reading the no-words instructions from Ikea!" or the furrowed eyebrow/twitchy-eye face which means "I tried to explain what a "landscape collage" was but we couldn't figure it out. So we resorted to glue eating and sharpie sniffing. And it was AWESOME!" 

2. Because the kids, fully aware that their sub is NOT AN ART TEACHER! and, therefore, easy prey, pretend that they have no idea what the sub is talking about. From there, they use their kid-manipulation tactics to convince el subbo that it's perfectly normal to color our hands in marker and stamp it on their face. Like a Kid-Manipulatin'-the-Sub Boss.


Knowing this, and knowing I needed some sub plans for all grades in a pinch, I decided to leave some  step-by-step panda drawing instructions for the NOT AN ART TEACHER! sub. And, I'm excited to say, everyone loved it. 
I have no idea. Bob? Who are you and why are my 4th graders obsessed with you and mustaches? I can only imagine you are some curly-mustached hipster. In skinny jeans. Which should be banned form the dudes' clothing department. But I digress.

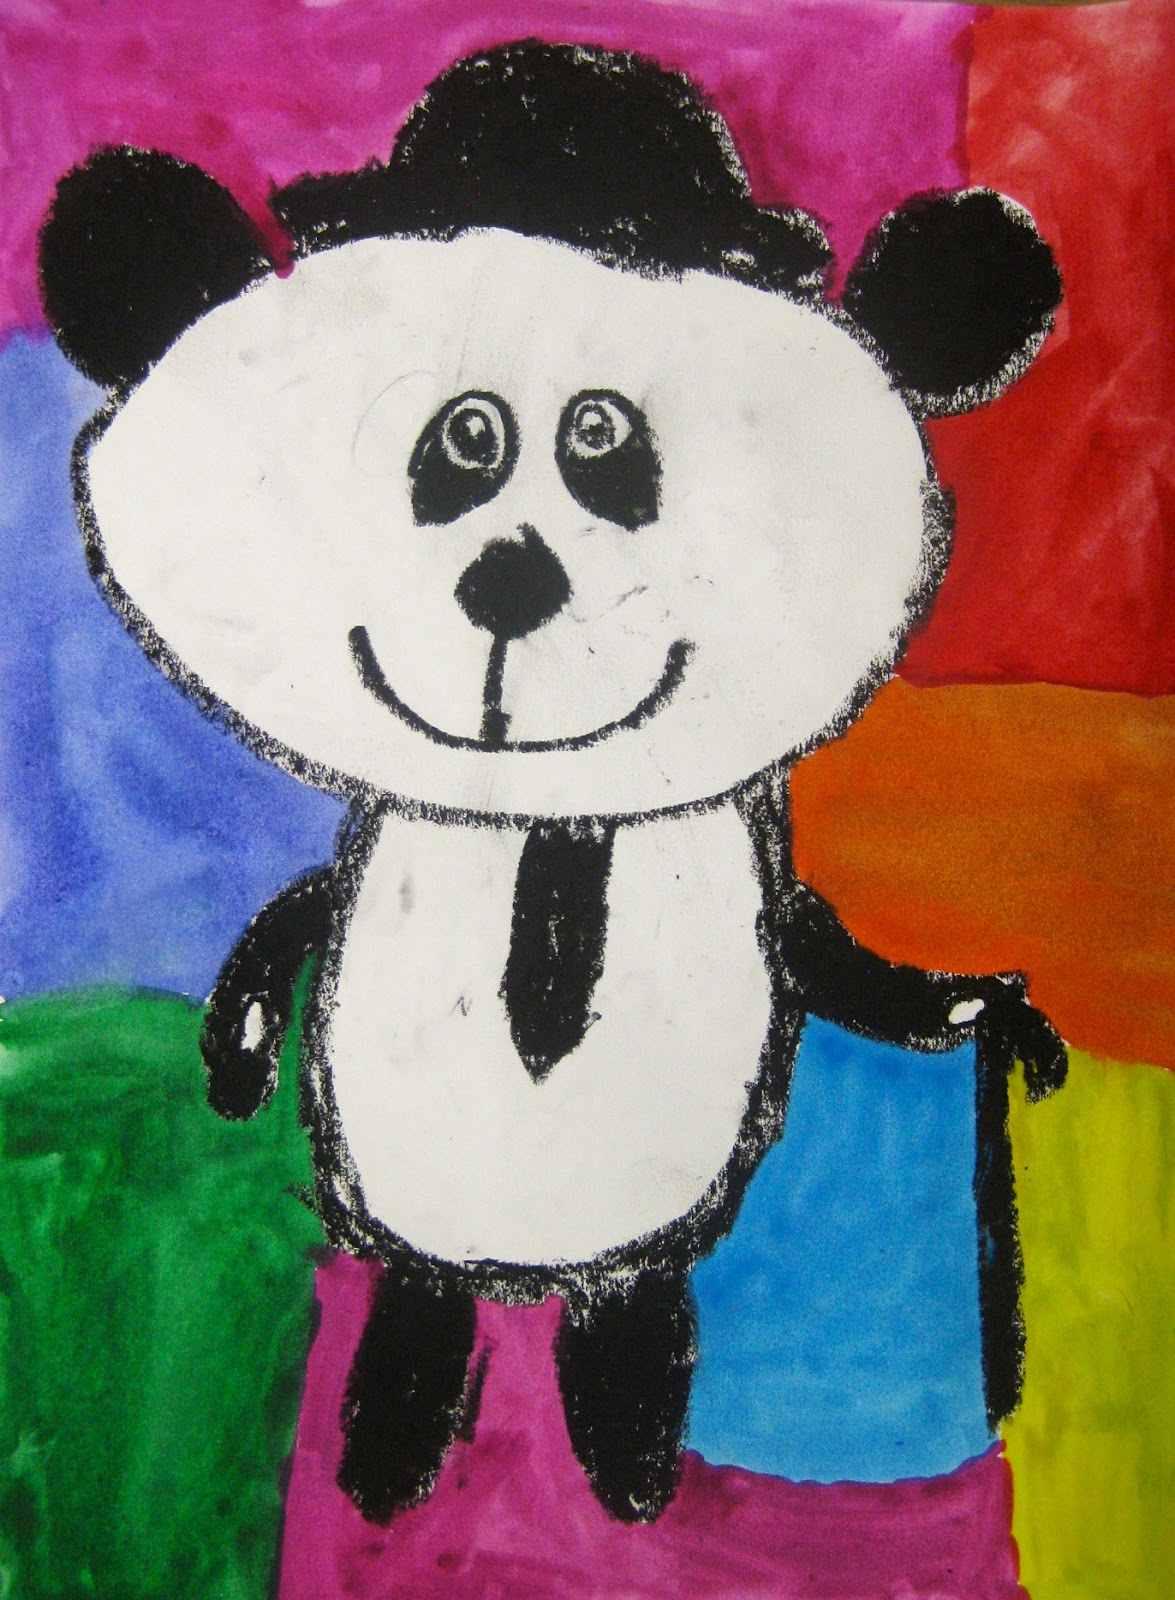
Why a panda, you ask? (okay, so you didn't ask but Ima gonna tell you anyway). Well, my students are currently learning about Asia and our panda friends reside in China. We're gearing up for a clay project/fundraiser (we want to help those pandas!) and I thought this would be a super fun way to get the kids in the mood. 
In my sub notes, I asked the sub to follow my routine of having the children gather on the floor. From there, I asked the sub to talk through and demonstrate drawing a panda with the children. These directions were big enough for the children to see once at their seats. However, just in case they needed a closer view, I did make photos copies of the same directions and had them ready on the tables.

I'm happy to say that each of my subs drew a panda...and was actually thrilled by their own artistic skills! Several left their drawings out for me to admire and hang on my fridge.
Just a couple of reminders from who the students and I have dubbed "SeƱor Roy G. Biv". The children were given only ONE SHEET of paper (make it work, kids! Tim Gunn's watching!) and a black oil pastel. This can be a bit dangerous as those oil pastels can get everywhere (I had one kindergartener unknowingly rubbed his chin and a buddy said, "you look like a hobo!") but I left out oodles of baby wipes and a warning of the danger of smears.
Since the kids were only given one sheet of paper (anyone else cringe at the sound of a paper being crumbled?! "Why you wanna be a tree killer, kids?!"), you can see this student practiced a couple of different ideas before giving it a-go on the front.

Now, one of the reasons I had a sub is because I'd taken my fourth grade on a field trip! When we returned from our trip, I had, like, 10 minutes before my classes started pouring. Since they had drawn the pandas the previous day, I simply had a coupla kids get watercolor paints on the tables and we were good to paint our pandas!

We chatted about a couple different methods for painting our panda backgrounds. My art teacher BFF's (hiya, Mallory!) has recently been doing this patchy wet-on-wet painting process with her students. You can see this in several of the pandas above. To do this, you paint a very small patch of color on your paper. I explain to the kids that a wash is a color light in value. From there, I show them  the wet-on-wet technique of adding those dots of color and watching the dots grow.

These paintings were completed by my fourth grade students. We've actually been doing a lot of watercolor painting lately so they are kind of experts. Many opted out of the wet-on-wet and did their own thing. Which is awesome. For more details on the kind of watercolor paint I use...and the specifics of how I teach those kids not to grind their brushes into their paper, go here.
And there you have it! I hope you'll give these Party Pandas a go...and if you do, please email me some photos, I'd love to see them!
Read more »