Hey, y'all! I was so excited to see these two boxes on my doorstep this afternoon (one from The Art of Education and the other my Artsy Book Club order, I made a wee film of myself opening them up! First up, the swag box from the Art of Education's online summer 2014 conference. If you aren't signed up for the conference yet, there's still time. I did make a BIG mistake in this clip when I said the conference is on Wednesday. It's actually Thursday, July 17th. I'll be there (with some art teacherin' rock stars) presenting at noonish. I hope to chat with you live at the conference! Now, let's talk swag, shall we?
Y'all, this box was amazing! You'll have to watch the clip to see what's inside...however if you can't stand the sound of my annoying voice (I promise within the first 30 seconds you will be so.over.it.) I did snap a pic of the loot. It's so good, you guys! Check it:
While I was oohing and ahhing over the contents, someone was makin' herself at home in the box.
"WHAT?! If it fits, I sits. DUH."
(that face. I don't even know.)
Anyone else gotten their books yet? I'm excited to start creating and pirating with y'all!
And, there you have it! I do hope you enjoy these completely unedited and obnoxious clips. I'd love to do more...but I'd also love to keep the handful of readers that I have. Thanks for dropping by, y'all.
I'll see you at the AOE Conference on Thursday. In the meantime, let's read some good books and watch kittens crawl in boxes, emkay? Chat with ya soon!
No matter what your passion is in life, I bet the seed was planted when you were young. One summer, when I was probably 10i-sh, my grandmother taught me how to embroider. And I've loved creating stuff with fabric and thread since.
This year, I decided to open up my art room to the folks I work with for a Sewing Group. Some of my 4th grade students caught wind of this and wanted to know if they could join. I kinda put the idea on the back burner as I had no freakin' idea how I'd use sewing machines with the youngins...and I kinda thought the kids would forget about it. But, as you know if you work with children, they never forget anything. When one of them started pricing sewing machines at the local thrift store and another petitioned her friends to enquire about a class, I started to toy with the idea of making it happen. When I accidentally said, "I'll think about it," the kids cheered and asked, "Yay, can we start TODAY?!"
There is a wonderful enrichment program at my school called Gentry's Educational Foundation founded by Evelyn Hickerson, a teacher. I approached her about teaching a sewing class and she agreed to purchase some sewing machines. Because she's seriously that awesome. This woman is so dedicated to the education of all students that she'll stop at nothing to make it happen. We are so fortunate to have her enriching all of our lives.
In my after school sewing class, I had almost 20 students (3rd and 4th grade) and two adult helpers. I was a little nervous having that many children sewing on machines at once...and I also felt like the kids should have some basic sewing and embroidery skills first. So I decided to start by having the kids create an embroidered sampler using this book as my guide.
I picked up this book years ago when I wanted to teach sewing in my art classes. I've since had to let go of that notion (30 minutes just seemed impossible to teach sewing to the under 10 set) but was thrilled to give it a go with this group. My after school classes were a lovely 60 minutes in length and that felt like absolute heaven. No rush, plenty of time to explain, chat and sew.
Interested in giving this a go? Here's what we used:
Gingham fabric
Patterned fabric
Embroidery floss, 24" in length, split into three strands
Bees wax. This isn't necessary but it does come in handy. We ran our embroidery floss over the wax to prevent it from tangling.
Large eyed, sharp needles
Embroidery hoops
Graph paper
Sewing machine
Pins
Stuffing
Our first of business was writing out our names. We first did this on graph paper using the guide found in the book. This was then rewritten onto the kids' chosen piece of gingham in pencil.
Next we learned how to split our embroidery floss. I had the kids work with a partner to prevent the floss from tangling. This was then threaded into the needle, doubled over and knotted.
After that, we hooped our fabric.
We didn't embroider our name first. We chatted about what a sampler was and how this would showcase a sample of embroidery stitches we learned. Our first stitches to learn were the running stitches seen under the name.
Once those were complete, we moved onto cross-stitching our name. Some students sewed buttons onto their sampler while others learned how to create a satin stitched heart.
All that took a couple of sewing classes to complete. Once they were finished, the kids chose a piece of fabric for the back of their pillow. Thankfully I'd just been donated a huge stash of fabric (which included some coveted Scooby Doo fabric). The kids laid their samplers on the fabric, cut it to the same size and pinned it right sides together on the top and sides. We left the bottom open for adding the stuffing.
Now I wasn't at all comfortable with the idea of the kids sewing for the first time without adult supervision. This is where my two super adult sewers came into the picture. They called each child one at a time to a machine and gave them a private sewing lesson. Perhaps in the future I'll be more comfortable leaving the kids less supervised...but until then, I'm all about the one-on-one.
So what were the others doing in the meantime? Well, they set their pillows aside and began creating mini-stuffed animals! In My First Sewing Book, the author gives a ton of animal patterns for the kids to chose from. I simply enlarged them and laid them out for the kids to pick from. Of course, I gave them the option of creating their own stuffies too (see last photo, ya'll. Too cute). With that sampler under their sewing belt, this proved to be the perfect project for them to work independently on while they waited for their turn at the machine.
For a Stuffie, you'd need the following:
Two pieces of felt per student
Embroidery floss
Needle
Thread
Pins
Patterns (or paper for creating their own)
Stuffing
After picking their pattern, the kids pinned the pattern and two pieces together. This was then cut out.
After removing the pins, the kids were told they had to use a satin stitch to create a face. Buttons were available for eyes.
Once that was complete, the two felt pieces were pinned together and stitched almost all the way around with a whip stitch.
Stuffing was added and the stuffie was stitched closed. Most kids were able to create more than one.
When their turn was up at the sewing machine, they stitched those three pinned sides. Stuffing was added to the pillow and they had the option of hand-stitching the pillow closed or using the machine again. I was surprised that not all of the kids picked the machines. I think some of them really enjoyed the control of stitching by hand.
Since completing these stuffies, the kids have started bringing in things they've sewn at home. They've independently created purses, pin cushions and stuffies for their buddies and siblings. Which makes me so super happy.
And excited. I've already started my yearly process of begging for longer art classes next year so I can do this with all my students, not just an after school class. I know how much I loved creating like this when I was a kid...and I want all of my students to have this very same experience.
Do ya'll sew in your art room? Would you mind sharing with me the projects you do? I'd love to have more ideas and share them with my sewing group! Thanks, ya'll!
Kids what you see here is my last installment about attempting to teach vocabulary. From writing my first and second post about teaching all things wordy, I've come to a coupla conclusions:
* Repetition is key. Say it, sing it, sneeze it, speak it in a Santa voice, it doesn't matter just repeat the daylights outta that word with the children. And maybe a couple of them will retain it. On the first day. So do it all over again every other day of the year. And maybe a couple more will have it by the end.
* Make learning unusual. Everybody remembers their first time...to ride a bike (what did you think I meant?!). So if you offer the children a unique experience when learning something for the first time, that fun memory will be embedded in their brain along with the word.
*Words, words everywhere! I need to improve upon this. Kids love to read and they want to learn. So why not get those words on every stinkin' surface?! Give the little people what they want!
*Use those words. If we don't use them in some sort of context then they just remain words floating in outer space to the kids. Teach 'em and use 'em. That's what I'm trying to do anyway.
When introducing new words for a new unit of art study, I have them written out and in my red chart (see above with grade levels indicated at the top). Then I play these coupla of games. I'm hoping these clips make some sense of my madness.
Or not.
Em, our friend across the pond, says, "I'm a classroom teacher in the UK. I have a word wall and I add to it as the children suggest words in shared writing or we find words in shared texts and we refer to it often but it takes tome for them to learn to do this independently. It's literacy based but I also use vocabulary cards in maths a lot as this is an area which has a lot of vocab. I hold up the cards as I talk and display them on the whiteboard and they often have pictures and symbols with them to help with meaning. The children have learnt to question me whenever an unfamiliar word is used which helps them learn the meanings. You could play quick games like give half the children a word and the other half the definition either as a sentence or picture and they have a minute to find their partner. Or hide words around the room and ask them to find the word that means... I print out words in tiny writing and give the children magnifying glasses to read them, making them feel like word detectives. You could have 'word of the day' displayed and reward those who use it correctly."
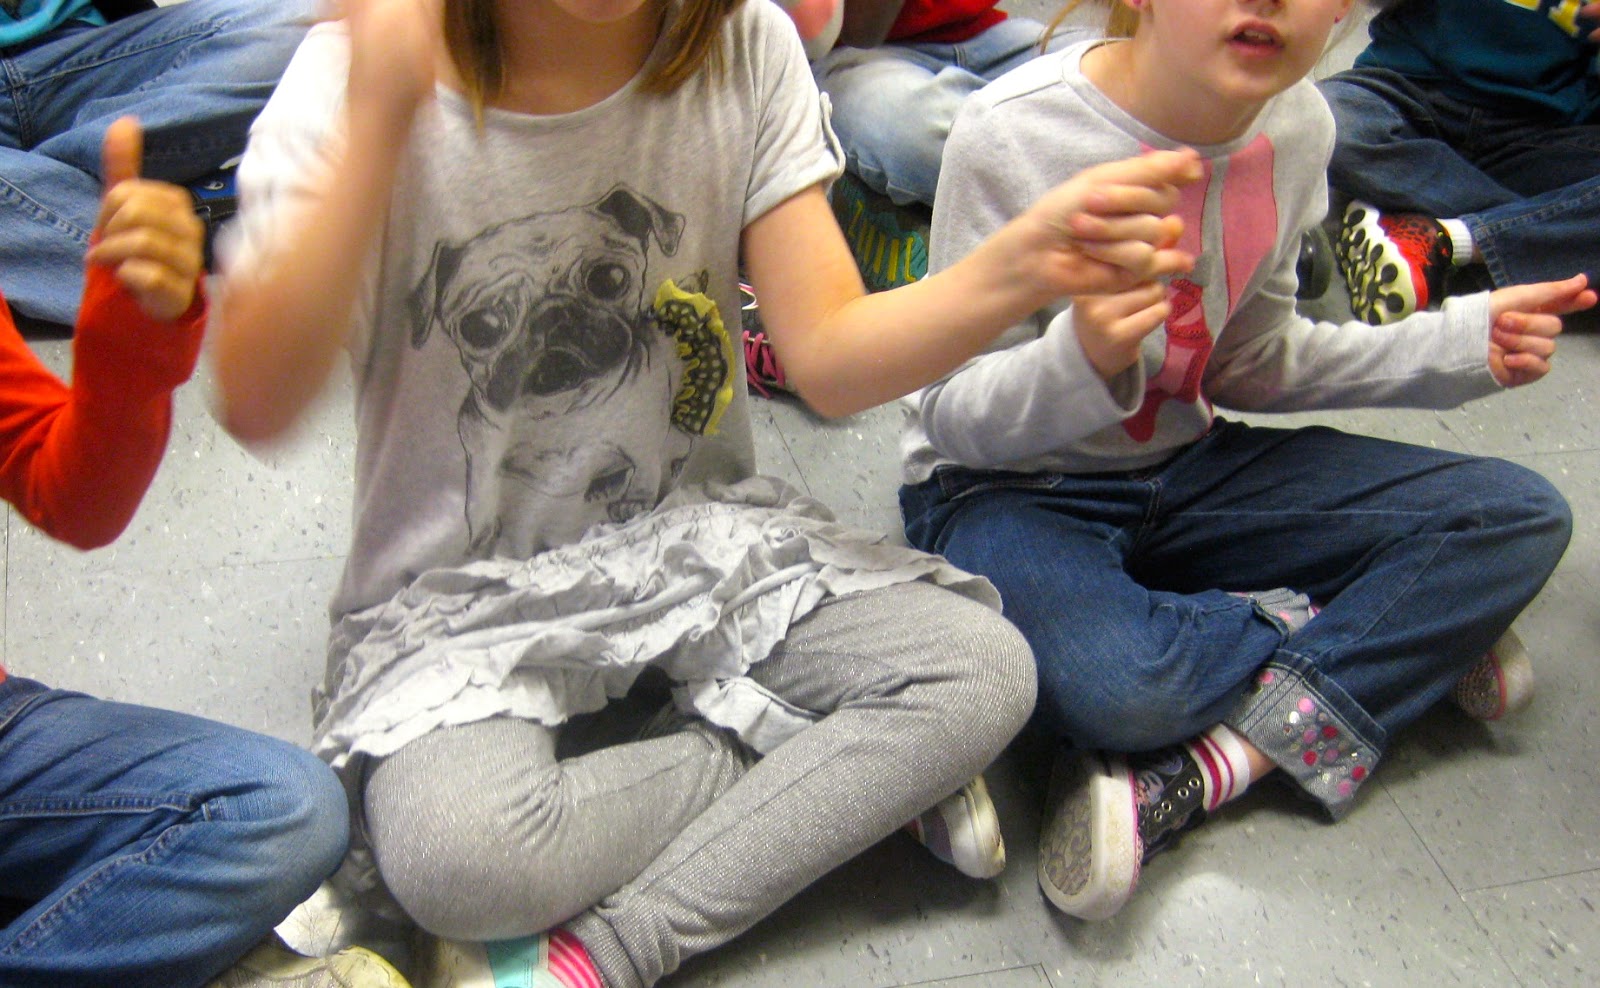
Kids playing Clap-Clap, Snap-Snap and wondering why I'm taking their picture.
Cathy who blogs at Splats, Scraps and Glue Blobs says, "Last year I was trying to think of everything possible to help kids remember art vocabulary words. There is a restroom across the hall from my art room and most of the classes use these RR's before coming into my class. So I made vocabulary word posters with pictures and hung them on the backs of the doors. Kids didn't even realize they were learning."
Now just talking, clapping and snapping words is one thing...but without putting them in some sort of context, it's kinda pointless, don't you think? I got this idea for putting a different spin on my "I Can" statements from Don over at Shine Brite Zamorano. This is new for me...and I'm trying to add reading this to my teaching routine. My normal routine is simply have the children repeat all of the direction they are to follow during the course of the class. However, add this will add more context to those words. If you've not been by this blog, it's a must, ya'll!
And there you have it! I'm still working on my vocab teaching methods so any clever tricks in the comments are much appreciated. Thanks for dropping by you guys!
Way back in freezing cold January, I wrote a blog post called Teaching Vocabulary. In it, I shared with you some new approaches I've been taking to introducing words in the art room. I also asked for your advice and, holy moly, did ya'll deliver! Thanks, kids!
Since that post, I've tweaked (not twerked. See how important learning vocabulary is?!) my aforeblogged methods and added some new ones. So in this three-part post (because the Vocab Party never ends!), I thought I'd let you in on some of my new tricks (complete with video clips, ya'll! See what your encouraging words did? YOU'VE CREATED A VIDEO-CLIP-MAKING MONSTER!) as well as the words of wisdom shared. I do hope we can continue this vocabulary convo so leave your pearls of vocab-teaching wisdom in the comments below, pretty please!
Without further ado, I present to amazing reader comments, updates on my vocabulary teaching routines and some short clips...
But now a word from the Super Fab Teacher Gillian: "I often have my grade 1's answer a question, spell a word, or read something before leaving the room at the end of the day... I try to switch up the question or the words so that there's something appropriate for everyone! For example, sometimes with my lower level readers, I'll show them two words and ask "which one says _____?" whereas for a higher reader I might ask them to read the word or tell me the meaning. I try to keep it random enough that they don't really catch on to the fact that I'm consistently making it easier for some than others. Might work for you too!"
Um, Gillian, this totally worked for me, thank you so much! If you glance at my first vocabulary post, you might notice that I just had 2 sets of art words, one for my 1st - 2nd grade students and another for the older kids. The words were chosen randomly pulled from a list found on the interwebs. However, these words didn't seem to stick because we weren't making connections to them in art class (duh, art teacher!). Now I have the students read words as they enter that directly pertain to the lesson being taught. This means I have a different set of words for each grade level. For kindergartentown, I show them a shape and ask for the name and the color. My favorite part is when the word is introduced, so-n-so will say, "that was my word at the door!"
Art Project Girl blogger Erica says: "Oh my gosh. I totally get it. Some teachers debate with me that just teaching the word without the meaning is not an okay practice. . . but I really feel that it is the only real way that kids will learn vocabulary that I am teaching, repetition, repetition, demonstrate, practice . . . So I always just throw the vocabulary out their have them sing it, repeat me, repeat me in different voices (they love saying vocabulary while holding their nose and making nasally teacher sound) then as the year goes on we learn what the vocabulary means, how to use it."
I love Erica, don't you? Her blog is super fab and she's always coming up with fun ways to teach her students. If you attended the AOE online conference, then you know how Erica brings all sorts of games and fun into her art room. This got me thinking about how I could introduce something new in my room called "Word of the Week" (even though in the clip I refer to it as "Word of the Day". Sorry, my bad) in a fun way. Here, lemme 'splain it to you...
After all that "whoop-whoop" craziness, I drop directly into a moments chat about our Artist Inspiration which I attempt to explain here...
(gah, that face. only a mother could love, right mom? Um, MOM?! Oh, never mind.)
A message from one of my favorite teachers, my Aunt Kimmy: "I always labeled everything --and I mean everything in the kindergarten/1st grade classrooms. And in my home too, because I've done a lot of tutoring at home. There's a sentence strip still on the ceiling in my kitchen...everyone that comes to my house is just used to seeing the word "ceiling" on my ceiling. Now I leave it there for Rayleigh..:) When Kirby was two months old, I had everything labeled in his bedroom. "bed", "dresser","chair"...."wall"... You get the picture. That's how I do it. Our language is too crazy to try to teach reading by sounding out words. That's my opinion and I know a great debate can be started by saying something like that because there is something to be said for phonics...sometimes."
I love this idea of labeling everything and I'm working on it. Those words that the kids learn at the door? They go on our word cabinets (yes, I just about have enough cabinets to cover the alphabet. Don't hate.) Do ya'll label everything in your classroom? I think this is simply genius. But she is my Super Amazing Aunt Kimmy so I might be a pinch bias.
Mrs. C of Rainbow Skies and Dragonflies blog:"I have the kids repeat vocab words also... they learn the meaning as we go along. And yes, you think they will remember the kooky way you introduced something and it would be burned into their brains forever, right? No, not so much... We have spent mucho time on color theory this fall and even though I know in my heart of hearts they know what the Primary colors are ( 1st/2nd grade) when I asked before vacation they all looked at me like I had three heads! Seriously guys???"
I love Mrs. C. Always telling it exactly how it is. And isn't that the truth, ya'll?! No matter how hard we try or what hoops we set on fire to jump through, sometimes the kids just don't get it. Maybe they're having an off day, maybe they've gotten too used to us jumping through flaming hoops, I dunno. I can only think that the connection we made with the word wasn't a powerful enough one to get it to stick. But when it does, it's so exciting it's magical. Like this "invention" by one of my third grade students.
I mentioned that our word of the week was "invention" and that our artist Leonardo da Vinci often drew his inventions...but many times they were so far ahead of their time that they were impossible to create.
3rd Grade Girl: But can we make an invention if we wanna? I mean, instead of just drawing one?
Me: Sure! Make it and bring it in!
And this is what my friend brought me the very next day. An Art Robot. So amazingly awesome.
She even created an "advertisement" which was the previous week's Word of the Week. I was so excited that I dragged this sweet child and her robot onto our school's televised Morning Announcements. I really wanted to encourage this sweet artist. She was thrilled (despite being camera shy) and the kids loved seeing her creation when they walked into the room. Pretty sure the word "invention" will stick with her. Although we have been out of school for a week...so we'll see.
Please stay tuned for Part 3 of this Teaching Vocab series as I have more insight from you super smart readers and (joy!) more obnoxiously goofy clips! In the meantime, I'd love to hear more of your vocabulary-teaching wisdom, friends, so lay it on me!


 Anyone else gotten their books yet? I'm excited to start creating and pirating with y'all!