Showing posts with label how to teach printmaking. Show all posts

Monday, March 7, 2016

In the Art Room: Printed Cityscape Collages with Third Grade

What you see here is my final installment of printmaking lessons for the firsties thru thirdz. We started our printmaking units many moons ago and we've been having a big time since. You might recall my lil printmaking pep talk here...
You can check out the first graders printmaking lesson here as well as second grade's here. Fourth gradeland is currently in the midst of a collaborative/legacy/sculptural project that meant they were left outta the printmaking loop. I'm hoping to remedy that before the school year ends. I'll be sure to keep y'all posted. Until then, let's talk about these beauts...
 I am so in love with how these printed and collaged cityscapes turned out, y'all! The kids had a blast printmaking...but where really thrilled to see their cities come together. 
Lemme tell you what each kid created:

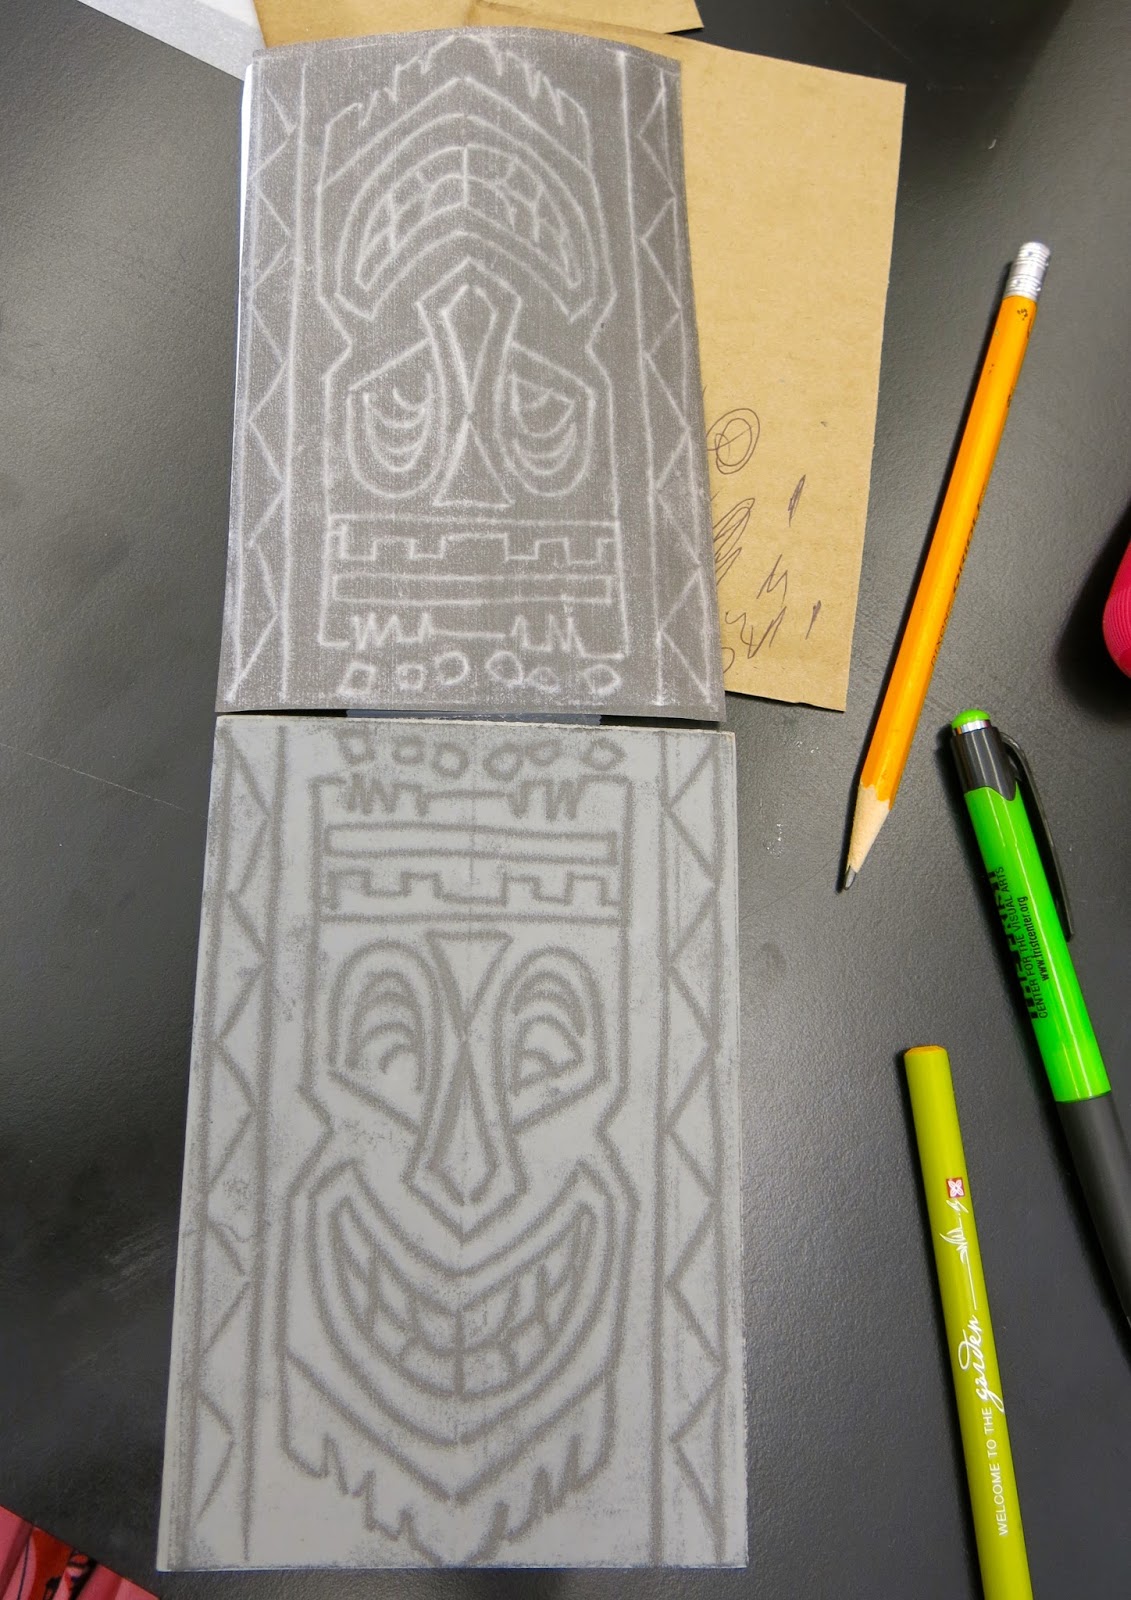
* After creating their own printing plate (demo'ed in the video below), each child printed a minimum of four prints on colorful copy paper. They were to do two prints in white ink and two in black ink (or the reverse of that, depending on what was available at their table). 

* The following art class, the kids learned about wax resist, warm/cool colors and watercoloring a skyscape. Each student created a warm and cool colored sky (with a sprinkle of salt for added effect!).

* Finally, each kid got back their warm and cool skies along with their prints. They then assembled their printed, painted and collaged landscapes with a layer of cardboard in-between for added depth. This resulted in TWO finished pieces by each student, as you see above!
This was such a fun and successful project for all students. Here's a list of supplies we used:

* Scratch-Art Foam (tho styro plates would work in a pinch...they'd just create a rounded landscape which could be totally amazing!)
* Speedball Printing Ink (or markers and water! Watch that first clip!) 
* ink pens
* colorful copy paper
* watercolor 
* oil pastels for the wax resist
* cardboard
* glue
I hope these videos are useful as I'm too tired to type out the directions (lazy much?). I have found that all kids can be successful with printmaking IF you teach them correctly and IF you are a stickler for proper printmaking techniques. I found that having the kids work in pairs really helped them hold each other accountable, even the littles. 
For example, we learned that you don't need a barren to rub the back of the print, just use a good back massage. No pounding necessary. Unless you wanna take a time-out break (eyebrow-raise, head-tilt, teacher-face).
 Every print pulled was magic. However, not gonna lie, the first prints are usually stinkers. Not enough ink, not enough "massaging" the back of the paper, etc. I told the kids to NEVER throw a way a print. If they didn't like it, they were to figure out what was wrong with it and learn from it. Blurry? Then you moved it accidentally. Can't see your lines? You used too much ink. Faded looking? Not enough ink. That's why we did a million prints. So we'd at least have a handful of successful ones.
In other news, I cannot take any credit for this perspective drawing or that amazing use of letter reversal. This kid's just rockin' it!
 Once all the prints were made and backgrounds painted, the kids were given a 9" X 12" piece of paper. They attached their paintings to the top and were told to CUT OUT their skyscape. Oh, the whining, y'all! "I can't cut out all those small shapes!", "This is gonna take forever!", "My hand is cramping, can you help me?!"

Nope. You do it. 
 And then they did.
I threw the option of adding a rectangle of cardboard between the cities out there. Most kids opted to do it as they loved the depth it added. 
I think if I were to ask them what one of their fave things this year has been, they'd def say printmaking. The magic of it is addictive!
Next up: rolling their printing plates thru the slab roller with clay! I'll keep you posted on how their ceramic cities turn out. Til then, what are some of your fave printing projects, y'all?
 photo signature_zpsd10b3273.png
Read more »

Tuesday, January 12, 2016

In the Art Room: Troubleshooting Printmaking with the Littles

Hey, y'all! It's Printmaking Season in my art room currently and it's been a big fat hairy success. Mostly because, let's face it, printmaking is super mysterious, magical and mega-awesome. The kids are always surprised and thrilled by their result and pulled prints always elicit the biggest oooohhh's and ahhhhh's. 
BUT. There is the Dark Side of printing as well. Y'all know what I'm talking about. Poorly inked plates. Smeary prints. An inked and printed on body part (um, that was today, in fact. See below). However, I think I've got some tipz -n- trickz for y'all that might make life in Printmaking Town a lil easier. So click the sideways triangle below and I'll walk y'all thru some steps!
By the way, since my room tour video, I've seen a nice jump in my youtube channel subscribers. Thanks, y'all! My goal is to share more videos like the one above and the instructional videos I create for the kids. If you are interested, please feel free to subscribe, I'd love to have ya! 
 So, those marker prints...where have they been all my life?! They are super fun, easy to do and a great way to introduce kids to the magic of printmaking. I got the idea from one of my fave art ed bloggers, Don Masse (thanks, bruh!). You can find his awesomeness here
During the next two thirty minute art classes, the first graders printed with ink. Each student made a minimum of 5 prints which will be used in an upcoming project. By the end of the printing process, they were experts at covering their plates completely and pulling clean-ish prints. I mean, their fingerprints all over the background are prints as well, right?! Just say yes, there's no point in arguing with me. 

Give that paper a back rub, kid. 
Pulling only part of the way up and checking the print was encouraged. This way the kids could lay the paper back down and rub some more if need be. 
I have found that printing on copy paper works the best. I also have the kids use Speedball washable ink. Names are written on the back of the paper before printing is started. 
The kids were allowed to go to another table to use more ink. However, this will result in blended colors...which is cool if you use analogous colors. We had red and yellow out which created these lovely blended prints. 
 Love how it pops on this blue paper!
The kids really enjoyed these prints!
 Printing limbs was not encouraged...but super funny when it happens. This sweet girl leaned onto her plate accidentally and did a lil body printing. It's a new trend. She's totes cutting edge. 
Y'all saw these last week. These were created by my third grade after watching my lil demo video...


This week they'll watch this video. I hope it is as successful at explaining the process as the first one!
I'd love to hear your printing tips and tricks, y'all! Please feel free to share 'em in the comments. Until next time...

 photo signature_zpsd10b3273.png
Read more »

Tuesday, August 25, 2015

DIY: Printmaking Made Easy

I mightah told y'all that when I was a kid, I was addicted to attending Vacation Bible Schools. I didn't care what the denomination, all I needed to know was: Will there be Barrel Drink and will there be Macaroni Art? 
The school I attended didn't have art class so my only experience in arts -n- craftin' came in the form of a lil Bible learning and a whole lotta popsicle stick art (you shoulda seen my popsicle stick Noah's Arc, y'all. Best o' Show.) As an adult (if that's what you wanna call me), this translates into me being addicted to taking art classes around town. Luckily for me, our local art museum The Frist always has the best of offerings...even if they forgot to serve Barrel Drank. 
The Frist doesn't have a permanent collection and I think that's pure genius because it means no stale art that's been hanging for years. It's an ever-changing canvas of art history, culture and contemporary art that keeps locals like me coming back. One exhibit they currently have is the work of Jaume Plensa (that's his surreal sculpture there) whose work is phe-nom-in-alll. 

The last class I took at The Frist was the awesome hat making workshop where I made my donut hat! And I'm excited that I'll be leading a workshop at The Frist on needle felting soon. But enough about that, let's talk about these two wild -n- crazy guyzzz: 
Meet Nieves Uhl and Chris Cheney, owners of the letterpress and design studio Sawtooth Print Shop! Both met at Hatch Print Show and opened their place about three years ago. Not only do they offer their design services and prints but they also offer classes (guess who is dying to sign up for that?! GUESS). Sadly, as you can tell by the photo above, they are both entirely too serious to be any ounce of fun. 

Bwaha, I kid! I loved 'em so! I mean, how could I not when what comes out of their studio are masterpieces like this: 
You better believe I whipped out my credit card and purchased this beauty. It now hangs proudly in the Masterpiece Gallery in the art room!
 So Chris and Nieves carve on linoleum blocks. Which is pretty hard to do for us newbies. So we worked on Softoleum which was like carving in butter. We began by copying our design onto our blocks. 
Graphite paper worked well for this but several attendants found that simply rubbing the back of our pencil design very firmly easily copied the design onto our surface. Who knew? Well, apparently several folks did. One of them NOT being me. 
I didn't take printmaking in college (a regret. One of the many.) so my only experience was a woodblock carving print-stint in high school. Which sucked. Wood carving is for beavers, y'all. But this stuff I loved because of the easy which you could carve into it. Not to mention that if you don't carve too deep can you flip it over and carve on the backside! So filling up my virtual shopping cart with these bad boys. 
I'm on this Tiki kick. So that was my inspo. I'm dying to print these Tiki blocks onto the bottom of a dress or a skirt kinda like I did here one million years ago. 
Tho, I gotta tell ya, I'm not as in love with this block. Hence the reason my virtual shopping cart is loaded down with s'more blocks. 
I did treat my paper before printing. Instead of using white paper, I rolled a lil gold and a lil blue onto several sheets before printing my blocks. 
I wanna host a Tiki Party just so's I can send these out as invites! But what does one DO at a Tiki Party? Aside from drink fancy barrel drinks with umbrellas? 
I attended this class with a coupla art teacherin' buddies who made the cutest of prints! Check out my friend Virginia's portrait of her dog and my buddy David's Mickey-inspired print as well as his sailor-themed print of his last name. I have smart artsy friends, y'all. 
But, seriously, what made the class so special was our awesome host Rosemary Brunton and our instructors Nieves and Chris! Can't wait til the next class, I'm already signed up (um. Actually, I think it's my class. So, never mind)!
 photo signature_zpsd10b3273.png
Read more »