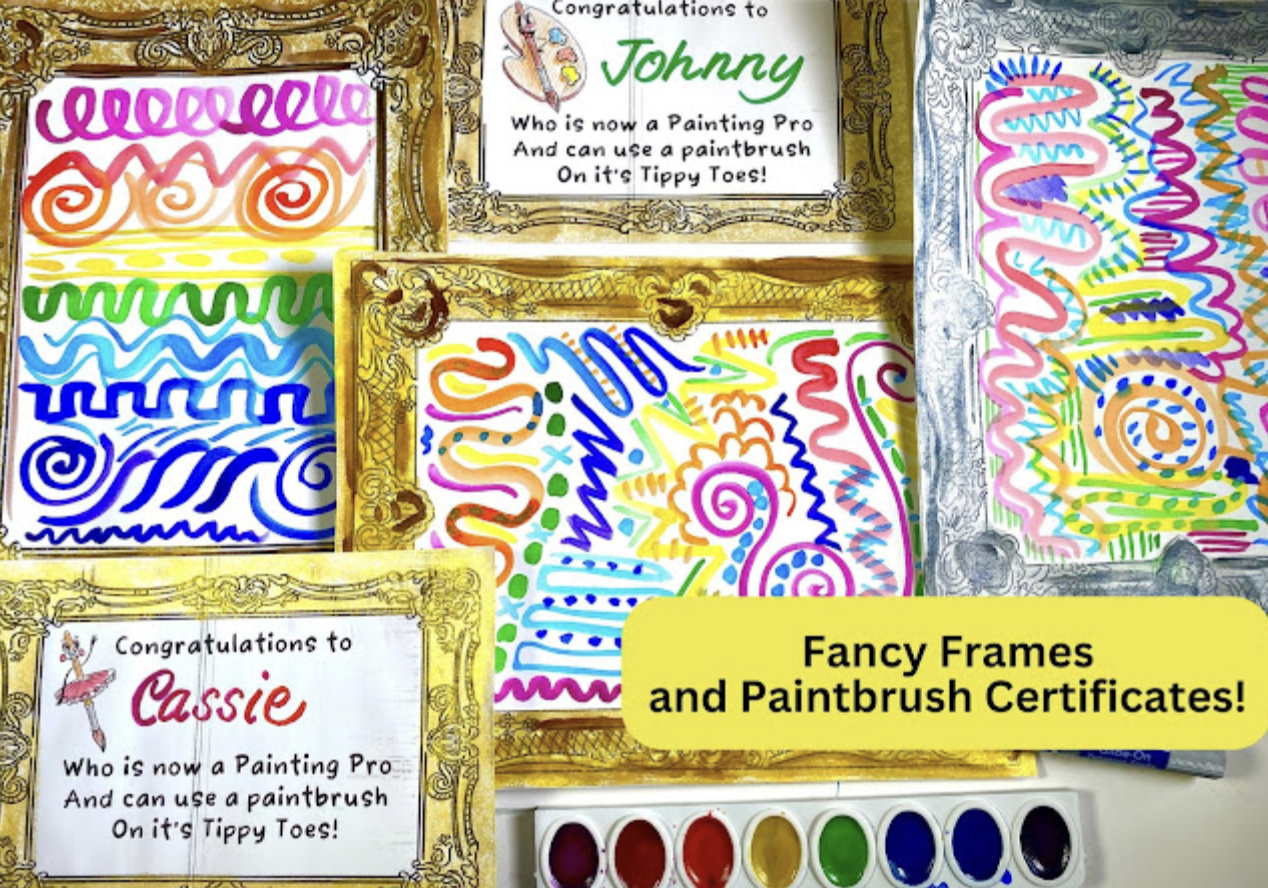
Hey, friends! I'm coming to you today with a lesson that has been rolling around in my head for a while. I know this time of the school year, so many of us focus on LINES and I thought this painting project, that could serve as a school-wide collaborative, would be perfect!
Like my more recent lesson videos, I'm doing a little bit of a teacher-talk at the start of the video to walk you through the prep process. There isn't much but I do think it's important.
I find that templates work great and just make one per table! Then the kids can add the tick marks so they know where to start and end their first lines. I think the mural would work best if those first lines were all the same. I decided to use a dark blue.
If you do this lesson and post on social media, please be sure and tag me, I'd love to see what you and your artists create! Please do not rewrite this lesson and sell on TPT as your own...I hate to say that every post but, it happens!
Hey there, friends! I hope this here blog post finds you enjoying your summer vacation if you are stateside! I know the last thing you probably wanna think about is TEMPERA PAINT...but I always find it much more relaxing to thing about art, organization, lessons and the like when I'm on a break. So I created a big ole video just for you with my very favorite tips and tricks.
But before we do...if you would like to peruse some tempera painting lessons, I did put together a blog post of my 20 favorite painting projects here. Not all of these are tempera paint but many are and will, hopefully, get the creative art teacherin' wheels turnin'. Just click here!
Tip #1: Limit those color palettes!
I like to distribute paint with a couple of customized paint trays. For example, on the first day I paint with kindergarten, they all receive a tray of warm color paint. On the next, it may be cool color. This helps keep our paint trays from getting completely demolished by students who are new to learning my painting routines. This method also allows students to learn the warm/cool colors as well as the notion of analogous colors.
My favorite way to distribute paint is...ice cube trays! I've been doing this since my first year teaching way back in 1998. Back then, we didn't have fancy ice cube trays like these. I had to do the stack-and-sack method of stacking my trays and putting them in plastic garbage bags overnight. Thankfully, we have these neat trays that do an excellent job of keeping paint from drying out.
What I love about them is that no only do they not tip but they also have a spot for my sponges. The sponge is where my students dry their brushes, further removing drippy water from their brush. What I don't love about these is that the water reservoir is shallow and I have to change out the water between classes. So...it's a trade off. If you don't use the sponges or want a deeper water cup, I also love these:
They legit don't spill!
AND they come in a rainbow assortment which is fun if you color code your tables. I also love the wavy rim for resting paintbrushes.
If you are looking for a way to have students really scrub their brush while cleaning it, you could get some of these Paint Pucks to suction into the bottom of the watercup. OR...you could also use your glue gun and put dots of glue at the bottom of the glue cup and that would do the same thing!
Tip #4: A sponge to further clean the brush!
Or, as we call it, Dirty Ole Sponge Bob. If you teach students my trick of drawing an X on the sponge, it will help them remember to wipe their paintbrush AND keep the tip nice and pointy. You can find sponges at the Dollar Tree or you can also find them here.
Tip #5: Contain the mess with TRAYS!
Okay, so these trays are a little expensive BUT they are super thick and sturdy which means they will be able to handle the weight of the painting supplies placed on them. However, I have purchased trays from Dollar Tree on their site and was able to purchase an entire box. The only thing is that if they don't have this available in store, you will have to pay for shipping. It's cheaper if you have them shipped to the store and pick up there. The Dollar Tree trays are much thinner and not as sturdy. But I loved them for having my young students create their artwork on. Not only did it help to capture and contain the mess but it also made it so much easier for them to carry their work to the drying rack.
Tip #6: Distribute paint without the mess!
FIFO bottles are a great way to get paint to your students without lugging a gallon of paint around the room. I also love them because you can customize and mix your own colors! You can find them here and learn more about them in the video if you aren't familiar.
Tip #7: Texture combs are a must with tempera paint!
Thick tempera paint is made for texture! And while I used to love to pick up bags of texture making supplies at the dollar store what I found is that I spent so much time at the sink CLEANING. I eventually stopped using them and switched to the ole stand by: the texture comb. They are easy for kids to use without their hands getting too messy and, even better, they are much easier for ME to clean! I love 'em and they are constantly being used in my art room. Find them here.
Tip #8: Cover those tables with Messy Mats!
We don't have time to wash the paint from our tables! I mean, we might have time but do we really wanna spend our time that way? For me, I had classes back to back with no time for cleaning so Messy Mats saved the day with keeping our tables covered and clean. You can color code them with this railboard found here.
I also just like the ole standby of tagboard! You can buy a pack of 100 and it will last you for a couple years (maybe longer!) here.
Tip #9: Clean those hands and tables with these!
I like to keep a bin of soapy water and a couple of these towels on each table. The kids know that they are ONLY to use these towels during clean up...otherwise you may have friends washing their hands throughout the lesson. I show them how to wring the water from the towel before using it on their hands and table. I swap these out with clean towels and water while the students work so each class has a fresh bin of water. These towels wash up great in the washing machine!
Tip #10: Only buy the paint colors you need...and you don't need 'em all!
Share with your students how to mix paint so you don't have to buy them all! The colors you WILL want to order are: red, magenta, yellow, blue, turquoise (or cyan), white, black and brown. I usually order my paint by the gallon so we don't run out. You can find the paint I buy as well as anything I may have forgotten here.
As for paintbrushes, when I first began teaching, I used what I had in my art room: those coarse, long-handled bristle brushes. They usually wiped more paint OFF the paper than they did put it on! Now I only have students use soft hair brushes like these.
And of course you need a copy of The Paintbrush Ballerina to share with your students how to use and care for their paintbrush! You can get a copy here. I also created some painting practice sheets that you might find handy as you introduce your students to painting!
These totally free downloads will have your students handling their paintbrush correctly in no time. Whether they are working with watercolor, tempra or tempra cakes, these sheets will save those paintbrushes! Find them free here.
I created a video to share with you how I would use these sheets in my art room...I put them in a sheet protector so that students can practice painting with just water! More details here.
Personally...you could tell me how to paint with children all day long but until I see how someone teaches it, I just don't get it. So! I thought I'd share a series of teaching tempera painting videos here. For lesson details, check out this blog post.
Here's a video of my sharing my painting set up in my art room.
I hope this big ole blog post helps you feel more comfortable busting out the tempera paint in your art room. NOW...it's summer so go put those pjs back on, grab a snack and take a nap!
Painting with kindergarten...ahhhh. It's kinda crazy to think that one can experience literally ALL OF THE EMOTIONS in one 30 minute class period: happiness, fear, chaos-management anxiety, bliss, fright, horror and so much more. I decided to dive into painting with my kindergarten for their second art project (you can see our first day projects here) and I thought I'd share a little of what my lesson looks like. If it strikes you as familiar, that is because it's not that different from how I introduce painting to all of my students.
Before I dive in to that, I have quite a bit to say about kindergarten. You can take a listen to my last two episodes all about kindergarten here:
And here:
And here's me teaching painting to kindergarten on the very first day:
So much silly, so little time!
Let me share with you about this lesson. In the first 30 minute art class, you see me introduce my students the concept of The Store. In my art room, that is the supply gathering table. I also introduce how to go about using painting supplies properly...and that's it. If I continued to do much more talking, the kids wouldn't have any time to create! We will be reading The Dot the following art class and making sure to finish (if not complete) and signing our work of art. In case you are wondering, I never mention having the kids write their name on their papers up to this point. That is because I've been doing it for them. As they are working, I have been going around, pushing their chairs closer to the supplies and jotting their names on the backs of their papers. From here on out, I'll be teaching them to do this. We'll also be looking at Kandinsky very soon. But, like I said, on this first day, our focus was just to get them painting and painting properly (meaning how to hold their brush and how not to mix up the paints).
Now, in case you are looking to do this lesson with your students, I just so happened to be gifted a box of dots. That's what's in the center of these papers. Little precut concentric circles that I simple glued to the middle of each 12" square of paper. Last year, when I didn't have those dots, I just used sticker dots from the dollar store (the kind used for pricing yard sale items). The reason I like using a dot as the start as it gives the kids a little spot to begin painting around. AND, of course, because of Dot Day! If you are in need of some Dot Day activities, you can search my blog or stay tuned. I'll be posting all of my faves right here tomorrow!
This week, all of my students in first through fourth grade started painting. It was their third day of art (you can see how we spent our first two days of art here and here). Keep in mind, with 30 minute art classes, cramming is as much as I like is tough. Our focus on this first day was to learn my painting procedures...all while making beautiful art. I won't go too much into it here as I have a big ole podcast episode all about it. Take a listen:
If you are like me, you wanna see how the lesson is taught. So I recorded myself and I thought I'd share with you. What I always learn when watching myself teach is that I TALK TOO MUCH...but on that first day of teaching painting, there is so much to learn! So here you go:
On my Instagram this week, I've been sharing a lot of my painting set up and supplies. Because I got a lot of feedback about those shares, I thought I'd create a little Art Teacherin' 101 video all about my favorite supplies for painting:
From here, my students will spend their second painting day doing a lot more painting and with a lot less talking from me. On the second day, I just do a reminder of our procedures and what it is we are working on. By the way, we are painting those shapes you saw in the first image. I bought those packets of precut shapes at IKEA. I initially thought they were just $1.50 a pack but they are actually $7 a pack with about 80 precut papers inside. Not the bargain I had thought it was.
We will be using those precut painted papers for a collaborative piece that I hope to share with you soon. If you watch the videos, you'll find out all the details on these LIDDED ice cube trays (where have you BEEN all my LIFE, trays?!).
All the heart eyes, people. All of 'em.
And my second favorite art supply for painting with children, these doggie dishes! Like I said, many more details on my painting set up and supplies in both the podcast and the video...so in an effort of not repeating myself, I'll stop yammering and let you take a listen and a looksee. Thanks, y'all!
Hey, sweet friends! I hope your week was a wonderful one...mine started out so super amazing as I had a visitor all the way from Australia! Thank you so much, Belinda for hanging out with me and my students. They LOVED having you as much as I did! Nearly all of my students were painting this week, from kindergarten through third grade. This was great because it meant low prep for me (aside from the initial painting prep which, as you know, is time consuming!). I love painting and I love teaching painting with my students. In fact, you can find out all about our supplies, set up and routines here! And, in case you are wondering, yes, my kids did draw all over this dress! Actually, they drew self portraits in the frames that was printed on this fabric and then I stitched it into a dress. You can find out more here.
My third graders spent two art classes painting these large Chinet plates for their circle loom weaving project. On the first day, we reviewed painting routines and created concentric circles. On the second day, we painted patterns on our plates. These make me so stinkin' happy! I cannot wait to weave with these guys tomorrow!
My latest new favorite thing: lidded ice cube trays. I found mine on the Walmart website but they are available in lots of places. The reason I love them: they gonna keep my paints from drying out. I've tried egg cartons and regular ice cube trays...but the paint always dries. Hoping these prove to be the solution.
Since we are all painting, I thought wearing this dress would be the safest bet! Loved chatting with the kids about how I created it. Details here.
My third graders are killlin' it with these plates and I'm so excited! I talk a lot about craftmanship in my art room...and you can read about that here.
Kindergarten hopping on the Kandinsky train with these smaller cardboard circles they are painting for Dot Day. We totally didn't make the Dot Day deadline...and that's okay with me. These are so sweet!
So I'm doing something crazy: I'm doing two different weaving lessons with my third graders! While one group is circle loom weaving, another is tree weaving. Before we could paint a landscape on our plates, we had to create two landscape painting sketches. These turned out so stinkin' pretty! Proper blog post on these to come...they will def be framed and featured in the halls soon!
My first graders completed their HUGE 14" dots this week! I adapted a lesson that I shared here. On the reverse, we'll be doing something different than the blog post...I'll keep you posted. We will be hanging these like mobiles and I'm so stoked to see them up!
After creating their two small painting sketches, my third graders had to pick their favorite to paint on their plate. I'll keep you posted on how their tree weaving goes!
Did y'all celebrate Dot Day? We did...we just didn't get everything up in time. Or AT ALL...and that's okay. I'm excited to see everything complete and on display.
I cannot wait to share with you my sweet second grader's embroidery lesson. Stay tuned!


.jpg)