Here we go, trying sketchbooks once again in the art room! This time around, I'm calling it Sketchbook Town. If you'd like a tour, then here you go:
My face says it all, don't you think?!
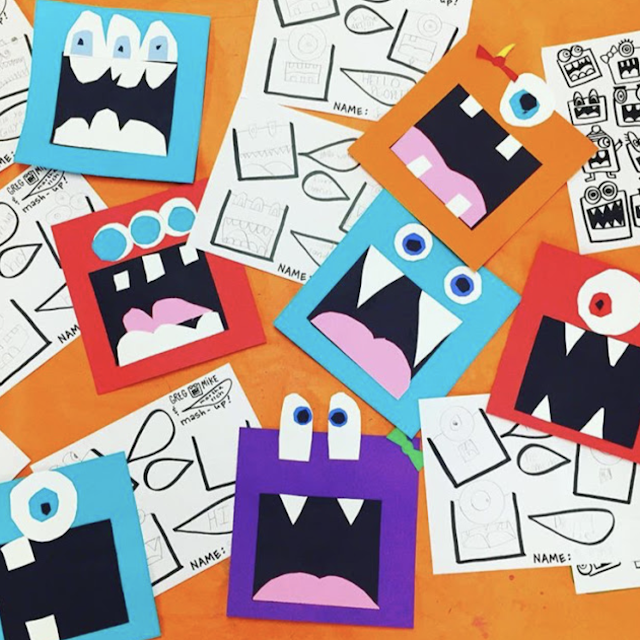
To kick off sketchbooks, we created our covers! We used 18" X 6" pieces of drawing paper, paint sticks and these decoder sheets. More information (and a download of those sheets!) can be found here.
Inside each sketchbook are six handouts that I created for my students. I'll be sharing these soon. My students are loving them! Also included are 10 sheets of 6" X 9" pieces of drawing paper.
In the past, the problem with sketchbooks was storage and accessibility. Where would I store them? How would I make them easy to access? How will the kids know when they can sketch? AND what will they do in their sketchbooks.
SO MANY QUESTIONS! Let's start with storage. I began by painting this abandoned cabinet I found in an unused classroom. More on how I painted that right here.
The cabinet only came with four shelves but I'm thinking of having more made as this seems like a whole lot of wasted space. But, for the time being, each shelf holds a different grade level. Now, I do work in a small school with just 4 classes of each grade (with only 3 of fourth grade!). That means sketchbooks for me are a little more doable. However, the whole 30 minute art class does make it kind of tricky. All that to say, we all got our struggles, right? Here's my solution to one of em: storage.
Fun fact: if I find a blank surface, I'll paint on it. Usually after a long day at school. While Netflixing. Back to Sketchbook Town!
I decided to place the cabinet in a rather strange place: right next to the door that leads outside. It works here because it is close to all of our sketching supplies (which I'll get to in a minute). Here you can see the set up.
This week, I came up with three rules for sketchbook down. We've had a bit of a "soft opening" over the last month. This has helped me see what issues we'll have in Sketchbook Town...and these were some of them. Finishing too quickly and leaving my S.T. a bit of a mess. NO MORE, artists. No.More.
To insure that my artists are ready for S.T., they gotta follow those steps: finish their work, clean their area and write an exit slip (more about that in my video). Then they are free to draw from observation, instruction or imagination!
I'm hoping to expand this area of options but for now, I'm happy with it. If you'd like to see more, be sure and check out the video.
Welcome to Sketchbook Town!


