Showing posts with label art class. Show all posts

Sunday, January 8, 2023

Favorite Lessons for Valentines Day and Celebrating LOVE!

Let's talk all things Valentine's and celebrating LOVE, shall we? I'm putting together A TON of lessons in this post from weaving to painting, sculpture to clay all for your heart-themed pleasure. So, let's get started!

This Jen Stark lesson was one my students really enjoyed last year. You can find all the details, including a video, right here
I did this lesson with my kindergarten and third graders last year and both LOVED it. It's so open ended and allows for big messes and exploration. Try doing this on large paper for big, colorful results. I just happened to have a ton of this large yellow construction paper so that's what we used! 
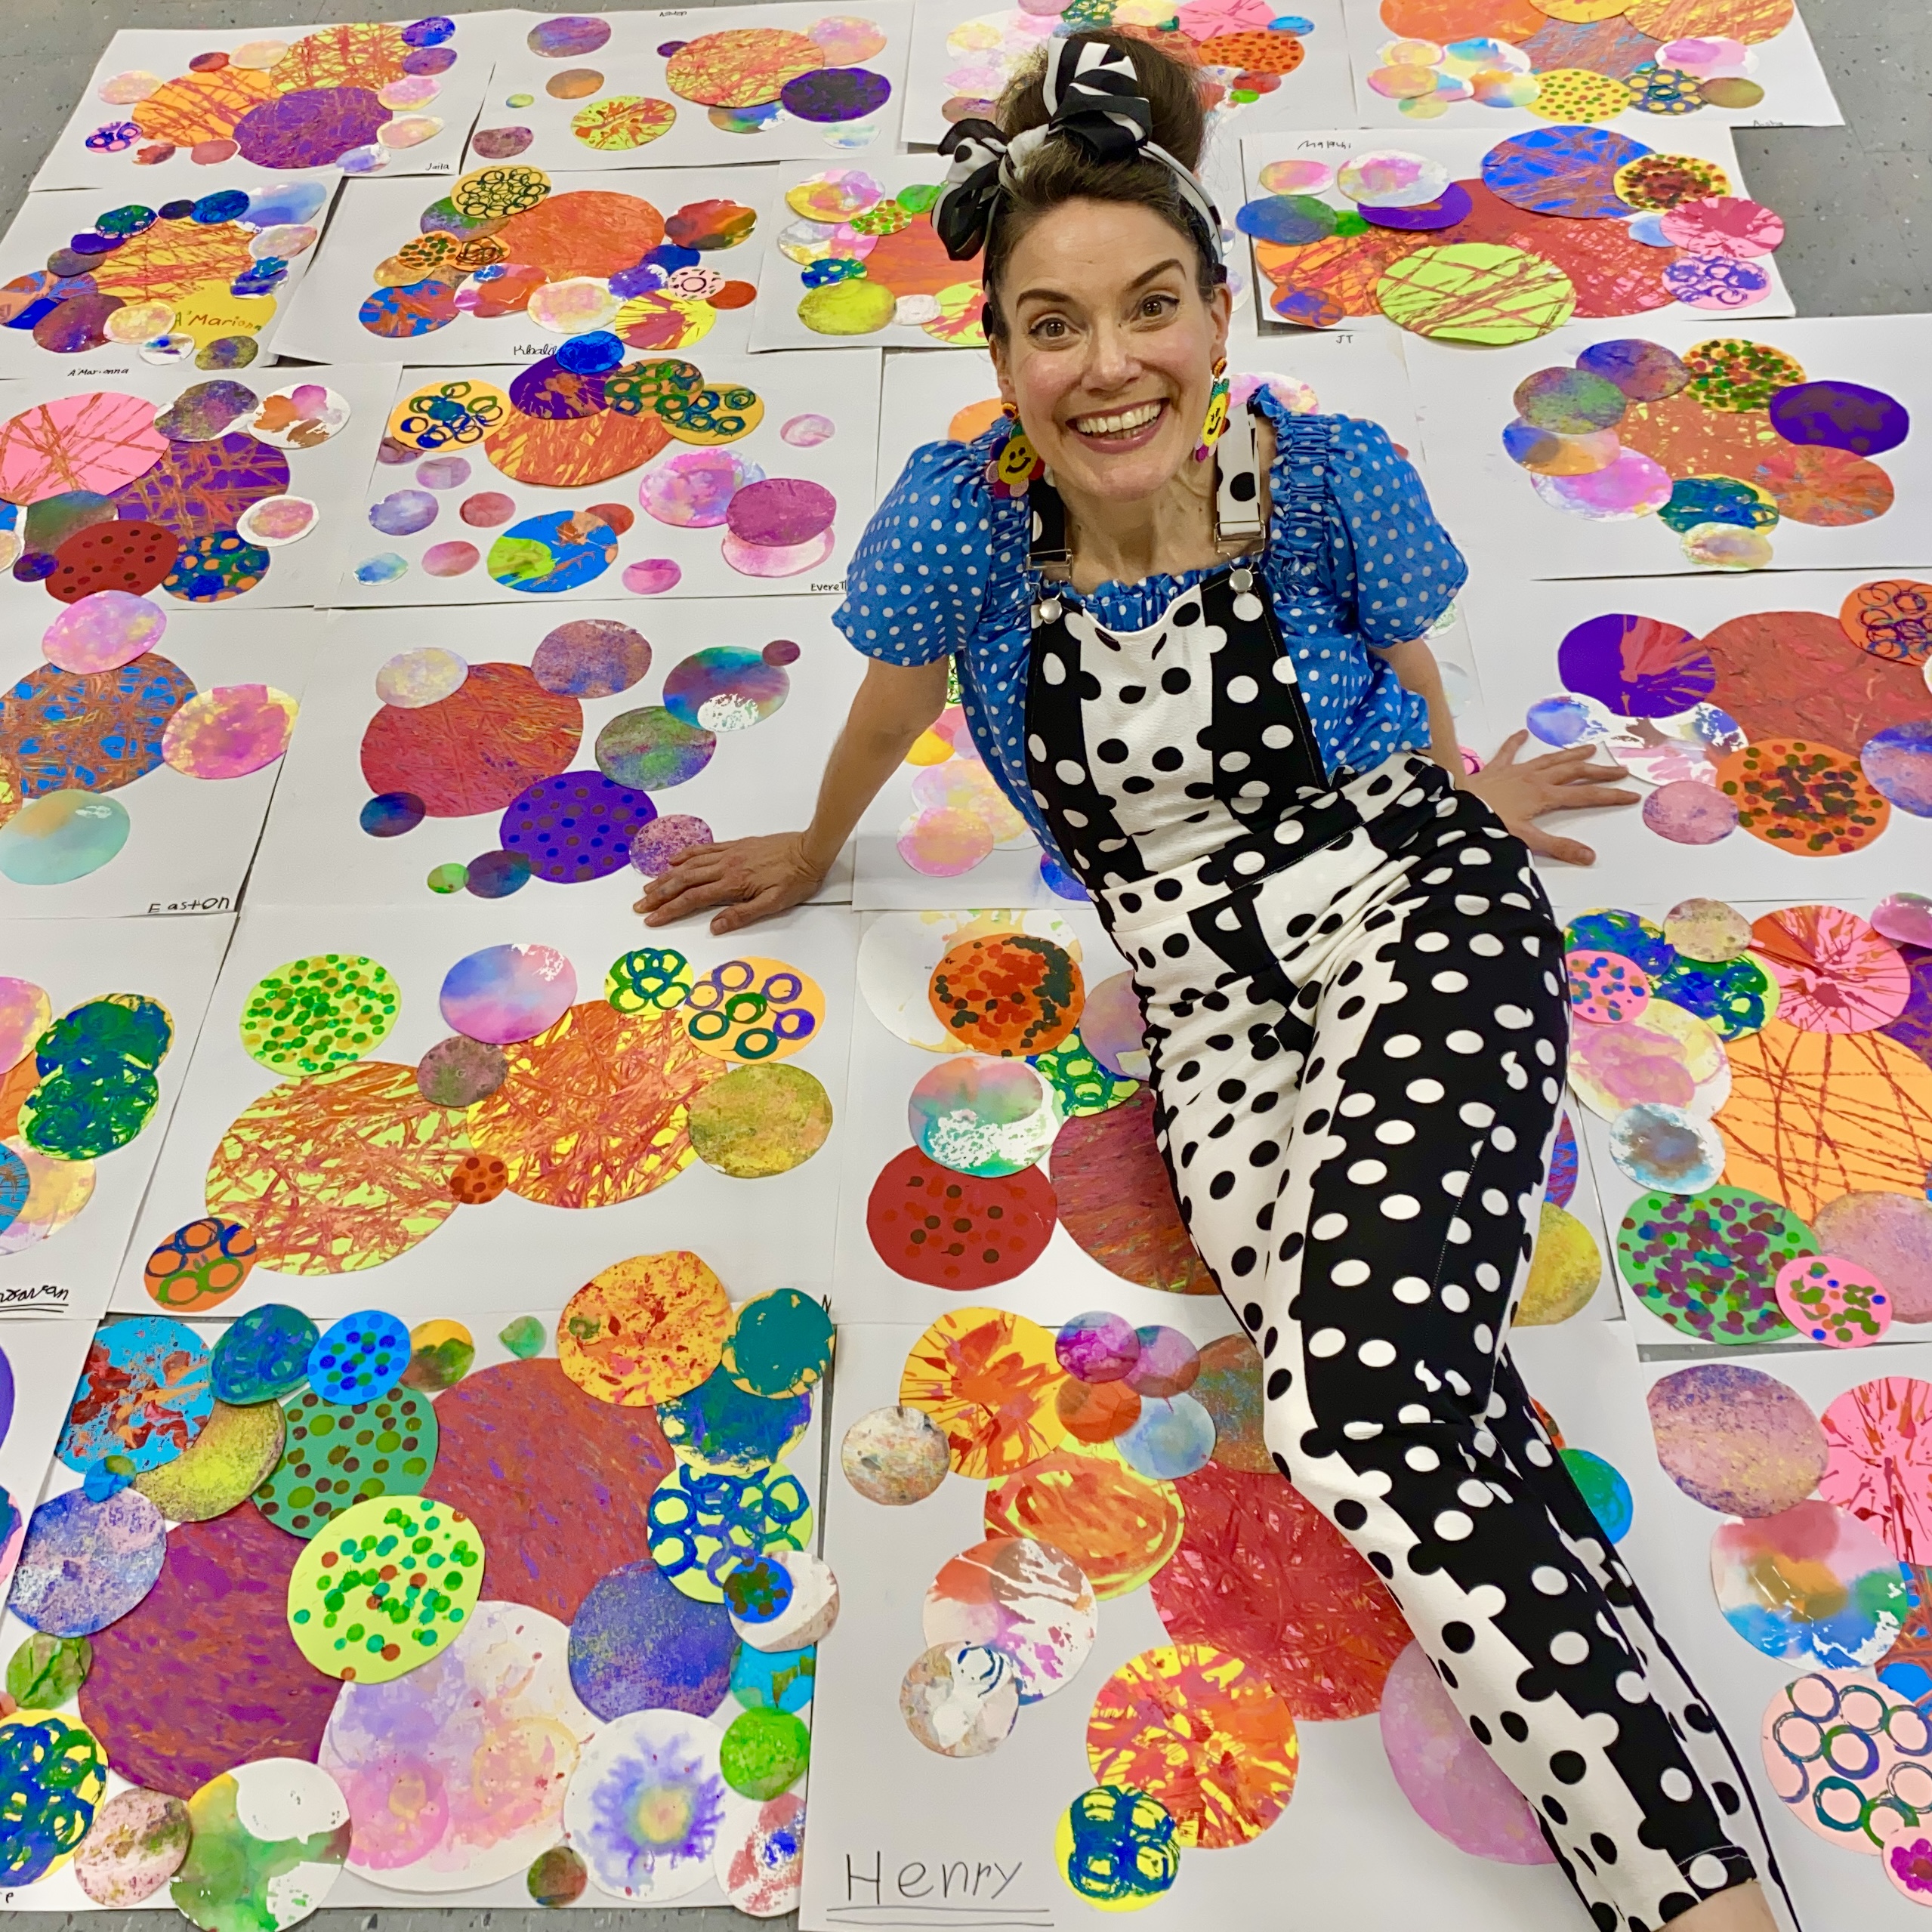
Full lesson with video right here. 
Wanna do some printmaking? I've done this lesson with first and second grade in the past. Each one is so sweet and allows students to really spend a lot of time exploring printmaking. A hit, I promise! Lesson right here. 
This lesson is one that everyone seems to love! AND each one of these adorable critters comes complete with a how-to-draw video. SO, all ya gotta do is hit play and walk away! Here's the video right here for all animals!
Of course, it's the Year of the Rabbit! So you could use that rabbit drawing to celebrate. 
If you are looking for a weaving project, here's one that my first graders have done nearly every year. It's a great way to introduce weaving and a little sewing too! All the details with plenty of paper weaving videos here. 
My fourth graders LOVED making these! These giant candy hearts were so fun and made quite the impact when we displayed them with a huge candy heart box. Lesson with video here. 
Follow-up blog post can be found here. 
If you want to go a little smaller in scale, you could try this candy heart drawing on for size! Info with video here. 
Many artists have been inspired by the shape of hearts to create their art. In this lesson, students explored four different artists and a variety of media. It's a fun one and we did it in one art class! 
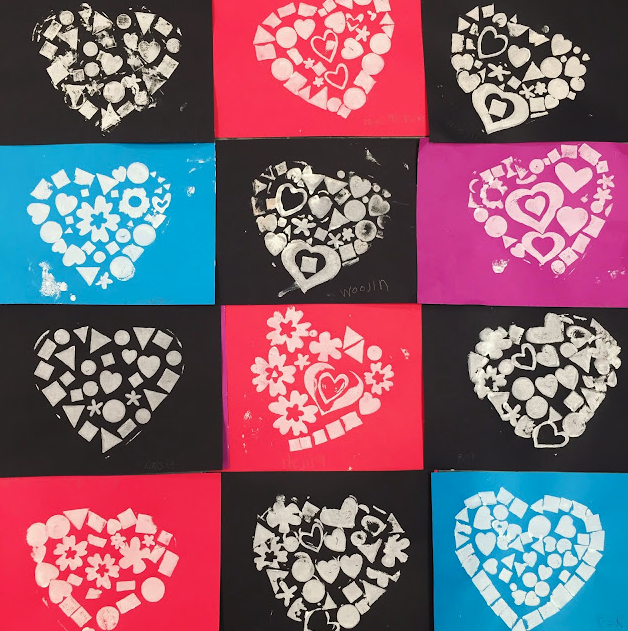
Lesson with video here. 
Kindergarten had so much fun exploring printmaking with these hearts. We used a book as our inspiration. 
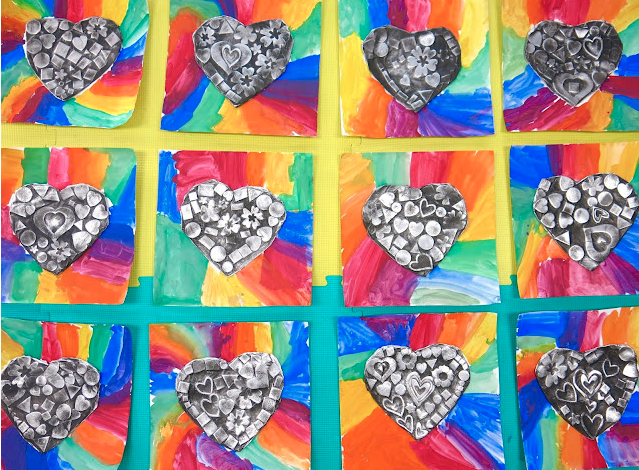
Lesson here...and check out the lesson below for the follow up project we did!
Aren't they gorgeous?! AND kindergarten made them, y'all! 
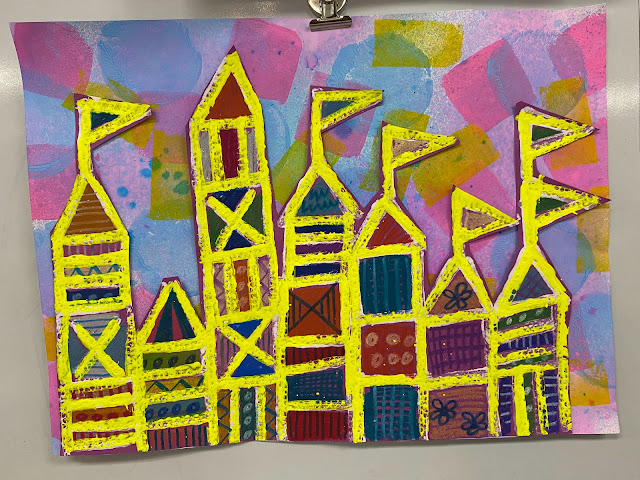
All the details here. 
Can you really celebrate Valentine's Day without celebrating the work of Britto? My first graders reviewed pattern and line with this lesson. We also used bleeding tissue paper and paint sticks for this. So, lots of mixed media! All the details can be found here. 
What's Valentine's Day without a box of chocolates? We learned about the artist Peter Anton and created plaster chocolates and a papier mache box in this lesson. Video right here!
Looking for simple and FUN? Try this Chris Uphues-inspired lesson. This post has a video and a free handout! You can thank me later. The kids LOVE this one!
Feeling ambitious? Try on a school-wide collaborative! In this, my students, kindergarten through fourth grade, each created a heart using a different medium. You can find out who made what and how it call came together, here. 
Several years ago, I had to do jury duty so I created this lesson for my students to do with my sub. That's right, this here is a SUB PLAN. And she rocked it! And so did the kids, of course. Video lesson here. 
This heart-themed clay project is one that I lead the faculty and staff at my school to create. It was an Our Heart Gives Them Wings project and it was so fun to come together as a staff and create. Here's the video I made for the staff to view. 
My second graders used foil and celluclay to create these hearts! I love them, they look so very Jim Dine-y, don't you think? 
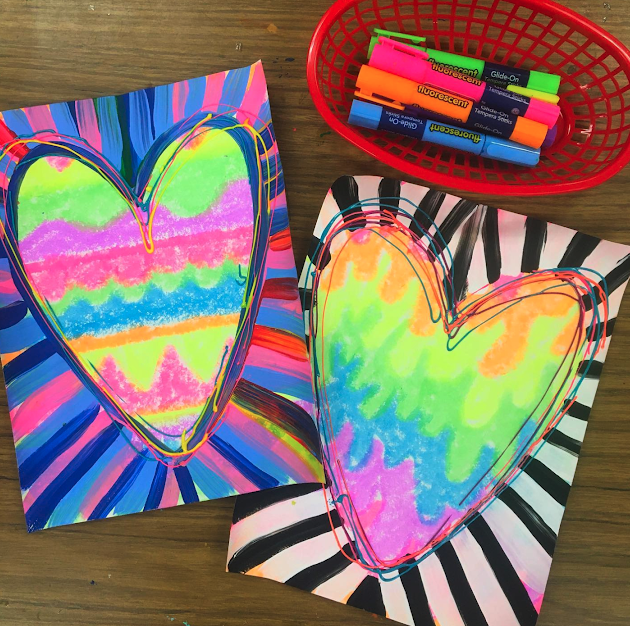
Video lesson and more details right here.
Need a fast and furious, one day art lesson inspired by an artist? This one IS THE BEST! The kids get messy, explore chalk, learn about J Goldcrown...what more could you ask for? Video and more here!
My first graders used up scraps to create the hearts you see above and below. We also learned about positive and negative space. This was a fun one and the results were so stinkin' pretty! Lesson here. 

AND more Chris Uphues love for y'all. These were collage hearts created by second graders and they were just the cutest thing! We added them to our heart printed background, seen below. Lesson here. 
Whew! AND there you have it! I hope you find something here to get you to Valentine's Day! BUT I really believe we can celebrate love all year 'round, don't you? Enjoy!


photo signature_zpsd10b3273.png
Read more »

Monday, November 21, 2022

Shape Castles in Paint, Chalk and Oil Pastel Inspired by Paul Klee and Mary Blair


Recently I shared that my students were doing Shape Stations (or centers) in the art room. I did this after the success of both our Dot Day and Line Study stations. I'm loving the exploration the kids are able to do and the kids are loving it...for the same reasons. Not to mention, it's just FUN to try a whole bunch of new ways to create in just a few art classes. Here's a look at our Shape Stations:

And what we did during our Line Study:

And some behind-the-scenes tips on these stations:

Here is a look at the Dot Day stations that started it all:

And since we did two days worth of fun:

Once we finished creating artwork from our line study (lessons which I've yet to share here!), I ventured into shape. Currently, I'm doing shape stations with 2-4th only as kindergarten and first are in the middle of other projects. I do think that these shape stations would work for k-1st except maybe the radial symmetry design. But it's always worth throwing the idea out there to see what the kids come up with, right?

Here's a little look at what the back table in my art room looked like after I began prepping for our shape study. Initially we were going to do some shape stamps (seen in the upper left hand corner) but after giving that a run through with one class, I decided it was too similar to the sponge stamping. We switched to the bleeding tissue paper shapes in the end. 
Now when I'm working through these station ideas, I also gotta start thinking: what are we gonna do with all of these papers and things we create? Here's a little look at what I've come up with...
First grade is currently working on the self portrait in the upper left hand corner. This is a lesson I've done many times, you can check out the lesson here. As for 2-4th, well...I am currently having them all work on those castles! We will all do printing with our stars...and do some embossing too...but as of right now, we are all learning about Mary Blair. Here's the video I created. 

The kids are enjoying working with chalk and oil pastel. I'm excited to give them another opportunity to really explore a variety of supplies. 

Above is my example and below is a class of I think thrid graders examples. I will say this...stations means the kids will often work quickly and not always at a slow and 'careful' pace. I'm fine with that. However, I did have a small handful of students later decide the wanted to redo theirs, knowing it was not their best work. I allowed that too. 

So far, we've gotten the castles chalked in and now we are ready for the oil pastel. 

Our backgrounds will be our bleeding tissue paper. Since winter is coming, we are turning it into a winter wonderland with snow...and a little bit of sparkle on the frame. Oh...and PUFFY PAINT. Everyone's favorite!
photo signature_zpsd10b3273.png

Read more »

Wednesday, September 14, 2022

Assembling our Dots from our Dot Day Activities

In my last blog post, I shared that my students were spending a couple of days rotating between four different art makin' stations. We spent two days doing that and ended up with a TON of dots! We are now assembling our dots in a large collage on 18"X24" inch paper. Here is the video I created to walk them through assembling their work:

I love how they all turned out and the kids loved all the different stations they rotated to. You can check out the three videos I made of art makin' centers right here
Of course we had to take Vashti's advice and 'sign it' before calling it complete. I love how each one is so unique and amazing, just like the artists who created them.

When I asked the kids which dot-makin' center they liked the best, they couldn't decide, they really enjoyed them all. I plan to do rotations of art makin' like this in the future, it's so much fun!


photo signature_zpsd10b3273.png
Read more »

Friday, September 9, 2022

Dot Day Celebration!

Every year, Dot Day creeps up on me and I find myself scrambling for ideas. This year, I decided to create Dot Day Stations for my students to travel to in my 30 minute art class. I had four tables set up with four different activities of dot makin' mayhem and the kids LOVED IT! So much so that I decided to extend the activities to next week! We'll use our dots to create a collage (like what's seen in the image above). Added bonus: the kids are exploring 12 different art making techniques! Here is what we did on the first day:

The following day, students rotated between these stations:

And my older students did these activities:
I did this with my first through fourth grade students and, seriously, they had the best time. Here's a little short of us in action:

If you need more Dot Day ideas, I have plenty of blog posts! You can check them out here...this one has a free downloadable activity sheet! This one has a lot of ideas for kindergarten through fourth! And this one was a HUGE hit last year and could also be done in one day! Okay...seriously...if you google "Cassie Stephens Dot Day" and hit that image search button...you'll have a ton of ideas and videos. Have so much fun!


photo signature_zpsd10b3273.png
Read more »

Thursday, November 11, 2021

Sewing Basics!

My fourth graders are getting ready for a new sewing adventure! Last year, they stitched these pizza pillows. Next up, we are dying our own fabric and creating a kind of faux-Shibori dyed pillow (see below). 
I love teaching sewing (and all things fibers) to my students. If you are interested but don't know where to start, I share all of my tips and tricks in my book Stitch and String Lab for Kids

I'll be sharing my favorite fibers projects in an upcoming post but if you just can't wait, you can hop over to my YouTube channel and visit my "Fibers" playlist! Be sure and subscribe, I'm currently adding a lot of video content!

I decided to create a video to walk my students through sewing basics. I played it today on our first day of stitching and it was a hit! I didn't have to thread a single needle and only tied one knot. If you'd like to view it, here you go:

Feel free to use it in your art teacherin' world!
There are a lot of things I've learned about teaching children to stitch over the years. Many of my tips you'll see in the video. However, I plan to share much more in upcoming Art Teacherin' 101 videos. 

Just a preview: fourth graders opened their dyed fabric, pinned it and began stitching in 30 minutes! When they are interested, it's amazing how fast they can work. 
Here's where we're heading. Again, this is a project from my book and always a hit. Happy stitching!

photo signature_zpsd10b3273.png
Read more »

Sunday, October 17, 2021

How to Create a Paint-by-Number of Your School, an Update!

Hi, my name is Cassie Stephens and I like to start projects and then wait months, sometimes even years, before I finish them. 

Please tell me I'm not alone. 

Case in point: this project that my students began on field day last spring. You can read all about it here. You can also check out this video unless you are reading my blog from your phone...in which case you'll need to view this post from your laptop in order to check out the vid. Technology is super cool. 

We go all out on field day with collaborative projects. ANYTHING to keep me from sitting outside all day and doing sidewalk chalk or melty face painting. You can see our field day set up for the art room here. 
After the kids painted it in the spring, it looked a little rough (sorry, I don't have any photos). I was a little disappointed by the look of it until I realized that all it needed was to be outlined again. That REALLY made the colors pop and cleaned it up nicely. 

I went in over my fall break and really enjoyed listening to a podcast and outlining this beast. It took no time at all. And I used my fave new hack of drawing with a Q-tip dipped in ink. It works so well, provides a consistent line and holds quite a bit of ink! 
I did use a Sharpie to write the name of our school. I also would STRONGLY recommend using bottles of craft store acrylic for this painting. We initially painted it with tempra and it looked so faded, translucent and chalky. 
Like many schools, the front of ours is a little boring in that it has a huge parking lot out front. So I took some liberties by adding our country and state flag, our state flower and a banner with our school district logo.
And now I'm totally hooked on the idea of creating more paint by numbers with the kids for our school!
It was really easy by just snapping a photo of the school and tracing in Procreate. I am thinking that we need a giant canvas of our school mascot next!
Pretty sure this beauty will end up in the front lobby of our school. I cannot wait to see it up! Here's what it looked like the day we started painting it. I'll keep you posted on how it looks once up!


photo signature_zpsd10b3273.png
Read more »