Showing posts with label landscape lesson. Show all posts

Friday, September 22, 2017

In the Art Room: First Grade Landscapes

 My first grade artists finished off these fall landscape collages inspired by the artist Eloise Renouf...and the artists (along with this art teacher) couldn't be more proud. In this lesson, we learned how to mix a tint of blue, create textures in wet paint, print with a variety of tools, learn the parts of a landscape, use proper scissor use, collage and more! The kiddos were sad to place these on the drying racks as they were so excited to take them home. Not until a display in the halls for all to see, says me!
These pieces were created on 12" X 18" pieces of paper. My students spent the first couple days of art class this year creating a variety of painted and textured papers. I do this in a similar manner as my friend Laura at Painted Paper Art. In case you are curious how I go about doing it, as I don't cover that in the video, I thought I'd share:

1. I start with giving one grade level (I see two first grade classes back to back in 30 minutes, no break between) one color and white. I focus on the words TEXTURE and TINT. I tell the kiddos that they are to apply the color to their paper in large plops. Then they clean their brush on their messy mat by sweeping it back and fourth. 
2. White plops are then added and mixed with the color. Viola! Now you have a tint! Let's create a texture.
3. Using a variety of scrub brushes, dusters, paint scrapers and more (most found at the Dollar Tree), the kids then add texture to their tinted papers. Once finished, they place it on the drying rack and grab another sheet to more more papers. No names need to be written on the papers as they are going in a communal stack to be used later.
4. The following glasses are given a different color and white...this makes it so we end up with a rainbow of papers!
Hopefully that makes sense and helps clarify the painted and texture paper making mayhem. The kids LOVE making the papers and creating with the results. Here's the instructional video I created to share with my students:
Week One: Like I said, I have 30 minute art classes, twice a week...and those minutes go by in a blink. So, on our first two days together, we spent one day cutting ovals and talking scissor safety. It seems silly...but it was necessary. Ovals cut were placed in a community stack for the following day's printing activity. Here's a video of me teaching the first day portion:
From there, we printed! One day we printed with white paint and the next, black paint. 

Week Two: After another day of printing, we had a nice stack of painted trees. Those we kept for our own, we did not share. We learned all about landscapes, horizon likes and collage the following day. We then cut a piece of land and added it to our chosen sky background.
Week Three: We talked a lot about overlapping, variety and composition the final day before we glued our trees down. I did alter the lesson in that, after the kids glued the trees down, I had them use black and white oil pastels to add the trunks, not paint. Less mess on our last day. 
 I've not matted and framed them for the halls yet, hence the curled edges. I'm looking forward to popping all of our landscape projects up in the halls very soon. Now that these guys are finished, we can move on to our next big undertaking. Just don't ask me what that is yet!
I'm just gonna sit back and admire the view. 
 I was so excited with how these turned out (and now excited the kids were) that I immediately popped them up onto my IG page
Imagine how excited I was when our artist inspiration, Eloise Renouf, posted below...it seriously made my day! I cannot wait to share her message with the kiddos!
I love how social media makes our world just a little bit smaller...
And more colorful! 
 photo signature_zpsd10b3273.png
Read more »

Sunday, September 10, 2017

In the Art Room: Collaged and Printed Landscapes

I'm launching a ton of landscape projects with my students this fall. I shared the Claire West inspired landscape project my fourth grade is working on here. This week, I'll be rolling out my third graders' landscape lesson. Today I thought I'd share with y'all the Elouise Renouf-inspired landscape collage that my first graders will be doing! Here's the video'ed lesson that you are more than welcome to use in your art teacherin' world:
I was recently asked how I share these videos with my students: do I show the video in it's entirety or just in bite sized bits. Definitely the latter: I share what we will be working on that day. I share the opening, of course, as an intro to the artist...and we dig deeper into the work of the artist in LIVE format (meaning sans vid). The first day I taught this lesson, I didn't have my video ready for one class so I did it LIVE. I managed to get some footage of me teaching and thought I'd share:
Once again, what's my take-away? I TALK TOO MUCH! Seriously, filming myself teaching has really helped me grow as a teacher. I know what it is I'm doing wrong (so many things!) and what I need to improve upon. I also see what I am doing right and what the kids are responding too. It's painful to watch but super enlightening.
If you've not explored the work of Elouise Renouf, you really should. I love everything she creates and found so much inspiration. 
I will definitely share the progress my first graders make on this landscape adventure. Until then, have a great week, y'all!
 photo signature_zpsd10b3273.png
Read more »

Wednesday, September 6, 2017

In the Art Room: Claire West-Inspired Landscape Lesson

Now that my fourth graders have made their contribution to our school-wide collaborative (details to come, stay tuned! I'm STILL trying to figure out my life, y'all) and completed their sketchbooks and their first couple of sketching tasks, it's now time for them to move on to the art makin'! I have decided to kick off the school year with landscape for all of my students. I also decided that I wanted my kiddos to learn about contemporary artists (and it so happens, all female artists!). It's with that in mind that I introduce you to the lesson I'll be sharing with my fourth grade artists: Chalk Landscapes inspired by the artist Claire West!
These drawings are my teacher examples...I had so much fun creating them, I couldn't stop! You can see the process in this video I created to be shared with my students:
Now let's take a closer look at some of Claire's work...
 Isn't her work beautiful? I love the colors! They are so rich and stunning. I knew chalk would be a good way for my students to capture that incredibly rich hue. 
I also love how her work really shows depth. What a great way for my students to learn about the horizon line, back-, middle- and foreground.
 Here are the supplies we will be using for this lesson:

* Chalk I really like Faber-Castell's chalk. It's vibrant and rich with no fillers or junk. They are my fave!

* Liquid Starch! The magical ingredient behind this amazing process.

* 11" X 17" Paper I went ahead and cut an inch off the normal 12" X 18" paper so that matting and framing will be easier in the future.

* Paint! This will come later...but we'll use a variety of colors of tempera paint. 
 This project will probably take us some time. A couple of classes for the chalk and starch...and maybe one class for painting. I'll keep you posted on our progress.
Why I am so smitten with the starch trick: no messy chalk pastel dust! No need to spray with hairspray or a fixative! No smearing! I'm so in love. Big shout out to my good friend Jennifer Avarado for sharing this trick with me.
 More landscape lessons for my other grade levels are in the works so stay tuned. I'll keep you posted here and on my YouTube channel
 Until then, happy landscaping!
 photo signature_zpsd10b3273.png
Read more »

Tuesday, April 21, 2015

In the Art Room: Fourth Grade Color-Mixing Landscapes

Hey, y'all! If you follow me on the Instagrams, then you've seen my oversharin' ways of this here fourth grade color-mixing, landscape-paintin' project. It's proven to be a super fun lesson that my students have really enjoyed (and learned a thangie or two which you just can't beat). But before I dive into the how's, why's and whutz-its of this here project, I'd like to share some exciting news with y'all...
The lovely Heidi Easley of theaccidentalartistonline.com recently interviewed me as apart of a free online summit. She's interviewed over twenty artist from all over the world to share their story of makerin' and their journey of creativitiness. I had so much fun chatting with Heidi and my lil chat will go live this Wednesday, April 22nd. So! Get yourself all signed up and I'll see you on Wednesday!

And now, back to our regularly scheduled post...
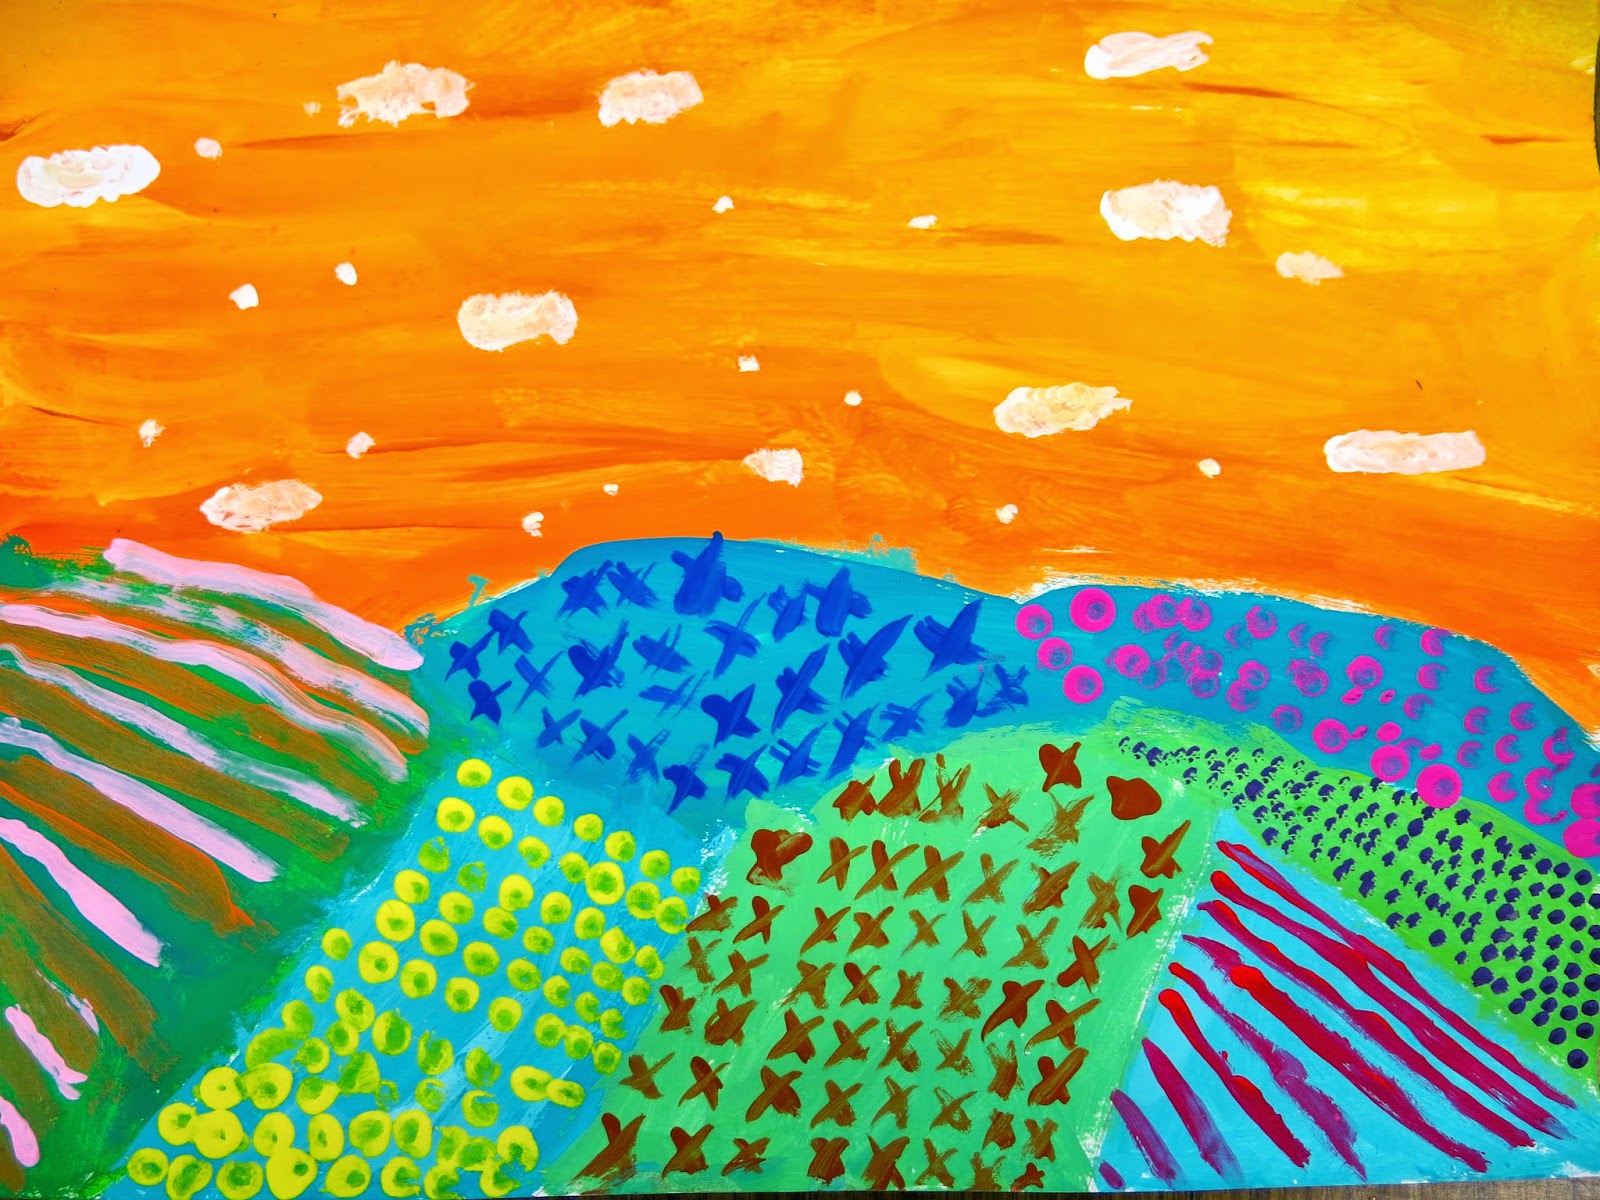
This lesson started with an intro to the Swiss-born, Mexican-raised artist Xavier Castellanos. You can check out the prezi I created and shared with my students here
After our chat, I told the kids they'd be using the following:

* 9" X 12" paper. This is small for us. But I wanted the kids to be able to really get into the details and not be overwhelmed by a massive piece of paper.
* Recycled styrofoam plates. These worked great for color mixing and could be rinsed off and reused the next day.
* Sax Versa Temp Paints. The kids were given the following: red, magenta, yellow, turquoise, blue and white. After a coupla days, they got some brown for trees. I know they coulda made it but they were longing for a rich brown. AND they totally spotted it on my paint shelf. Busted. 
* Royal Langnickel brushes in a variety of sizes. 
After our lil chat about Xavier, I covered what you see here in this clip. I really emphasized the color wheel and how to read it. They became pros at looking at my simple color wheel and mixing up their desired color. Sticking with my rule of only mixing two colors together (not including white) prevented the kids from entering Muddy Town. 
 By the end of the first day, we were about here. 
And, because I'm a talker, the end of the second day looked a lil like this. I did blow their minds a bit on the second day by telling them that you could in fact mix more than two colors together if, and only if, they were analogous. This opened a whole new realms of possibilities and kept 'em on the color-mixing toes. We did chat about creating patterns for fields as well. Here's another vid clip to give you an idea.
I do hope that makes a lic o' sense. If not, imagine how my poor students feel!
What I think the kids really enjoyed about this project was color mixing. It always seems magical when you create a color that is beautiful. The kids were convinced we should frame their palettes alongside their paintings which I kinda think woulda been a swell idea had I not needed them for my four fourth grade classes.
Once complete, some kids opted to add clouds to their skies, different patterns to their land. Some added trees and buildings while others did not. 
And others went the more evening-time, comet-zipping-through-the-sky-route. An artist after my own heart: in elementary school, I was obsessed with Haley's Comet (1985 was the year it was zipping my way and I still have all of the souvenirs, newspaper clippings and drawings to prove it). I love this painting so.
I love how each of the kid's personality's shined through these colorful and happy pieces.
The final optional stage was to outline each piece of land with a bold color. Many kids decided not to and I think their work looks lovely. 
But I do love how bold the outlined landscapes look as well. 
I must admit: usually when I teach landscape, it's in the form of a collage. That way the kids can literally see the difference between back, middle and foreground. Now, with this project, I'm a total convert. Especially with the heavy color-mixing element. 
 I love how each child's personality really shined through every piece. Doesn't this one have a Grandma Moses feel to you? Check out this detail...
That's a wee artist on the left working on a landscape painting at her easel. Swoon. 

I do hope you enjoy these lil video clips I've been posting lately. If so, I'll keep 'em coming. I'd love to hear from y'all!
 photo signature_zpsd10b3273.png
Read more »

Wednesday, January 9, 2013

In the Art Room: Wait, Where Were We Again?

We were collage landscaping: My fantastic fourth grade students completed these landscapes just before winter break which was a kind of miracle. Thus far, this project involved painting the sky, oil pastel texturing paper for land and collaging. But the real excitement of constructing toilet paper tube castles began this week. I can honestly say I've never seen kids have more fun with ole tp tubes. You can see our inspiration here.
 Have you ever had one of those deep sleeps that when you wake up, you've no idea who/what/when/where you are? Kinda like that time during spring break when you took that trip down to that place and drank too much of that one stuff and you hung out with someone whose name you can't remember and you might have done somethings that probably aren't legal in most states...or maybe that's just me.

 Regardless, that's how going back to school this past week has been. No matter how organized I left my classroom (granted, my idea of organization being that stuff is stuffed into random cabinets and...shooooved...clooooosed...there! Whew!) I still come back in a fog. Thankfully, I snapped these photos right before we left so I'd remember what we'd been up to. And so I could share them with you. See how nice I am? 

If you are a teacher, I hope your return trip back this week has been a good one. If you aren't a teacher, say a little prayer for the rest of us, would you? Particularly that the kiddos don't open any of my cabinets and become buried underneath all of my "hey! I've been looking for that!"
We were surprising our art teacher: With their awesomeness. Seriously. I am so impressed by my students. I love their landscapes and cannot wait to see the end result. I'll be certain to share it with you.
We were cardboard printing: Ack! Would some responsible art teacher get this second grade kid an apron!? These prints were made with gold paint (sadly the metallic doesn't photograph well) and will be used as the background for our cuckoo clocks. You might have heard me mention those here and here.
We were printing patterns: You might notice that I tri-folded the construction paper. As they were printing, the kids were instructed to create one pattern in a column and then repeat that in the other two columns. Then, boom, you got a pattern. These folded lines really helped them keep their patterns in place and not just stamp randomly all over the paper. Although there was some of that.
We were cuckoo clocking: So the printed background will be the wall for us to hang our cuckoo clocks on. This project has been so much fun since we've learned how to write in Roman numeral and create a clock. Do you see the brown paper underneath? That is our wooden clock crafted from textured brown paper that we cut and wove. 
We were munching: We might have had some quasi German treats as our intro to all things Deutscheland-ish. The kids were required to say, "Brezel und gummibarchen, bitte. Danke!" Don't worry, I had some gluten free pretzels and the like for my friends with allergies. I'd hate to see them miss out. 
We were collaging: The first grade has been creating the Black Forest as a home for their gnome. We just started crafting our gnomes this week and they couldn't be more excited. In fact, I wore my gnome dress today because it was requested by one of my classes. So cute!
And some of us were seriously collaging trees: I mean, wow. First grade? Dude. Luckily she finished the other two off this week.
We were (and still are) asking about Jes: Silly guy is lost in the mail. He'll make it to his next destination. In the meantime, a concerned second grader created this Lost Jes poster with a pretty handsome reward.
 I'll share with you the complete lessons and the end result when(ever!) we get 'em done.

Chat soon!


Read more »