Showing posts sorted by date for query leaves. Sort by relevance Show all posts

Monday, December 9, 2024

Marker Print Wreath with Pop-Up Bow!

A couple of days ago, I shared a wreath drawing/marker painting lesson here. As I continued tinkering with this lesson idea, I thought it would be fun to try marker prints on a pizza pan. If that sentence leaves ya scratching your head, here's my video here:
For this, you'll need:

* A pizza pan, a sheet of foil or any non-porous surface for printing

* Crayons
 
* Water-based markers (not permanent)

* Spray bottle of water

* Mixed media paper (paper thicker than copy paper works great...but you could totally use copy paper in a pinch)


To add a little dimension to the wreath, I thought I'd add a little pop-up bow demo. I hope you have fun! 

Tuesday, September 12, 2023

14 of My Favorite Fall Art Lessons

It's officially my favorite time of the year: FALL! I love it mostly because I'm super into Halloween and all things spooky. I also love that the days are finally cooler...but I do hate that I have less daylight time. Regardless! Fall's my fave and this here post is full of my fave fall art lessons...

AND, like usual, these lessons are free and if you tap the link, you'll be lead to the lesson post which has all the details and (usually) a video for you to share with your students. 

So...here you have it: My Favorite Fall Art Lessons!
Let's kick things off with this Van Gogh-inspired haunted house! My students, especially my older ones, LOVE making spooky drawings. All the details can be found right here.
Who doesn't love MONSTERS for this spooky season?! I've got several in this blog post, starting with this one. I created this as a sub plan and my sub and kids loved it! Full video lesson here. 
This lesson was one I came up with years ago that I love doing with my third graders and up! Weaving is always a hit. Here's the video lesson here. AND a book I wrote with all sorts of fibers lessons like this one. 
Can you believe this is first grade?! I KNOW! Lesson with video and contemporary artist connection here!
I always do paper weaving with first grade and sometimes second graders at the start of the school year. This one is always a favorite. All the details here!
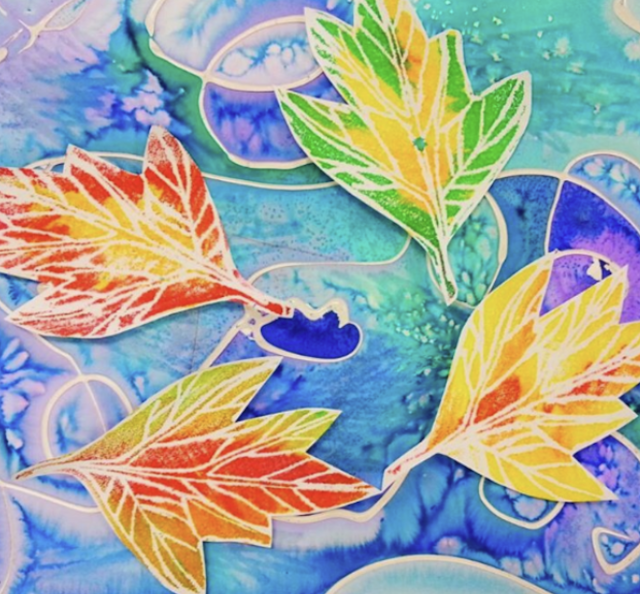
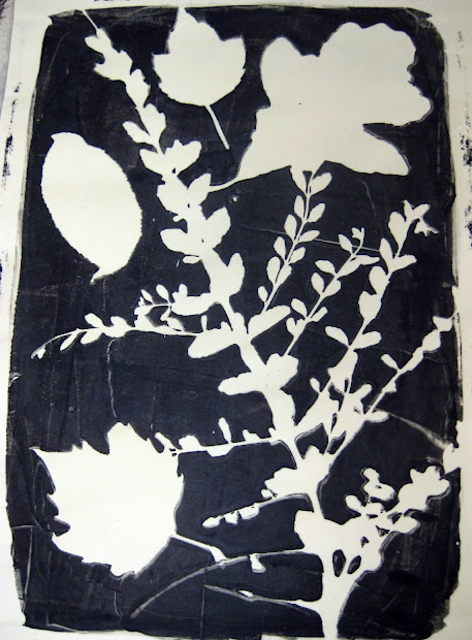
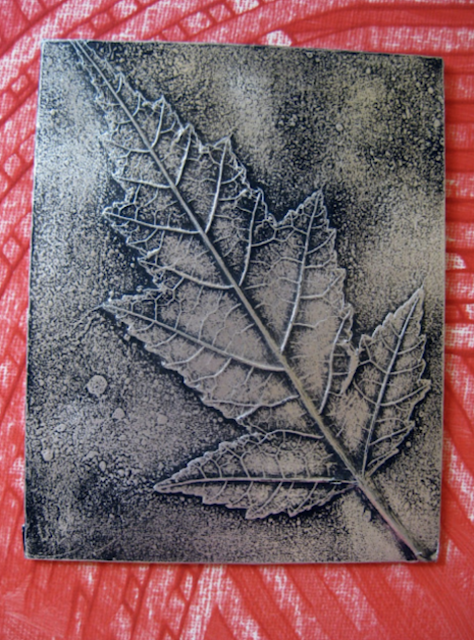
These leaves are PRINTED...with markers! An easy and fun printmaking activity that you can find out all the details about here. Complete with lesson video. 
Sunflowers are perfect this time of year. You can find tons of these flowers at Dollar Tree and they are perfect for making these Andy Warhol-inspired prints. 
One of my favorite things for this time of year: BLACK LIGHT. It's spooky and fun and the kids LOVE it! This lesson on monsters where we used neon paint and oil pastels was a hit with my fourth graders. Lesson and video here. 
Need a collage and shape lesson? WITH contemporary artists connections? Here you go!
Back in olden times, we didn't have these fancy things called Gelli-Plates. No, y'all, we had to make our own! And I share how in this post but...I wouldn't recommend it. It's not vegan-friendly. It's labor-intensive. And they don't last very long. So...splurge on those gelli-plates cuz you can still do this process!

Fall is the perfect time to paint landscapes! Here's an oldie (this lesson is almost 10 years old!) but one that I still love. 
Y'all, talk about a throwback: this lesson is from 2012! But it's one I have done for years because the results are always amazing. Check it out!
Do you have a class that's jsut ahead of the rest for some reason?! Need a fun lesson that they'll love? Here you go, video included!

I'll have more Halloween-ie lessons coming at you next week but until then...here's a fun collage project I know your kids will enjoy!


photo signature_zpsd10b3273.png

Wednesday, August 9, 2023

14 of My Favorite Lessons for Dot Day!

The start of the school year is my favorite time to read and celebrate the book The Dot by Peter H. Reynolds. Not only does it teach our students that everyone is an artist and how to embrace a growth mindset but...Dot Day is a celebration of JUST THAT and it takes place every year on September 15th. Perfect timing!

I have kicked the school year off with MANY different Dot Day art lessons and I thought I would pile them all into one big blog post just for you. From simple one-day lessons to longer format lessons, I've got you covered. Be sure to look for the links and give them a tap. Many links contain (free!) handouts and videos for you to use in your art room. 

Okay, let's get started!
#1 A lesson that I have done FOR YEARS with my kindergarten students is this Dot Day lesson. Right after our First Days of Art sculpture project, we dive into painting! If you follow the link, you'll see me teaching painting to my kindergarteners on their third day of art class. 
I've done this lesson a couple of different ways. Sometimes we paint on cardboard pizza rounds (ya know, cuz they are a circle and all) and other times, like here, we paint on squares of paper. Regardless, we always start with a dot sticker right in the middle.
#2 Last year, I had everyone create a painting the same way as those kindergarten pieces. Once complete, the students cut their paintings into fourths and rearranged them onto another square of paper. Details can be found here. 
Once complete, it was hung as this large collaborative piece!
#3 Last year we also went Dot Day WILD by doing centers. I LOVE doing centers with the kids because it makes it so, in a short amount of time, they bet to experience an assortment of materials and methods. I created short videos to talk them through the centers so they could just go for it! You can see the end result in this blog post. But be sure to check out my methods and videos for how these were created here
#4 Dot Day Printing was one of the kid's favorite dot day activities because they had instant masterpieces! All we used were pizza pans purchased at the Dollar Tree and paint! They signed and gave their paintings a name and we strung them throughout the halls. This was a one day activity with a huge impact. 
We also read Little Spot of Kindness which was a great one to read at the start of the school year!
#5 If you teach older students (5th and up) or you just want to dive into a longer-format project for Dot Day, you may want to give this string art lesson of mine a try. Video included in post!
I actually did these at the start of the school year with my fourth graders and they looked amazing for Open House!

#6 Circle loom weaving is one of my most popular blog posts! I think it's because...I found a way to make it easy for kids to learn and enjoy. Even though the blog post is a little bit older, it still has all the video details you and your students need. I've done this lesson successfully with second grade on up. I would recommend that if you do this at the start of the school year, third grade and up is the best age group. 
Even simply painted, these plates are beautiful! Let me walk you through how we make these without the mess of mixed colors and patterns. 
#7 Check out these simple metal relief pieces my third graders created one year! I'm a sucker for Sharpies and foil, y'all. Lesson here. 
So sparkly!
#8 Need a SIMPLE yet BEAUTIFUL Dot Day display? Try this one!
Now let me offer an update for that post: PLEASE when doing these coffee filters, PLEASE...do yourself a huge favor...don't dry them on plastic. Have kids create the dots on a STYROFOAM plate and let them dry on said plate. I would apologize for shouting but this is a BIG mistake I see folks make! When it dries on paper, the color leaves the filter and stains the paper. Then you have a sad looking filter! So...listen to your Mama Cass on this one. I beg of you!

#9 Dot Day Party! Why not throw some huge sheets of paepr on the tables, bust out those metallic art supplies like markers, oil pastels and paint, turn on Emily Arrow's the Dot song and let them create their own dots as they dance around the room?! That's how these were created and used as a backdrop for our giant hallway display. Check it out in the link!
#10 To know me is to know my love of CARDBOARD PIZZA ROUNDS! I buy them in bulk from GFS. Check out the brand called Circle King. I will always love and redo this lesson!
The best part? The fact that we paint on both sides which turns these circles into an instant mobile! Check out the blog post to see how we display them all!
#11 Aren't these DIVINE?! And they were so easy to make! All the details and supplies used can be found in this blog post!

#12 This first grade (yes, first grade!) mural was a big undertaking but we kept it up all year. Can you blame us? We started with these Dot Day inspired flowers. Lesson here!
#13 If Dot Day sneaks up on you OR you go back to school a little later and want to do something quick, this lesson is a fun one and done lesson! And you can find the free handout here!
#14 Why not take your favorite back to school lessons and just...do them round? That's what I did with my favorite kindergarten lesson! 
Then we hung them all together for our display!

So whether you keep it simple or go hog wild, I do hope I've given you some inspiration here!

Love ya! 


photo signature_zpsd10b3273.png

Sunday, April 14, 2019

My Favorite Sculpture Projects for Kindergarten through Fourth Grade!

This week, on my podcast Everyday Art Room, I'll be sharing my favorite sculpture projects, materials and supplies. Since so much of what I'll be talking about is visual, I thought I'd also put it all together in this here blog post. Please be sure to click the highlighted links as those provide the full lesson and, oftentimes, a video lesson!

Before diving in, I thought I'd share my favorite supplies to hoard for sculpture. Here's my Top Ten:

1. Toilet paper tubes! Just send out an email and you'll get more than you'll ever need.

2. SCHOOL paper towel tubes! The paper towel tubes at my school are super sturdy and thick and are my fave for sculpture.

3. Packing supplies! Packing peanuts (a rarity these days which is for the best) and what I call "packing pillows" are my favorites for sculpture.

4. Cereal Boxes! They are also great for when you run out of paper...they are the perfect weight to withstand paint.

5. Cardboard! Visit your school cafeteria manager and ask her what she often disposes of. Cans, cardboard, boxes...all of these items are perfect for sculpture.

6. Restaurant supplies! Okay, now I don't want no trash brought into my art room so I never take used items, especially ones that have held food. BUT if you visit your local restaurant supply, you'll find so many great items for sculpture. 

7. Aluminum foil! Dollar Tree sells aluminum foil by the sheets and it's the perfect size for the sculptures we create in my art room.

8. Egg cartons! You probably already collect these for paint...but they are also perfect for plaster molds (for candy! Scroll down!) and sculpture armatures.

9. Chopsticks! I love chopsticks or skewer sticks. We use them a ton in my art room.

10. Containers! My husband rinses out and saves nearly every lid (perfect circles!) and container we use for my art room. It may drive me bonkers but we use them all!

Now, I know what you're thinking: Stephens! I don't have the storage space for all that! To which I say, that's why you do this sort of craziness at the end of the year. Hoard it, bust it out and then send it all home. What you don't use, toss them in grab bags and let the kids create on their own at home.  

The following is a much shorter list of my favorite sculpture materials:

1. Activa Products Rigid Wrap. I LOVE plaster wrap for sculpture. It has replaced papier mache in my room. It dries super fast and leaves the sculptures rock hard. The only draw back is the price, it's not cheap. But it's my go-to and the kids love it.

2. Art Paste. If you GOTTA use papier mache (maybe you love it!) then I recommend Art Paste. It's great stuff.

3. Activa Products Celluclay. If you don't have a kiln, this stuff is great. It isn't like real clay...it's more like a paper pulp clay. You do have to mix it up (I don't recommend having kids do it) and it can be dusty...but I love the stuff. 

4. Model Magic. No prep, just open an pack and go. It's not cheap so we use this sparingly.

Okay! Now that we have that covered, let's talk projects!
1. Paper Sculpture! Paper sculpture is a project I do with my kindergarten kiddos on their very first days in art class...and every year THEY ROCK IT. This year, I did it with the entire school as apart of a project I called Getting to Know You Sculptures. 
2. Pipe Cleaner and Recycled Sculptures! This is another project that I do with my kindergarten friends. We use insulation foam, pipe cleaners, packing peanuts and, this year we'll be adding cardboard squares to the mix. You can read all about it here.
 3. TP Tube Pencils! Need a QUICK sculpture project that is a sure fire hit with your kids? Last year my FIRST GRADERS made these and loved it! They are made with TP tubes, snow cone paper cones (or tagboard rolled into a cone shape), aluminum foil and paint. All the details with video here! 
4. Crayons and Crayon Boxes! Another kid fave, y'all, and so easy. In groups, the kids used cereal boxes for their crayon boxes. This was also a great way for them to explore color theory as they had to come up with their own custom crayon color. They also had to come up with a name for the color. More here. 
5. Paint Tubes from TP Tubes! I think what some folks find daunting about sculpture is the notion that it has to be big and elaborate. You might have a small room, short class time and big classes...so manage your lessons around that. This lesson I think you and your students will love! 
6. Spilled Glue Bottles! Do you see a theme here? One of our art show themes last year was "art supplies"...so that's where the inspiration for all of these came from. You can tour that portion of the art show here. Details on these bottles here! 
7. Candy Hearts! These were so fun to make...while munching on candy hearts, of course. Created with tagboard and plaster wrap. The big box was painted by my early finishers, using a recycled box. All the details, with video, here. 
8. Jim Dine-Inspired Second Grade Hearts! These were created with tin foil and Celluclay. Colorful and fun with all the info here. 
9. Plaster Candy Hearts! My second graders are currently creating treasure boxes and they think it is the best thing ever. It reminded me of this project a couple years ago...my third grade had created these papier mache candy boxes with plaster candies. They had a BLAST! The candy was created from plaster poured into a variety of molds like egg cartons and ice cube trays. For more info, visit here. 
10. Taxidermy Creatures! This lessons has yet to be tested on my students but I've shared it in many workshops and it's a hit. Those teachers have in turn done it with their kids with great success. Just a little foil, Celluclay and imagination for this one. 

Happy sculpting, friends!!
 photo signature_zpsd10b3273.png